Yarn is a versatile material that can be used for a wide range of art and craft projects. From knitting and crocheting to weaving and embroidery, yarn can add texture, color, and personality to any creation. While many people buy yarn at craft stores or online, making your yarn at home can be a rewarding and satisfying experience. Not only can you control the quality and color of the yarn, but you can also use locally sourced materials and reduce your carbon footprint. This step-by-step guide will show you how to make yarn at home using simple materials and techniques. Whether a beginner or an experienced crafter, you’ll find plenty of tips and inspiration to start your DIY yarn-making journey.
Get creative with crafting by making a paper crown using our simple tutorial. Click here to discover how to make a paper crown.
Materials and Tools Needed for DIY Yarn Making
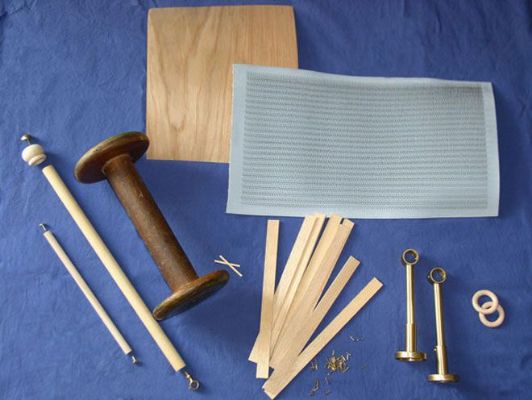
You’ll need a few key materials and tools to make your own yarn at home. Here’s a list of what you’ll need:
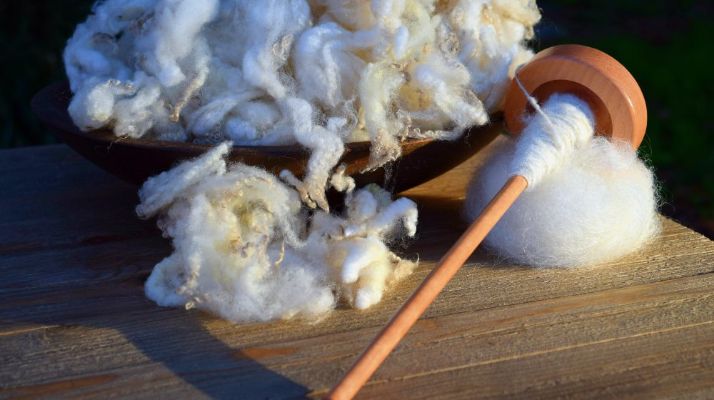
- Raw fiber is the starting material for making yarn. You can use a variety of fibers, such as wool, cotton, silk, or alpaca. You can purchase raw fiber online or from local farmers and fiber festivals.
- Carding tools are used to prepare the raw fiber for spinning. You’ll need a hand or a drum carder to open up the fibers and align them in the same direction.
- Spinning tools: These tools turn the prepared fiber into yarn. You’ll need a drop spindle or spinning wheel, a lazy kate, and bobbins for storing the spun yarn.
- Dyeing materials: If you want to dye your yarn, you’ll need dye, a large pot, and other accessories such as a thermometer, gloves, and tongs.
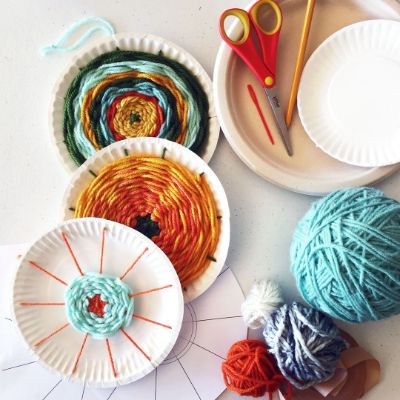
- Scissors: You’ll need scissors to cut the finished yarn from the spindle or wheel.
- Scale: A scale is useful for measuring the weight of your fiber and yarn, especially if you’re doing a specific project.
- Niddy noddy: This tool winds the finished yarn into a skein for storage or dyeing.
- Optional: A blending board, hackle, or combs can create unique blends of fibers.
It’s important to note that you don’t necessarily need to purchase all these tools simultaneously. Start with the basics, such as a drop spindle or spinning wheel, and add other tools as you become more experienced or want to try new techniques. |
Step-by-Step Guide to Making Yarn at Home: From Raw Fiber to Finished Product
Making your yarn at home can be a fun and rewarding experience. Here’s a step-by-step guide to help you turn raw fiber into a finished yarn:
Step 1: Prepare the fiber. Begin by selecting your raw fiber and cleaning it if necessary. If you purchased the fiber from a farmer or festival, it may need to be washed to remove dirt and debris. Follow the instructions provided with the fiber, or use a gentle detergent and lukewarm water to wash and rinse the fiber. Allow it to air dry completely before moving on to the next step.
Step 2: Card the fiber. Once the fiber is dry, use hand carders or a drum carder to open up the fibers and align them in the same direction. This process is called carding, and it prepares the fiber for spinning.
Step 3: Spin the fiber. Next, spin the prepared fiber into yarn using a drop spindle or spinning wheel. Begin by attaching the fiber to the spindle or wheel and drafting a fiber length to start spinning. Continue spinning the fiber until you reach the desired thickness and twist. Wind the spun yarn onto a bobbin or onto the spindle itself.
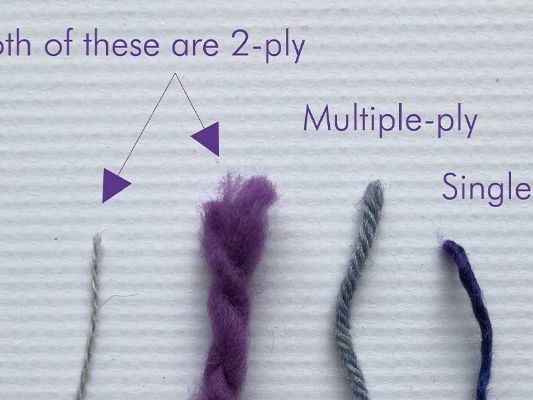
Step 4: Ply the yarn (optional). If you want to create a thicker and stronger yarn, you can ply two or more strands of spun yarn together. Use a lazy kate to hold the bobbins of spun yarn and twist them together in the opposite direction of the original twist.
Step 5: Set the twist. Once the yarn is spun, you must set the twist to help it hold its shape. To do this:
- Fill a sink or basin with lukewarm water and add a bit of gentle detergent.
- Place the yarn into the water and let it soak for 10-15 minutes.
- Remove the yarn from the water and gently squeeze out the excess water.
- Hang the yarn to dry, supporting it to avoid stretching.
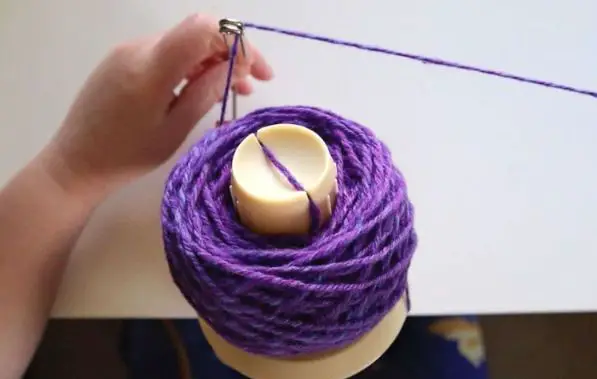
Step 6: Wind the yarn. Once the yarn is completely dry, wind it into a skein using a niddy noddy. This will help you store or dye the yarn later.
Step 7: Optional – Dye the yarn. If you want to add color to your yarn, you can dye it using natural or synthetic dyes. Follow the instructions provided with the dye to ensure a successful and safe dyeing process.
Transform your homemade yarn into a vintage masterpiece by learning how to make it look old. Follow our simple guide on how to make paper look old to achieve that charming, weathered appearance. With just a few steps, you’ll add character and depth to your yarn creations, perfect for rustic knitting projects.
What Can You Make With Yarn?
Yarn is a versatile material that can be used to make a wide range of items, including:
Clothing
Yarn can be knit or crocheted into scarves, hats, sweaters, socks, and more.
Home decor
Yarn can create wall hangings, rugs, pillow covers, and other decorative items.
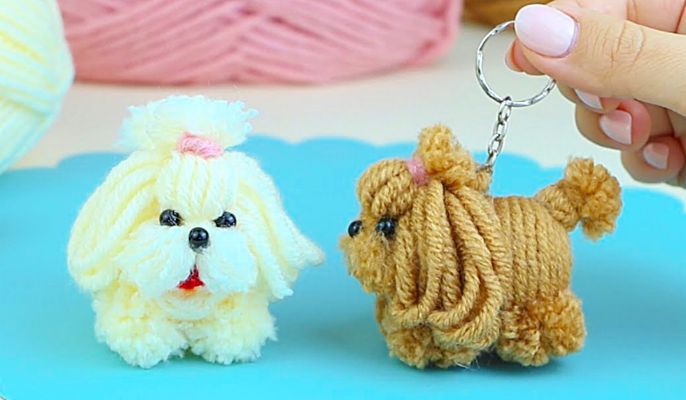
Accessories
Yarn can be used to make jewelry, keychains, and other small accessories.
Crafts
Yarn can be used for various crafts, such as pom-poms, tassels, and friendship bracelets.
Art
Yarn can be used to create sculptures, installations, and other works of art.
Gifts
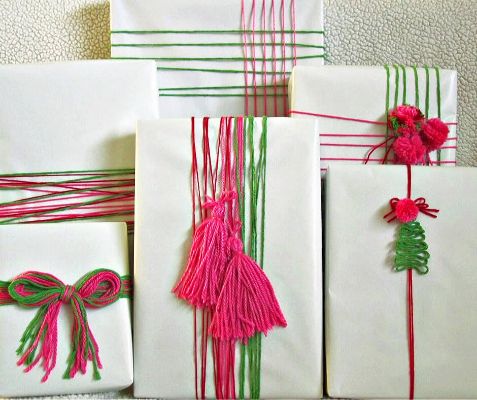
Yarn projects make great gifts, such as blankets, scarves, and hats.
Jewelry
Yarn can be braided, knotted, or wrapped around beads to create unique and colorful jewelry such as bracelets, necklaces, and earrings.
Bookmarks
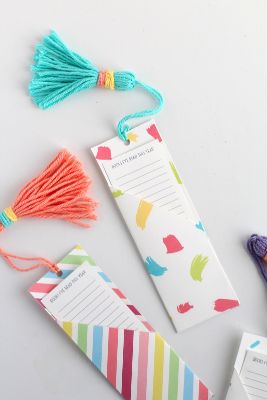
A simple and quick project, yarn can be used to create bookmarks of various designs and sizes.
Plant hangers
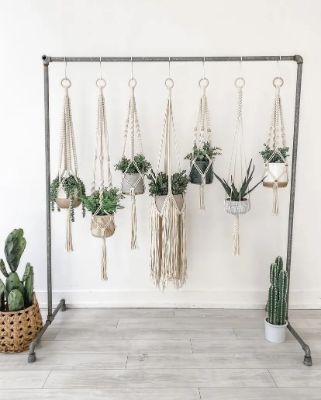
Use yarn to make macrame plant hangers to add a touch of bohemian style to your home decor.
Coasters
Crochet or knit coasters using your favorite yarn colors to add color to your coffee or dining table.
Hair accessories
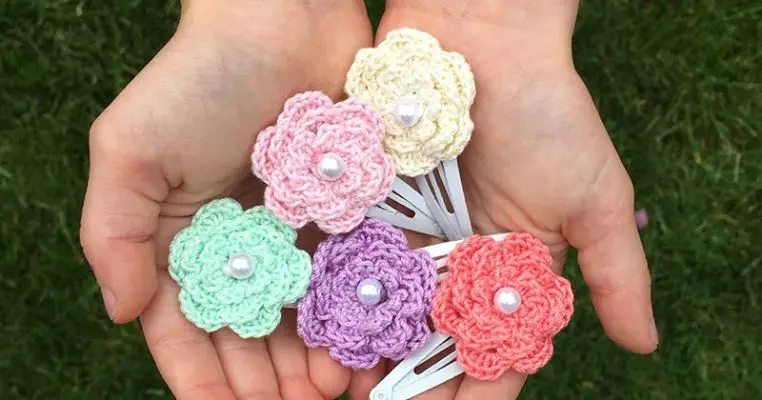
Use yarn to create hair bows, headbands, and other accessories for a cute and unique touch.
Pet toys
Use yarn to make simple toys for your furry friends, such as catnip-filled balls or dog chew toys.
Embellishments
Use yarn to add embellishments to clothing, such as tassels on the hem of a skirt or fringe on a jacket.
How To Make Your Own Hearts With Yarn?
To make your hearts with yarn, you can follow these steps:
Materials needed:
- Heart yarn or any color of your choice
- Crochet hooks or knitting needles
- Scissors
- Tapestry needle
Instructions:
- Choose the yarn color that you want to use for your hearts. You can use heart yarn or any other color of your choice.
- Decide whether you want to knit or crochet your hearts. Both techniques can be used to make heart-shaped projects.
- If you choose to crochet, start by making a chain of stitches, then create a magic ring and work single crochet stitches into it until you have a small circle.
- To create the heart shape, make two half circles by working increases and decreases on either side of the circle. Once you have completed both half circles, join them by working a row of stitches along the straight edge.
- If you choose to knit, cast on a few stitches, then work in a garter stitch until you have a small square.
- To create the heart shape, work increases and decreases on either side of the square to create two half circles. Once you have completed both half circles, join them by working a row of stitches along the straight edge.
- Once you have completed your heart, weave in any loose ends and trim the excess yarn.
- You can use your hearts as decorations, appliques, or as part of larger projects such as blankets or scarves.
With a little practice, you can create various heart-shaped projects using yarn. Get creative and experiment with different colors, sizes, and patterns to make your unique creations.
Yarn-Wrapped Cardboard Letters
Yarn-wrapped cardboard letters are a fun and easy way to add a personal touch to your home decor. Here are the steps to make your yarn-wrapped cardboard letters:
Materials needed:
- Cardboard letters
- Yarn in the color(s) of your choice
- Scissors
- Hot glue gun
Instructions:
- Choose the cardboard letters that you want to wrap with yarn. You can find these at craft stores or online.
- Decide on the colors of yarn you want to use for each letter. You can use one color for each letter or multiple colors for a more colorful design.
- Start by tying a knot at the back of the cardboard letter to secure the end of the yarn.
- Begin wrapping the yarn around the letter, covering as much surface as possible. You can wrap the yarn tightly or loosely, depending on the look you are going for.
- If you want to change colors, tie the new yarn color to the end of the previous color and continue wrapping.
- Continue wrapping until the entire surface of the cardboard letter is covered in yarn. You can trim the end of the yarn and secure it with a dot of hot glue at the back of the letter.
- Repeat the above steps for each letter you want to wrap.
- Once you have wrapped all of your letters, you can decorate them on a bookshelf, wall, or any other home area.
With just a few materials and creativity, you can create beautiful and personalized yarn-wrapped cardboard letters to add a unique touch to your home decor.
Step By Step Yarn Crafts
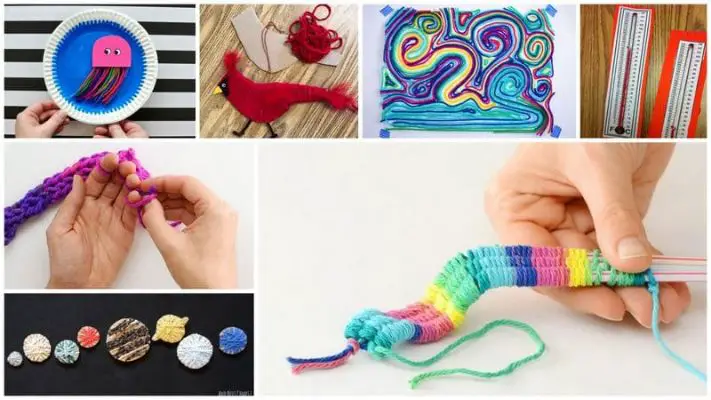
Here is some general steps to follow when making yarn crafts:
Materials needed:
- Yarn in the color(s) of your choice
- Crochet hook or knitting needles (depending on the project)
- Scissors
- Tapestry needle (for weaving in ends and finishing touches)
Instructions:
- Choose the yarn and project you want to make.
- Read through the pattern or instructions for the project and gather all the materials needed.
- If you’re knitting, cast on the required number of stitches for your project. If you’re crocheting, make a chain of stitches.
- Begin working on your project, following the pattern or instructions carefully.
- As you work, weave loose ends of yarn with a tapestry needle to prevent the project from unraveling.
- Continue working until you have completed your project.
- Once finished, bind the stitches in knitting or fasten them in crochet.
- Weave in any remaining loose ends and trim the excess yarn.
- Block your project, if necessary, by washing and shaping it to ensure it retains its shape.
- Enjoy your finished yarn craft!
These steps are general guidelines for making yarn crafts. The steps will depend on your project type, such as a scarf, hat, or blanket. It’s important to follow the pattern or instructions carefully to ensure your project turns out as intended.
Looking for another fun DIY project? Learn how to make maracas with just a few simple materials! Check out our guide on how to make maracas and get ready to create some music.
Conclusion
By following the step-by-step guide in this blog post, you will be equipped with the knowledge and skills to make your yarn at home and create a variety of beautiful yarn crafts. The possibilities are endless, from scarves and hats to home decor items like rugs and wall hangings! So don’t hesitate to try and start your yarn crafting journey today!