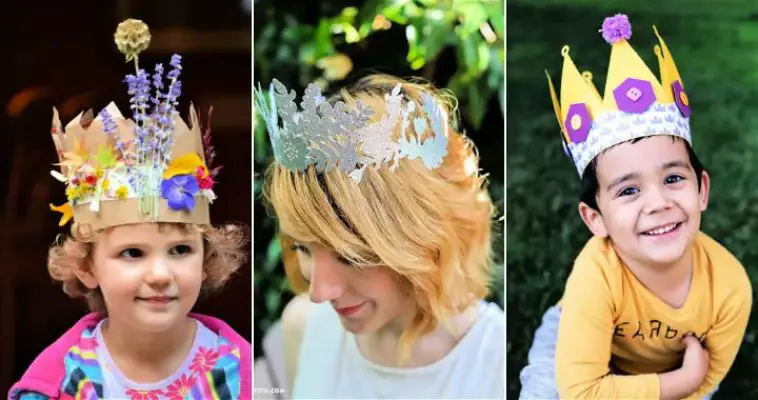
Paper crowns are a fun and easy DIY craft project that brings out the inner royalty in anyone. Whether you’re looking for a fun activity with children, a whimsical addition to a themed party, or simply a creative outlet for yourself, making a paper crown is the perfect choice. With just a few basic materials and a touch of imagination, you can create a beautiful crown that adds a touch of regal flair to any occasion. In this blog post, we will guide you through making your paper crown, providing step-by-step instructions and inspiring ideas for customization. Get ready to embrace your creativity and wear your crown with pride!
Enhance your paper crown with a touch of floral elegance by learning how to craft beautiful paper tissue flowers. Follow our simple tutorial to create delicate blooms that will complement your regal ensemble effortlessly.
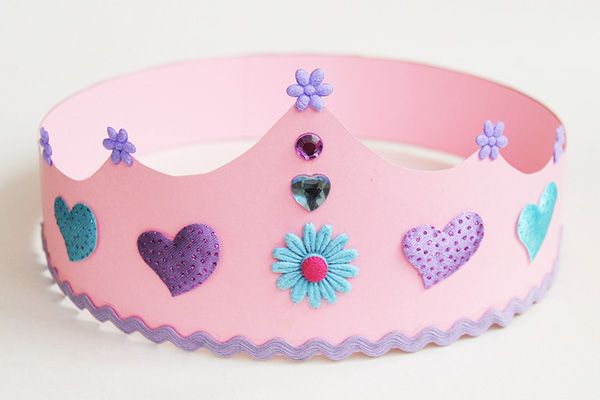
DIY Paper Crown
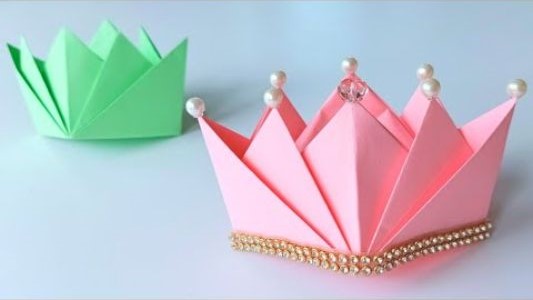
Making a paper crown is a fun craft activity and allows you to express your creativity and add a regal charm to any occasion. Whether planning a themed party, dressing up for a playdate, or simply looking for a creative project, this DIY paper crown is the perfect choice. So, let’s gather our materials and prepare to make a crown fit for royalty!
Creativity enhances brain power, and it helps to stay calm and healthy. There is not only a way to remain creative in making paper art; if you visit the beach or have sand, you can make plenty of things with it.
Materials Needed To Make A Paper Crown
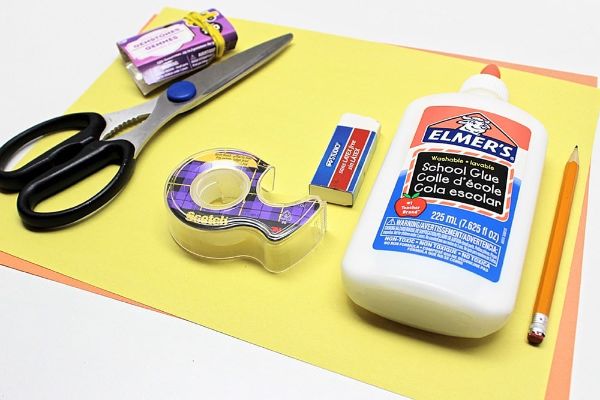
Here are the materials needed for making a paper crown, along with their uses and some alternative options:
Materials | Use | Alternative Options |
Colored construction paper or cardstock | Main material for creating the crown base | Scrapbook paper, patterned paper, or wrapping paper |
Scissors | Cutting the paper | Craft knife or paper trimmer |
Pencil | Marking measurements and design | Pen or marker |
Ruler | Measuring and drawing straight lines | T-square or measuring tape |
Decorative materials | Customizing and embellishing the crown | Glitter, sequins, stickers, markers, or crayons |
Ribbon or yarn | Adding decorative elements | Fabric strips, lace, or twine |
Adhesive (glue or tape) | Securing the ends and decorations | Glue stick, double-sided tape, or adhesive dots |
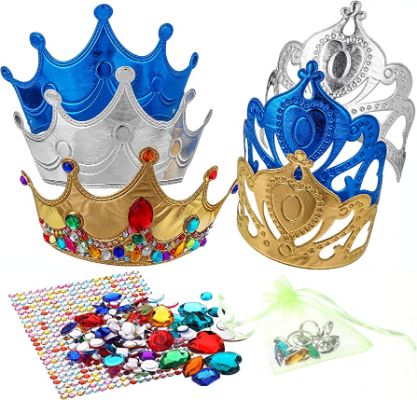
Decorative Materials (Optional) To Make A Crown
Here we are providing a chart for the decorative materials used in making a paper crown, their uses, and some alternative options:
Decorative Materials | Use | Alternative Options |
Glitter | Add sparkle and shine to the crown | Sequins, confetti, metallic paint |
Stickers | Decorate the crown with fun designs and shapes | Paper cutouts, washi tape, self-adhesive gems |
Markers or crayons | Color and customize the crown | Paint, colored pencils, watercolor markers |
Ribbon or yarn | Enhance the crown with decorative trim or ties | Lace, fabric strips, elastic cord |
Adhesive (glue or tape) | Attach various elements and secure the crown | Glue dots, adhesive spray, glue gun |
Feel free to mix and match these decorative materials based on your preferences and the desired look of your paper crown. Remember, there are endless possibilities for personalizing and embellishing your crown, so let your creativity shine!
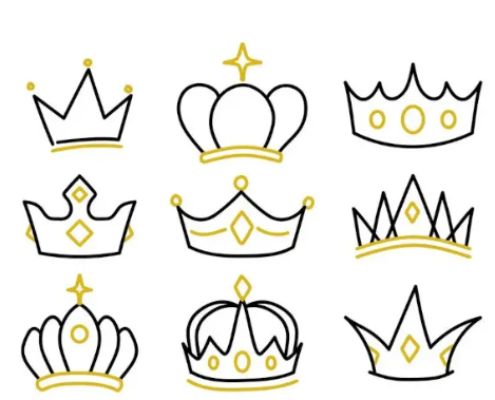
Designing Your Crown
Before we begin, think about the design of your crown. You can opt for a classic crown shape with pointed tips or get creative and try different shapes such as hearts, stars, or zigzags. You can also experiment with intricate cutouts or keep it simple with patterns or designs.
Measuring and Cutting
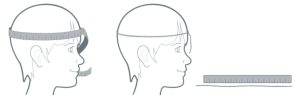
- Start by measuring the circumference of your head using a ruler or measuring tape.
- Add a few extra inches to allow for overlap and adjustments.
- Using a pencil and ruler, mark your crown’s desired width and length based on your measurements.
- Carefully cut along the marked lines to create the base of your crown.
Creating the Crown Structure
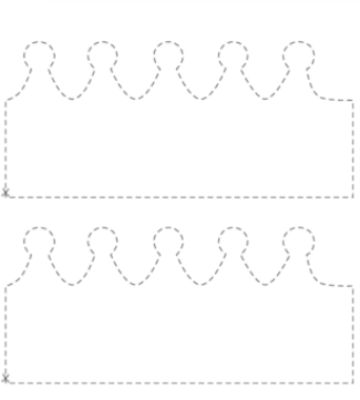
- Fold the paper strip in half lengthwise to find the center point.
- From the center point, measure and mark the desired height for your crown.
- Draw the crown shape with gentle curves or pointed edges using your pencil and ruler.
- Carefully cut along the marked lines, ensuring the crown remains attached at the center.
Decorating Your Crown
Now comes the fun part – decorating your crown!
- Use markers, crayons, or paint to add color and personalize your crown.
- Add a touch of sparkle by applying glitter to certain areas or using metallic markers.
- Decorate with stickers, washi tape, or self-adhesive gems for extra flair.
- Attach ribbon or yarn to the edges for a festive and decorative touch.
- Feel free to get creative and add any other embellishments you desire!
Assembling and Adjusting
- Overlap the two ends of the crown base, ensuring a comfortable fit on your head.
- Using glue or tape to secure the ends together creates a circular shape.
- Try on the crown and adjust to ensure a perfect fit.
If you’re interested in crafting with paper, why not try making your own paper at home? Check out our guide on how to make paper for kids. It’s a fun and easy activity that the whole family can enjoy together. Click here to learn how to make paper at home for kids!
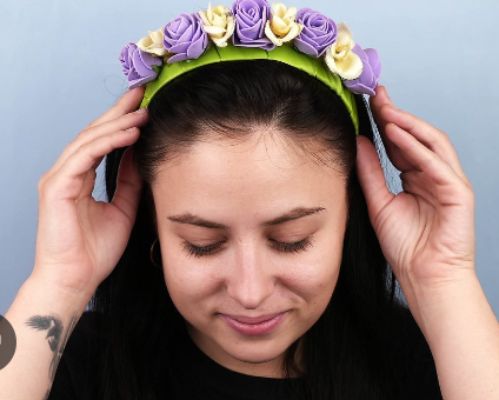
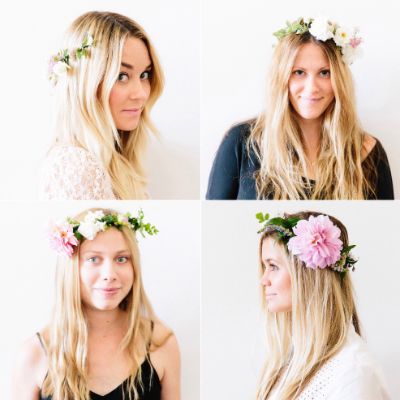
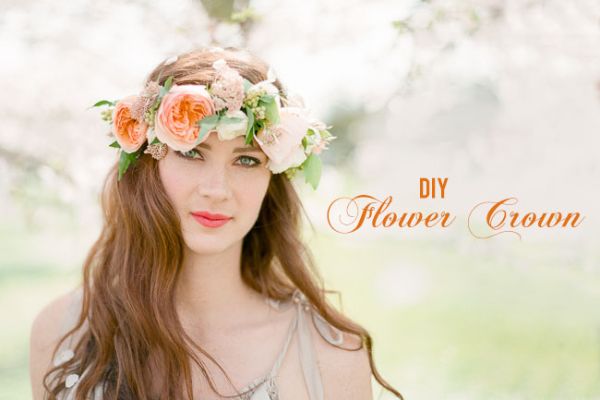
DIY Flower Crown – A Step-by-Step Guide to Creating a Beautiful Floral Accessory
Making your flower crown is a wonderful way to showcase your creativity and connect with nature. In this step-by-step guide, we will walk you through making a stunning flower crown that will make you feel like a garden goddess. Let’s gather our materials and get started!
Things Needed To Make A Flower Crown
Here’s a chart outlining the materials needed to make a flower crown, along with their uses and some alternative options:
Materials | Use | Alternative Options |
Artificial flowers | Main decorative elements for the flower crown | Fresh flowers, silk flowers, fabric flowers |
Floral wire or floral tape | Securing and attaching flowers to the crown | Floral adhesive, thin wire, ribbon |
Wire cutters or scissors | Cutting and shaping the floral wire or stems | Pliers, garden shears, nail clippers |
Greenery or foliage | Filling in the gaps and adding a natural touch | Ferns, leaves, eucalyptus, baby’s breath |
Decorative elements | Adding personal touches and embellishments | Ribbons, beads, feathers, lace, glitter, faux gemstones |
Adhesive (glue or tape) | Securing additional decorations (optional) | Hot glue gun, floral adhesive, double-sided tape |
Selecting and Preparing the Flowers and Greenery
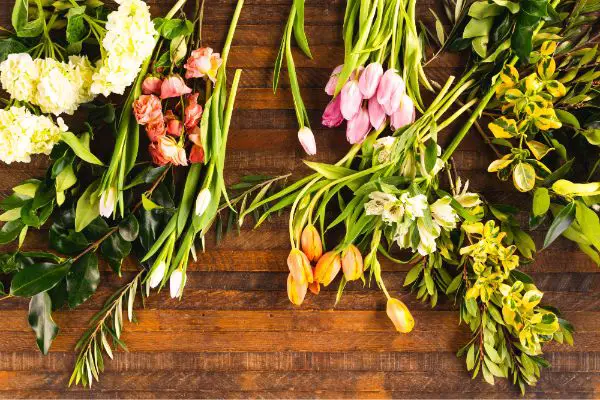
- Choose various artificial or fresh flowers that suit your style and color preferences.
- Trim the stems of the flowers to a length of approximately 2-3 inches using wire cutters or scissors.
- If using fresh flowers, remove any excess leaves and thorns to ensure a clean and comfortable fit.
- Gather an assortment of greenery or foliage to complement the flowers, such as ferns, leaves, or eucalyptus.
Creating the Base of the Flower Crown
- Measure the circumference of your head with floral wire or floral tape, leaving a few extra inches for adjustments.
- Shape the wire or tape into a circle, ensuring a comfortable fit when worn on your head.
- If using floral wire, wrap it with floral tape for added stability and to prevent sharp edges from poking through.
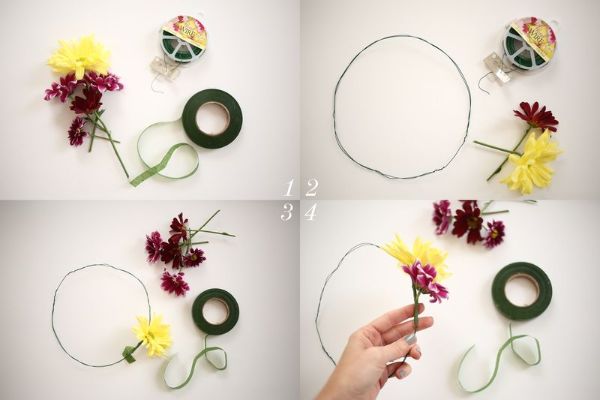
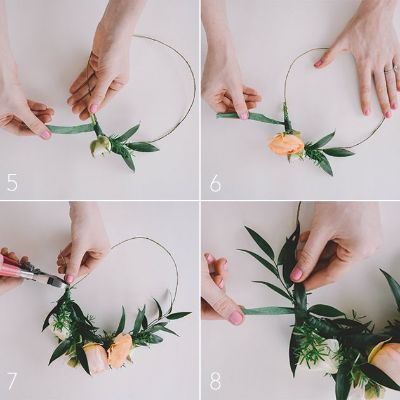
Attaching the Flowers and Greenery
- Position one flower stem along the wire base, facing outward.
- Secure the stem to the wire by tightly wrapping floral wire or tape around the stem and the wire base.
- Repeat the process, adding flowers and greenery and overlapping the stems slightly to create a seamless and full appearance.
- Continue adding and securing flowers and greenery until you have achieved your desired look.
Adding Decorative Elements (Optional)
- To enhance your flower crown, you can incorporate additional decorative elements such as ribbons, beads, feathers, lace, glitter, or faux gemstones.
- Attach these elements to the flower crown using adhesives, such as glue or tape, or intertwine them with the flowers and greenery.
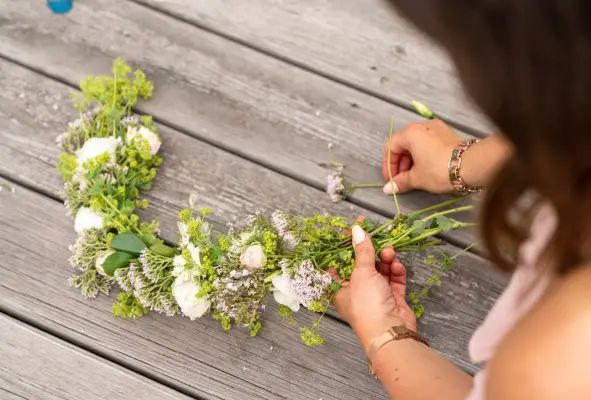
Final Adjustments and Finishing Touches
- Once you have completed the arrangement, try on the flower crown and make any necessary adjustments to ensure a comfortable fit.
- Trim any excess stems or foliage that may be sticking out.
- Add some adhesive to secure loose elements or ensure the crown’s longevity.
Learn how to make a paper crown fit for royalty with our simple guide. And if you want to give your creation an antique touch, check out our tutorial on how to make paper look old.
Flower Crown Base
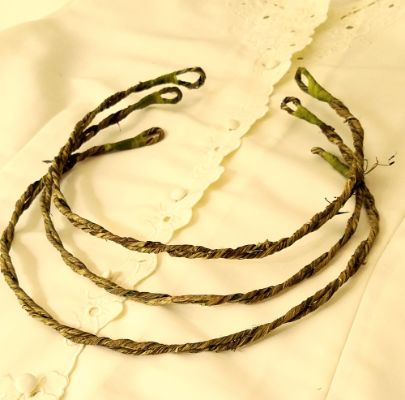
To make a flower crown base, follow these steps:
Materials Needed
- Floral wire or floral tape
- Wire cutters or scissors
Instructions
Measure the circumference of your head using a piece of floral wire or floral tape. Leave a few extra inches for adjustments.
- Using wire cutters or scissors, cut the floral wire or floral tape to the measured length.
- Shape the wire or tape into a circle, forming the base of the flower crown. Ensure that the ends of the wire overlap slightly.
- If using floral wire, twist the overlapping ends together to secure the circular shape. If you use floral tape, wrap it around the overlapping ends to hold them in place.
- Smooth out any sharp edges or protruding wire, ensuring the base is comfortable to wear.
- Optionally, you can wrap the entire base with floral tape to provide a smooth surface and additional stability.
10 Flower Crown Craft
Here are ten flower crown craft ideas to inspire your creativity:
Bohemian Chic Crown
- Use a variety of vibrant flowers, such as daisies, roses, and sunflowers.
- Incorporate long strands of greenery or ivy for an organic and flowing look.
- Add feathers, beads, or ribbons for bohemian charm.
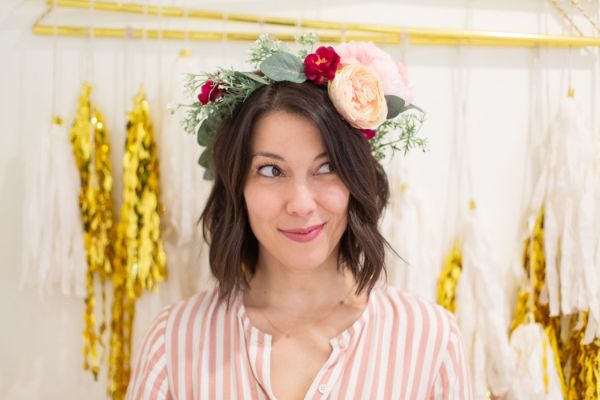
Pastel Princess Crown
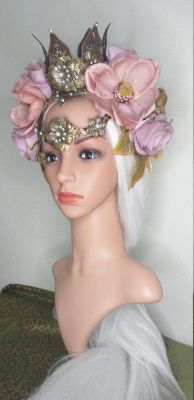
- Select soft-colored flowers like baby’s breath, hydrangeas, and peonies.
- Include delicate foliage like ferns or eucalyptus leaves.
- Decorate with satin ribbons and pearl accents for an elegant and feminine crown.
Wildflower Meadow Crown
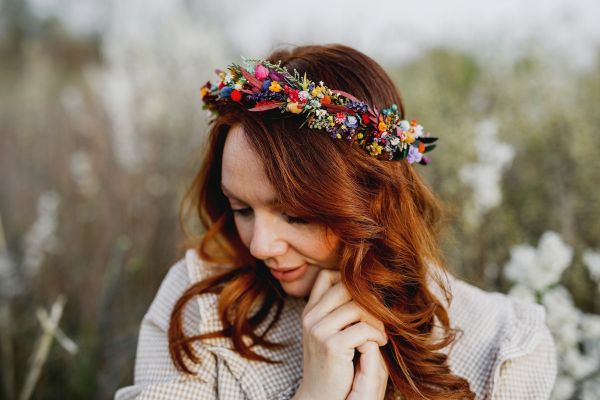
- Gather an assortment of wildflowers, such as dandelions, daisies, and wild roses.
- Embrace a loose and whimsical arrangement with various sizes and colors of flowers.
- Wrap the crown with raffia or twine for a rustic touch.
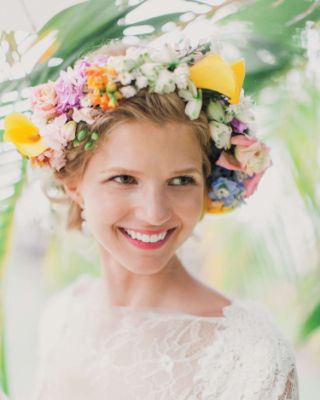
Tropical Paradise Crown
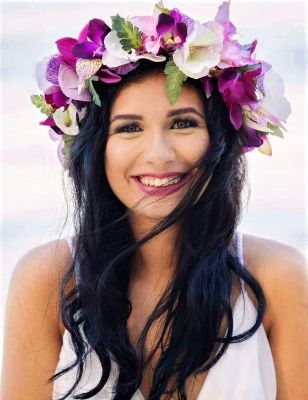
- Choose exotic flowers like orchids, hibiscus, and bird of paradise.
- Add tropical foliage such as palm leaves or banana leaves.
- Enhance the crown with seashells or colorful tropical bird feathers.
Sunflower Sunshine Crown
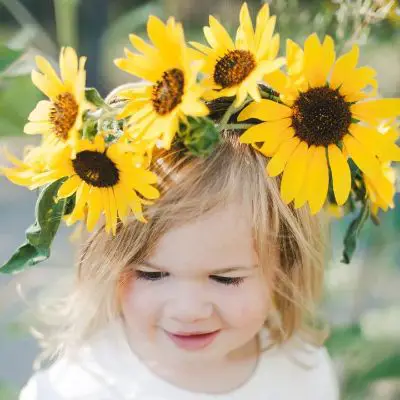
- Use large sunflowers as the main focal point of the crown.
- Surround the sunflowers with smaller yellow and white flowers like daisies or marigolds.
- Intertwine yellow ribbon or raffia throughout the crown for a sunny and cheerful look.
Fairy Garden Crown
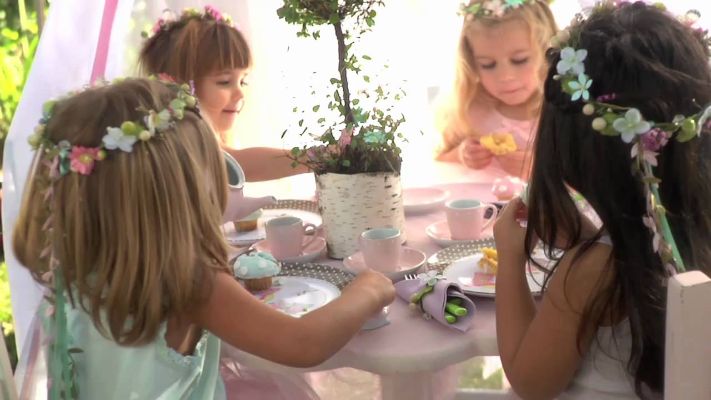
- Opt for small delicate flowers like forget-me-nots, pansies, and violets.
- Include tiny leaves, moss, and miniature accessories like mushrooms or butterflies.
- Incorporate thin, sparkly wire or tulle for a whimsical and ethereal touch.
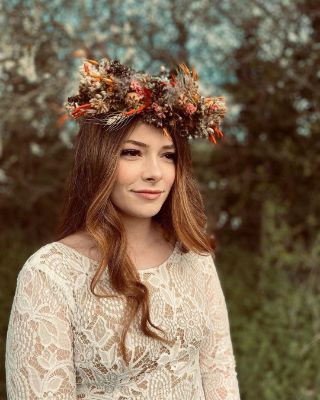
Autumn Harvest Crown
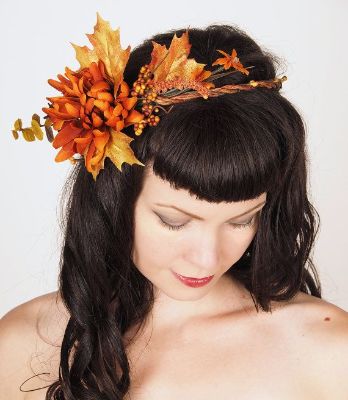
- Select fall-themed flowers such as chrysanthemums, dahlias, and autumn leaves.
- Add seasonal elements like acorns, pinecones, or dried wheat stalks.
- Wrap the base of the crown with rustic burlap or plaid ribbon.
Vintage-inspired Crown
- Choose romantic flowers like roses, lilies, and carnations in muted or pastel shades.
- Include delicate greenery like baby’s breath or ferns.
- Decorate with vintage-inspired embellishments like lace, pearls, or cameo brooches.
Spring Garden Crown
- Use a mix of spring blooms like tulips, daffodils, and hyacinths.
- Integrate fresh greenery like ivy or blooming branches.
- Adorn with colorful butterflies or small bird figurines for a garden-themed crown.
Monochromatic Elegance Crown

- Pick flowers of the same color, such as white roses, lilies, and orchids, for a monochromatic look.
- Add subtle variations in texture and size to create depth.
- Wrap the base with a satin ribbon in the same color for a polished and elegant finish.
Mix and match these ideas or create your unique flower crown design. Let your imagination bloom, and enjoy the process of crafting a beautiful flower crown that reflects your style and creativity.
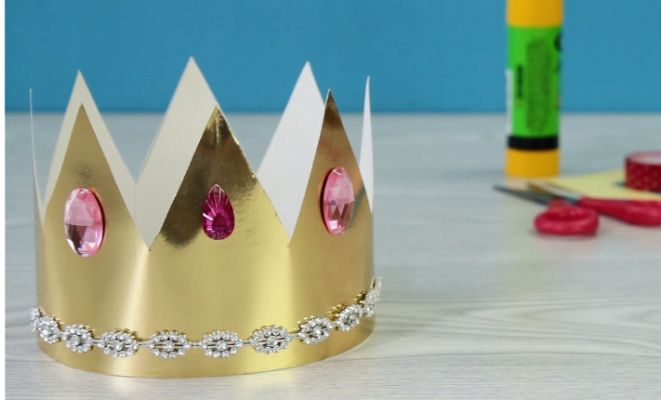
DIY Paper Crown
A paper crown is a decorative headpiece made entirely or primarily from paper materials. It is a popular craft project for various occasions, such as birthdays, parties, or imaginative play. Paper crowns can be customized with different colors, patterns, and embellishments to match a specific theme or personal style.
To make a basic paper crown, follow these steps:
Materials Needed
- Colored construction paper or cardstock
- Scissors
- Pencil
- Ruler
Decorative materials (optional)
- Glitter
- Stickers
- Markers or crayons
- Ribbon or yarn
- Adhesive (glue or tape)
Instructions
- Measure the circumference of your head using a ruler or measuring tape.
- Add a few extra inches to the measurement to ensure a comfortable fit.
- Draw a straight line on the colored paper or cardstock according to the measured length.
- Use a ruler to draw the height of the crown from a straight line, creating a rectangular shape.
- From the top corners of the rectangle, draw diagonal lines towards the center of the rectangle, forming triangular points. These points will be the peaks of your crown.
- Cut along the outer lines of the crown shape, including the triangular points.
- Decorate the paper crown using markers, crayons, or stickers to add color and designs. You can apply glitter or adhesive to attach decorative elements like sequins or small gems.
- If desired, attach ribbon or yarn to the ends of the crown to tie it securely on your head or add a decorative touch.
- Adjust the crown size by overlapping the ends and securing them with glue or tape.
How To Make A Paper Crown With One Paper?
To make a paper crown using just one piece of paper, follow these steps:
Materials Needed
- One sheet of colored construction paper or cardstock
- Scissors
- Pencil
Decorative materials (optional)
- Glitter
- Stickers
- Markers or crayons
Instructions
- Start with a rectangular sheet of paper. If the paper is not already rectangular, you can trim it to the desired size using scissors.
- Measure the width of the paper and divide it into thirds. Make small pencil marks to indicate the divisions.
- Fold the paper in half lengthwise, aligning the short ends.
- From the folded edge, measure and mark a distance equal to one-third of the width on each side of the paper.
- Draw a line connecting the marks on each side, creating two diagonal lines that meet at the top.
- Cut along the diagonal lines, starting from the folded edge and stopping at the marks.
- Unfold the paper. You should see a crown shape with triangular points and a gap in the middle.
- Decorate the crown using markers, crayons, or stickers. You can add color and patterns or draw jewels or designs on the crown.
- Apply glitter to certain crown areas to add sparkle and shine if desired.
- Adjust the crown size to fit your head by overlapping the ends and securing them with tape or glue.
Conclusion
Making a paper crown is a fun and creative craft requiring minimal materials. You can create a personalized crown for various occasions with just one sheet of paper and a few simple steps. Whether for a birthday party, dress-up play, or a themed event, a paper crown adds a touch of charm and imagination. So, grab your paper and scissors, unleash your creativity, and enjoy the process of crafting your delightful paper crown.
Looking for more fun crafts? Check out our article on paper bag crafts for kids for exciting ideas to keep the creativity flowing!