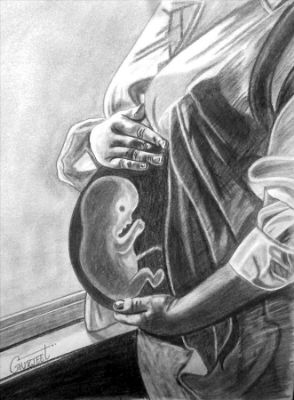
In the realm of artistic expression, a captivating trend has emerged that merges the wonders of motherhood with the power of art – Womb Art. This creative expression allows expectant mothers to capture and celebrate their transformative journey through various mediums artistically. It provides a unique outlet for self-identity, empowerment, and healing during pregnancy. From pregnancy belly painting to belly casting, womb photography, and even sculptures and jewelry.
Pregnancy is no doubt a wonderful experience, when a couple decides to be a parent they must be curious in knowing the time of pregnancy starts and they hold their child in their arms. For this, we are providing you a guide in regard to Signs In Dreams That You Are Pregnant.
Womb Art allows women to communicate their innermost thoughts and emotions visually. Beyond its aesthetic appeal, Womb Art positively impacts the mental well-being of mothers, fostering emotional expression, bonding, and body positivity. While controversies exist, this blog post aims to inspire and educate by sharing stories of artists and mothers embracing Womb Art. Join us on this enchanting journey into the world of Womb Art, where the beauty of motherhood intertwines with artistic creation.
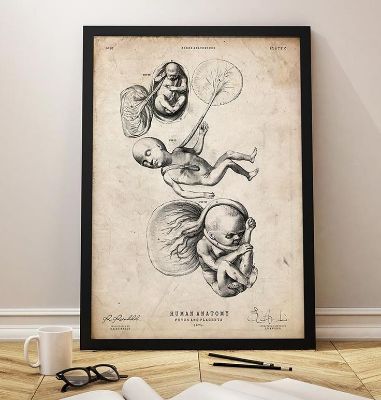
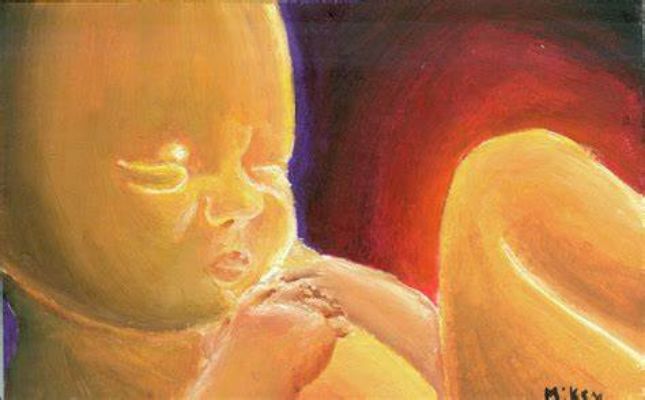
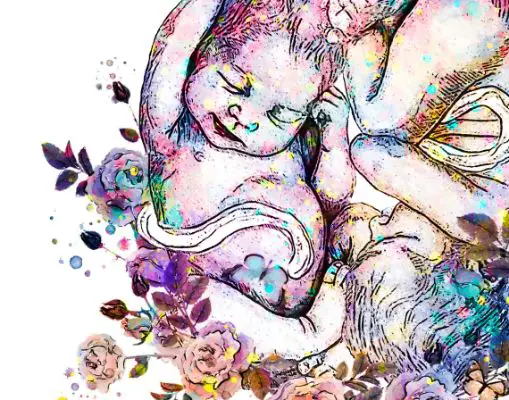
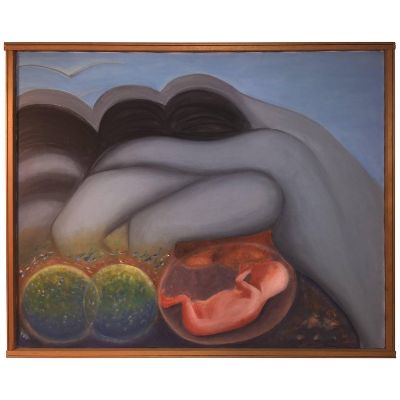
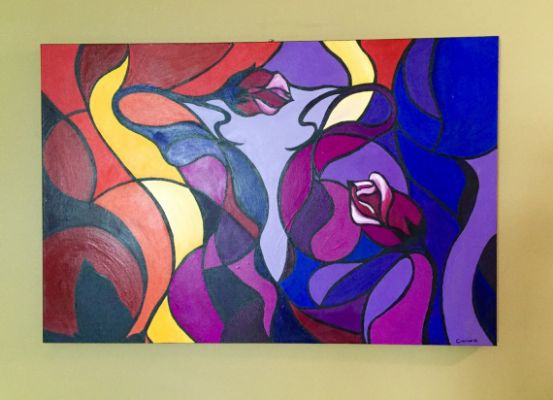
10 Baby In Womb Art

Baby In Womb Art offers a range of creative possibilities to celebrate the precious moments and emotions surrounding pregnancy and the anticipation of new life. Whether through painting, sculpture, mixed media, or other techniques, each artwork can convey the beauty, love, and connection between a mother and her unborn child.
Here are art ideas for Baby In Womb:
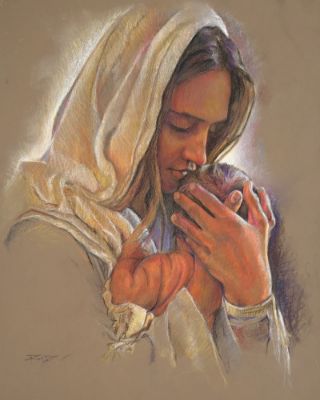
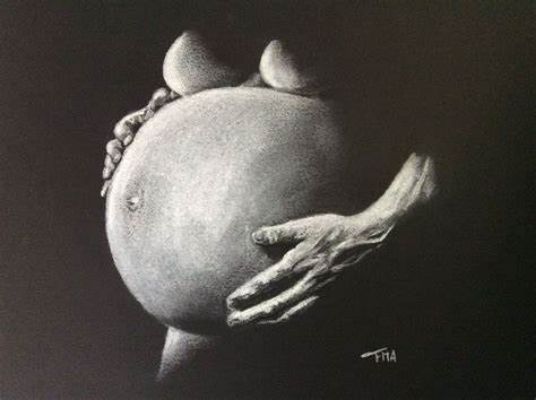
Portraying Mother’s Embrace
Create a painting or drawing that depicts a mother cradling her pregnant belly, emphasizing the protective and nurturing bond between mother and child.
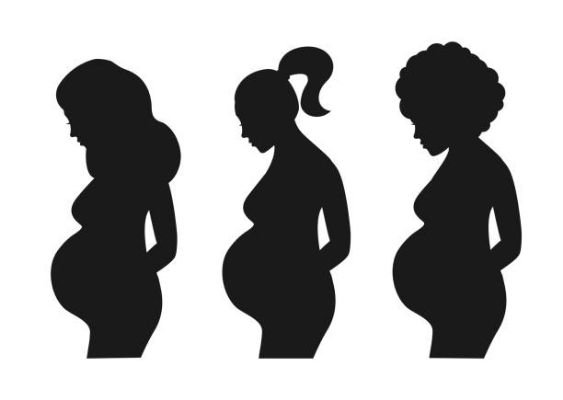
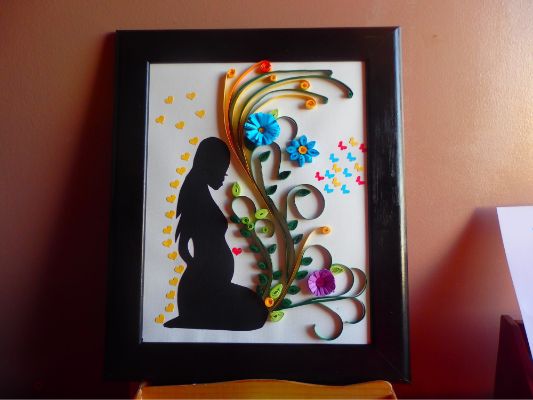
Silhouette Art
Use cut-out shapes or shadows to represent the silhouette of a pregnant woman with a visible baby bump, evoking a sense of mystery and anticipation.
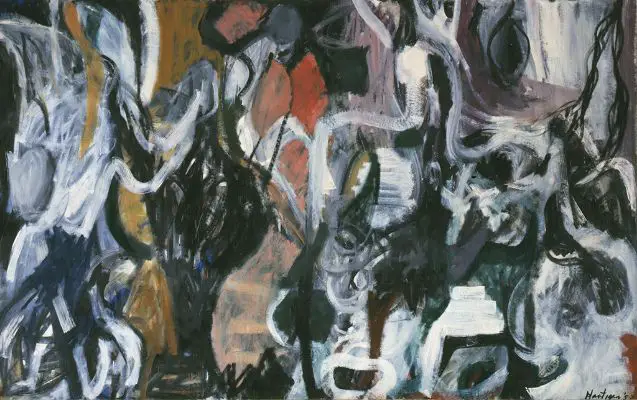
Abstract Expressionism
Explore the use of bold and expressive brushstrokes or mixed media techniques to convey the emotions and energy surrounding the presence of a growing baby in the womb.
Mixed Media Collage
Combine various materials such as fabric, paper, photographs, and textured elements to create a layered collage representing the different stages and experiences of pregnancy.

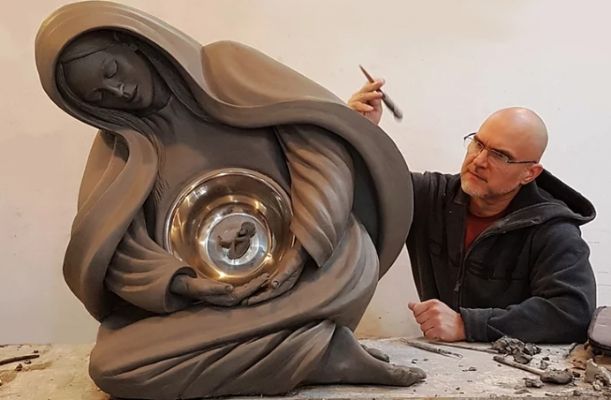
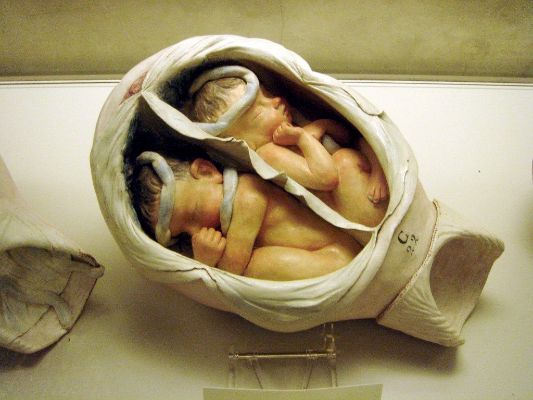
Womb Sculpture
Sculpt a three-dimensional representation of a pregnant belly, incorporating intricate details and textures to capture the physical form and essence of the growing baby within.
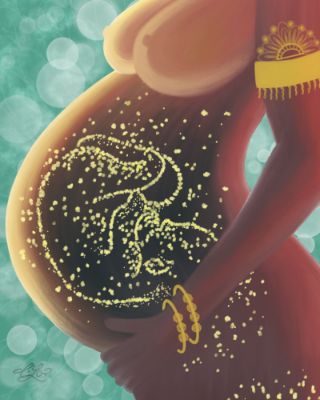
Digital Art
Utilize digital tools and software to create a digital illustration or mixed media artwork that showcases the development and growth of the baby in the womb through vibrant colors and intricate details.
Maternal Jewelry
Design and craft wearable art, such as pendants or bracelets that symbolize the baby’s presence in the womb using materials like silver, clay, or precious stones.

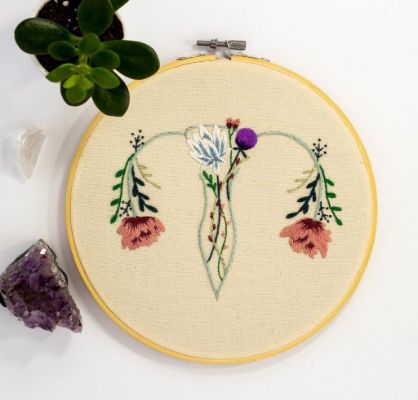
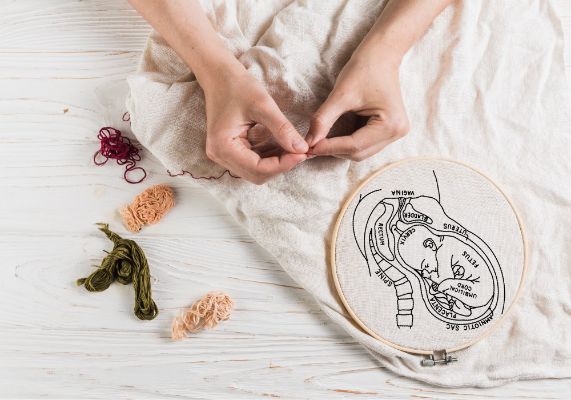
Embroidery and Needlework
Use embroidery techniques to create intricate patterns and textures on fabric, depicting the contours of a pregnant belly with a focus on the baby nestled within.
Paper Quilling
Craft delicate and detailed paper quilling designs that represent the life and movements of the baby in the womb, capturing the delicate nature of the pregnancy journey.
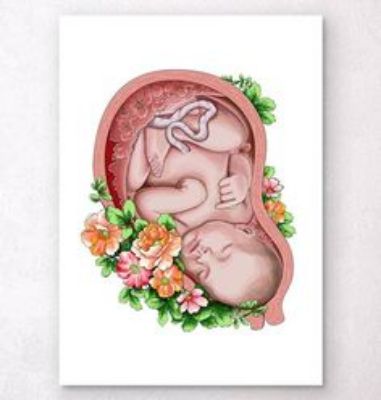
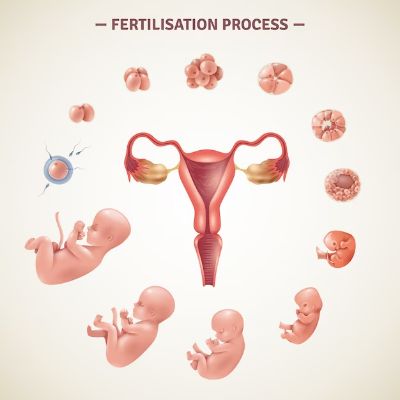
Collage of Sonogram Images
Create a collage using printed or hand-drawn sonogram images, arranging them in a visually appealing composition to portray the development and milestones of the baby in the womb.
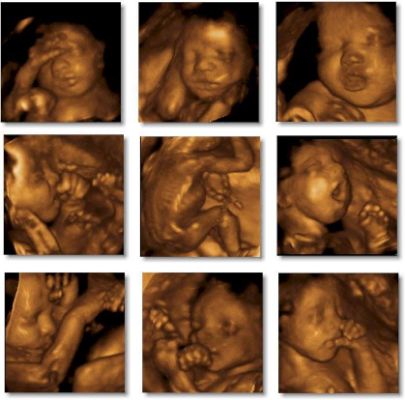
How To Draw A Fetus?
Drawing a fetus can be a sensitive and challenging task. Here is a step-by-step guide on how to draw a basic representation of a fetus:
- Start with a basic oval shape, which will serve as the main body of the fetus. Draw it lightly using a pencil, as you may need to adjust it later.
- Add a smaller oval shape towards the top of the main oval. This will represent the head of the fetus. Ensure that the head is proportionate to the body.
- Draw two small circles within the head oval to represent the eyes. You can also add a slight curve for the mouth.
- Extend a short line downwards from the head oval to create the neck. Then, draw two short lines on each side of the body oval to represent the arms.
- For the legs, draw two long lines extending from the bottom of the body oval. These lines should be slightly curved.
- At the end of each leg line, draw a small oval shape to represent the feet.
- Refine the shape of the body, head, and limbs, ensuring that the proportions are accurate. Add more curves and details to make the drawing appear more natural.
- Erase any unnecessary or overlapping lines, and darken the final lines of the drawing.
- Add shading or hatching to create depth and dimension to your drawing. Pay attention to the light source and add shadows accordingly.
- You can also add facial features, hair, or clothing to enhance the drawing.
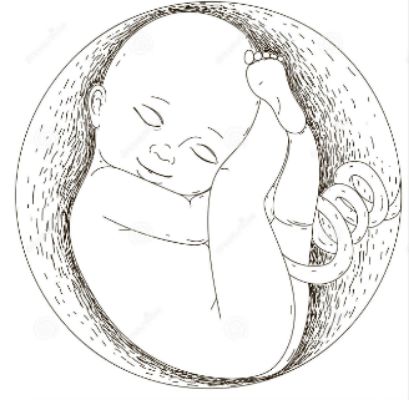
10 Fetus In Womb Drawing Ideas
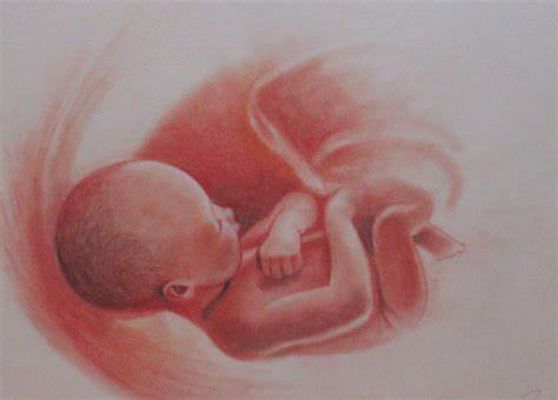
Pencil Realism
Create a highly detailed pencil drawing of a fetus in the womb, capturing the intricate features and textures with precision and shading for a realistic portrayal.
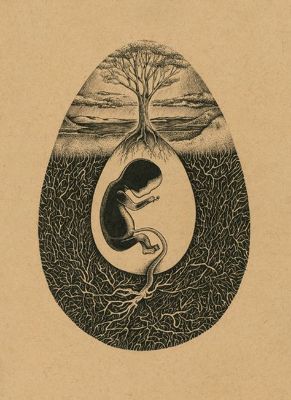
Abstract Symbolism
Utilize abstract shapes and patterns to represent the presence of a fetus in the womb, allowing viewers to interpret and connect with the artwork on a deeper, symbolic level.
Watercolor Bliss
Use soft and ethereal techniques to depict the fetus in the womb, emphasizing the tranquility and serenity of the prenatal environment.
Charcoal Contrasts
Create a dramatic and expressive charcoal drawing of a fetus in the womb, using strong contrasts and bold strokes to convey the depth and intensity of emotions surrounding pregnancy.
Ink Illustration
Craft a delicate ink illustration of a fetus in the womb, focusing on intricate linework and subtle details to evoke a sense of intimacy and wonder.
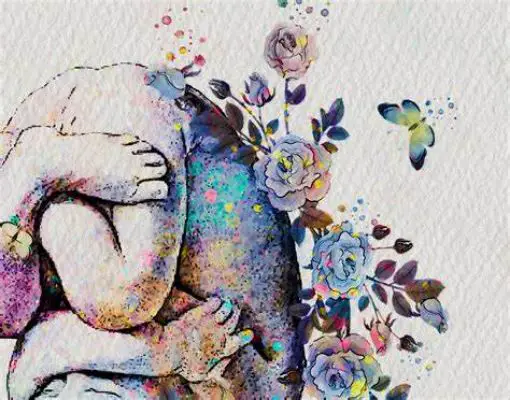
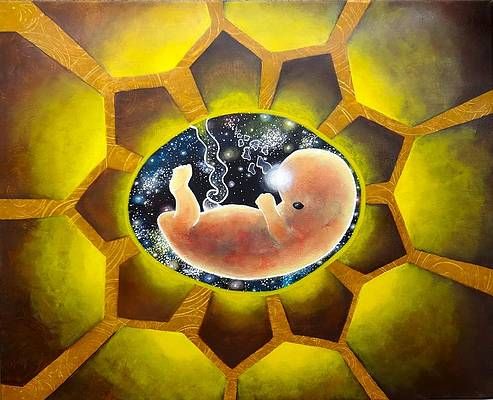
Digital Dreaminess
Employ digital art tools to create a dreamy and surreal depiction of a fetus in the womb, blending vibrant colors and soft textures to convey a sense of magic and enchantment.
Mixed Media Marvel
Combine various artistic mediums, such as acrylic paint, collage, and pastels, to create a dynamic and multidimensional representation of a fetus in the womb, showcasing the complexity and beauty of life.
Minimalistic Elegance
Embrace minimalism using simple lines and forms to depict a fetus in the womb, conveying a sense of purity, clarity, and the essence of new beginnings.
Embroidered Life
Employ embroidery techniques to create a textured and intricate artwork of a fetus in the womb, blending threads and stitches to capture the delicate nature of new life and maternal connection.
Ceramic Sculpture
Sculpt a small ceramic figurine of a fetus in the womb, capturing the curves and contours of the developing baby, symbolizing the preciousness and fragility of life during this stage of pregnancy.
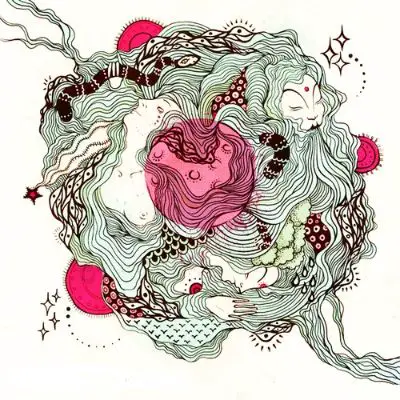
10 Fetus In Womb Painting And Art Ideas
Here are 10 fetuses in womb paintings and art ideas:
Ethereal Watercolor
Create a soft and dreamy watercolor painting of a fetus in the womb, using gentle brushstrokes and translucent layers to evoke a sense of tranquility and the nurturing environment of the womb.
Symbolic Abstraction
Explore the use of abstract shapes, colors, and textures to represent the presence of a fetus in the womb, allowing viewers to interpret and connect with the artwork on a symbolic and emotional level.
Mixed Media Collage
Combine materials like tissue paper, fabric, and textured elements to create a textured and layered collage that portrays the intricate stages of fetal development within the womb.
Monochromatic Charcoal
Create a dramatic and striking charcoal painting of a fetus in the womb, using dark tones and bold contrasts to capture the depth and intensity of pregnancy-related emotions.
Realistic Oil Portrait
Paint a highly detailed and realistic portrait of a fetus in the womb using oil paints, focusing on capturing delicate features and skin tones to convey a lifelike representation.
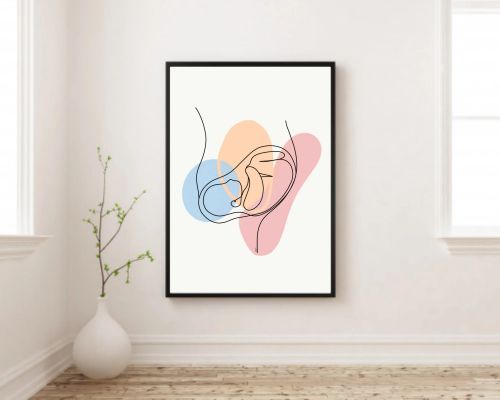
Minimalist Line Drawing
Embrace simplicity by creating a minimalist line drawing of a fetus in the womb, using clean lines and minimal details to convey the essence and beauty of new life.
Soft Pastel Serenity
Use soft pastels to create a serene and gentle depiction of a fetus in the womb, blending subtle colors and tones to evoke a sense of peace and harmony.

Sculptural Clay Art
Sculpt a three-dimensional representation of a fetus in the womb using clay, paying attention to the delicate form and details to capture the unique stages of fetal development.

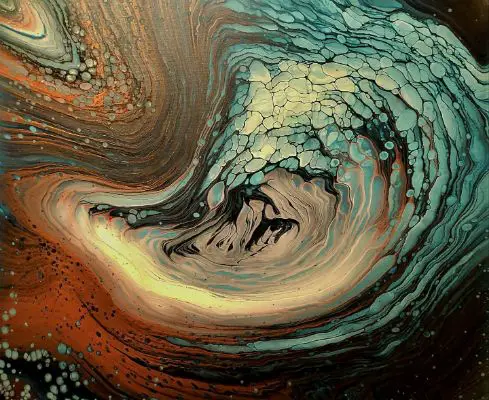
Abstract Acrylic Pour
Experiment with acrylic pouring techniques to create a vibrant and abstract representation of a fetus in the womb, allowing the fluid colors to flow and mix organically to symbolize the energy of life.
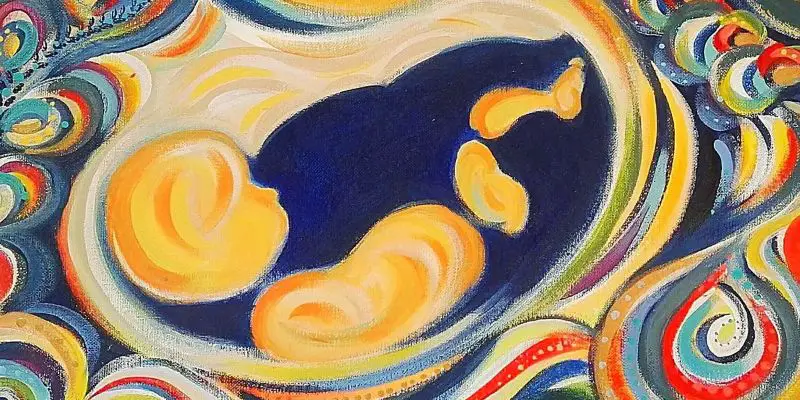
Expressive Mixed Media
Combine different mediums such as acrylic paints, markers, and collage elements to create an expressive and dynamic artwork that portrays the essence and emotions surrounding the fetus in the womb.
How To Make A Cartoon Fetus?
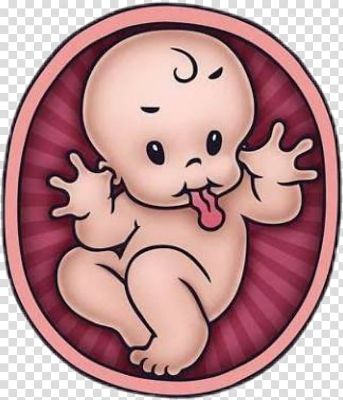
Creating a cartoon fetus can be a fun and creative process.
Here’s a step-by-step guide on how to make a cartoon fetus:
- Start by sketching a large oval shape in your paper’s or digital canvas’s center. This oval will represent the body of the fetus.
- Add a smaller oval shape towards the top of the larger oval. This will serve as the head of the cartoon fetus.
- Draw two large circular eyes within the head oval. Make them expressive and friendly-looking. Add a small curved line for the mouth.
- Extend two short lines from the sides of the body oval to represent the arms of the fetus. You can give the arms a slightly curved shape to make them appear more natural.
- Draw two short lines extending downwards from the bottom of the body oval to create the legs. Add small oval shapes at the end of each leg line to represent the feet.
- Next, add small round hands at the end of each arm. Keep them simple and cute by drawing circles or rounded shapes.
- Refine the shape of the head and body, ensuring that they are proportionate and well-balanced. Make any necessary adjustments to the features and overall shape of the fetus.
- Once satisfied with the basic structure, you can add details to the face, such as eyebrows, eyelashes, or rosy cheeks, to give the cartoon fetus more personality.
- Erase any unnecessary or overlapping lines, and darken the final lines of the drawing.
- Add color to your cartoon fetus using your preferred media, such as colored pencils, markers, or digital coloring tools. Consider using soft, pastel colors to maintain a gentle and whimsical look.
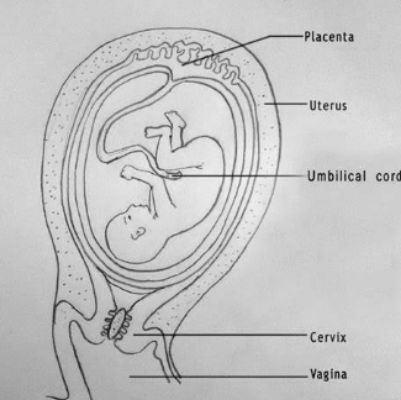
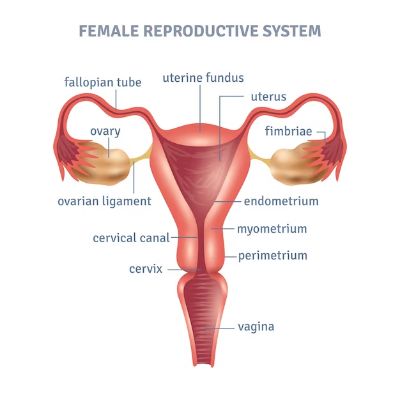
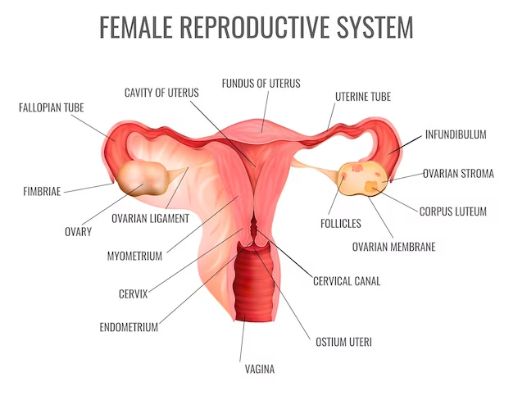
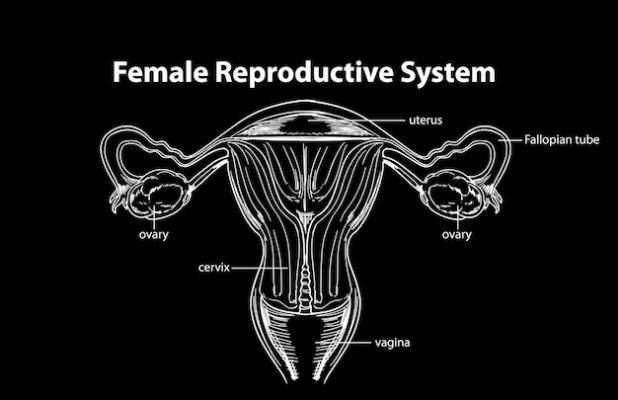
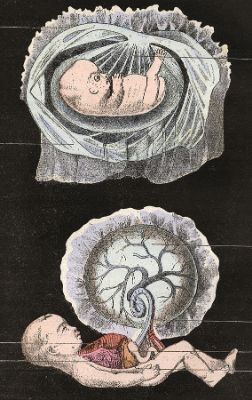
Uterus Drawing – Step-by-Step Guide

Here’s a step-by-step guide to drawing a basic representation of a uterus:
Step 1: Start by drawing a large oval shape in the center of your paper or canvas. This oval will serve as the main body of the uterus.
Step 2: From the top center of the oval, draw two slightly curved lines that extend outward and then curve inward again, creating a shape that resembles an upside-down letter “U.” These lines will represent the fallopian tubes.
Step 3: On the bottom of the oval, draw a smaller oval shape that connects to the main body of the uterus. This will represent the cervix.
Step 4: Draw two curved lines extending downward from the uterus’s bottom to create the vaginal canal. These lines should be parallel and slightly curved.
Step 5: Inside the main body of the uterus, draw a wavy line across the center. This line represents the inner lining of the uterus.
Step 6: Add more detail to the fallopian tubes by drawing small, curved lines extending from the tubes toward the uterus.
Step 7: On the outer edges of the uterus, draw small, curved lines to indicate the muscular layers of the uterus.
Step 8: Erase any unnecessary or overlapping lines and refine the shape of the uterus, ensuring that the proportions and curves are accurate.
Step 9: Once satisfied with the basic structure, add details, such as shading or highlighting, to give the uterus more dimension and depth.
Step 10: You can also add labels or annotations to the different parts of the uterus, such as “cervix,” “fallopian tubes,” or “vaginal canal,” if desired.
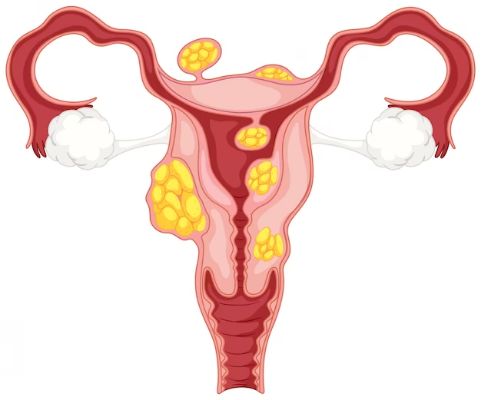
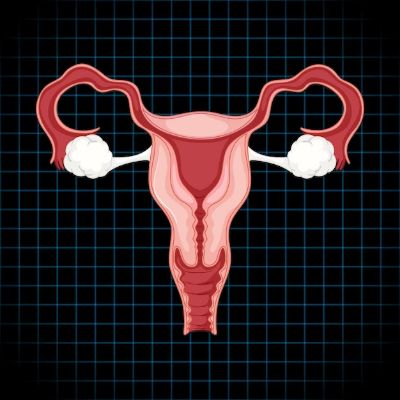
Drawing Images, Stock, And Illustration Of Uterus

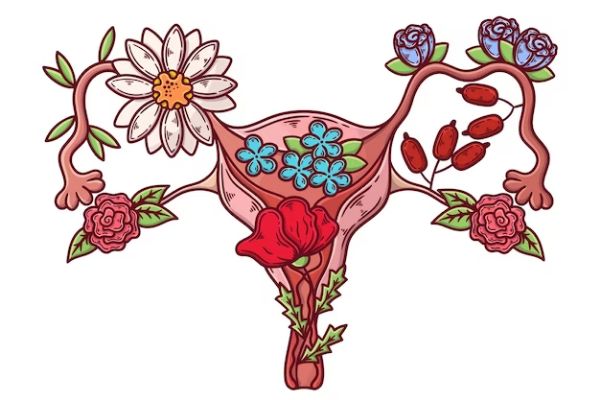


10 Uterus Painting Ideas
Here are uterus painting ideas:
Symbolic Abstraction
Use abstract shapes, colors, and patterns to represent the uterus, exploring symbolic interpretations and evoking emotions related to femininity, fertility, and empowerment.
Watercolor Serenity
Create a soft and tranquil painting of a uterus, using gentle washes and subtle hues to convey a sense of calmness and feminine energy.
Bold and Expressive Acrylics: Use vibrant acrylic paints and bold brushstrokes to create a dynamic and expressive painting of the uterus, emphasizing its strength and resilience.
Mixed Media Collage
Combine different materials like tissue paper, fabric, and textured elements to create a layered and textured collage representing the intricate nature of the uterus.
Realistic Oil Portrait
Paint a highly detailed and realistic portrait of the uterus using oil paints, capturing its unique form and structures with precision and depth.
Colorful Mosaic
Create a vibrant and colorful mosaic of the uterus using small tiles or colored paper, celebrating its beauty and diversity through various hues and textures.
Minimalistic Line Art
Embrace simplicity using clean lines and a minimalistic style to depict the uterus, focusing on its basic form and shape.
Embellished Mixed Media
Combine painting with other artistic elements like beads, sequins, or embroidery to add texture and dimension to the depiction of the uterus, reflecting the intricate and interconnected nature of the female reproductive system
Surreal and Dreamlike

Create a surreal and dreamlike painting of the uterus, incorporating imaginative elements and symbolism to convey deeper meanings and evoke emotions.
Collaborative Art
Engage in a collaborative project with other artists to create a collective representation of the uterus, combining different styles, techniques, and perspectives to celebrate the diversity and unity of the female experience.

Embryo Drawing – Step-By-Step Guide
Here’s a step-by-step guide to drawing an embryo:
Step 1: Draw a small oval near the center of your paper or canvas. This oval will represent the head of the embryo.
Step 2: Draw a slightly larger oval shape extending downward from the bottom of the head oval. This will serve as the body of the embryo.
Step 3: Add small round shapes on each side of the body oval to represent the developing limbs of the embryo. These shapes can be simplified and curved.
Step 4: On the bottom part of the body oval, draw a slightly curved line to indicate the beginning of the tail or lower body of the embryo.
Step 5: Add small rounded shapes at the ends of the limb lines to represent the hands and feet of the embryo. Keep them simple and proportional to the size of the body.
Step 6: Draw two small circles to represent the eyes inside the head oval. Add a small curved line or dot for the mouth.
Step 7: Refine the shape of the head, body, and limbs, ensuring proportionate and well-balanced. Make any necessary adjustments to the features and overall shape of the embryo.
Step 8: Erase any unnecessary or overlapping lines and darken the final lines of the drawing.
Step 9: You can add details to enhance the drawing, such as small curved lines or shading to suggest the folds or contours of the developing embryo.
Step 10: If desired, add color to your drawing using your preferred media, such as colored pencils, markers, or digital coloring tools. Consider using soft, muted colors to maintain a gentle and delicate look.
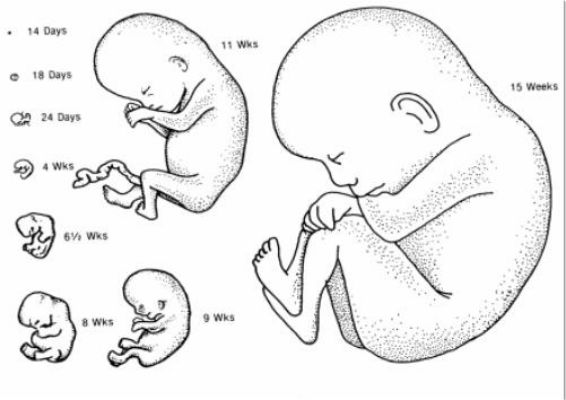
Fetal Position Drawing – Step-By-Step Guide
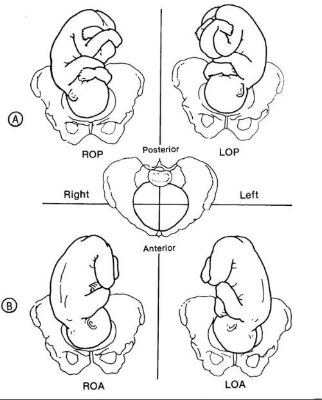
Here’s a step-by-step guide to drawing a fetal position:
Step 1: Start by drawing a small oval near the center of your paper or canvas. This oval will represent the head of the fetus.
Step 2: Draw a larger oval shape extending downward from the bottom of the head oval. This will serve as the body of the fetus.
Step 3: Add curved lines on each side of the body oval to represent the developing arms of the fetus. These lines should bend at the elbow and taper towards the hands.
Step 4: Draw two small ovals at the end of each arm line to indicate the hands. Keep them simple and proportional to the size of the body.
Step 5: On the bottom part of the body oval, draw a curved line to indicate the bending of the knees.
Step 6: Add two curved lines extending from the knee line to represent the lower legs. These lines should taper towards the feet.
Step 7: Draw small ovals at the end of each leg line to indicate the feet. They can be simplified and positioned accordingly.
Step 8: Refine the shape of the head, body, limbs, and joints, ensuring proportionate and well-balanced. Make any necessary adjustments to the features and overall pose of the fetal position.
Step 9: Erase any unnecessary or overlapping lines and darken the final lines of the drawing.
Step 10: You can add details and shading to enhance the drawing, such as indicating the curvature of the spine or adding gentle contours to the body to give it a more three-dimensional look.
Conclusion
Exploring the realm of womb art offers a unique fusion of artistic expression and the beauty of the female reproductive system. From pregnancy belly painting to womb sculptures, each form of art celebrates the journey of motherhood and the profound connection between a woman and her unborn child. Through creative mediums, womb art captures the essence of maternal beauty, transforms emotions into tangible creations, and preserves the precious moments of pregnancy. It is a testament to the power and wonder of life within the womb, inviting us to appreciate childbirth’s transformative and awe-inspiring nature.