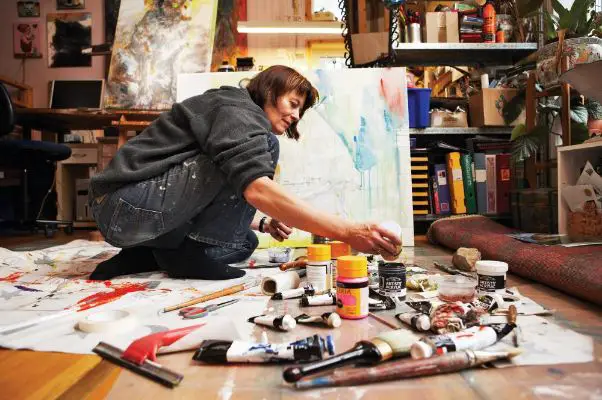
Welcome to the exciting world of shaving cream art! Whether you’re a seasoned artist or looking for a fun and creative activity, shaving cream art offers a unique and messy adventure for all ages. This DIY craft uses shaving cream as a canvas to create beautiful and vibrant designs. The process is visually stunning and provides numerous benefits, such as enhancing creativity, reducing stress, and fostering a sense of relaxation. In this blog post, we’ll guide you through the basics of getting started, explore various techniques and ideas, offer tips and tricks for success, and even discuss how shaving cream art can be adapted for different occasions. So, grab your shaving cream, and let’s dive into the wonderful world of shaving cream art!
Before you use shaving cream as a playful item for your kids, it is necessary to read its ingredients and whether it contains any harmful chemicals for kids.
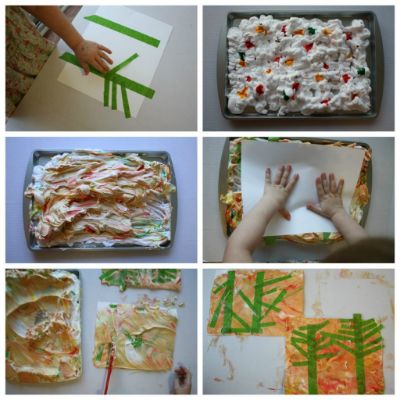
Getting Started with Shaving Cream Art
Materials Needed
To embark on your shaving cream art journey, you’ll need a few basic materials:
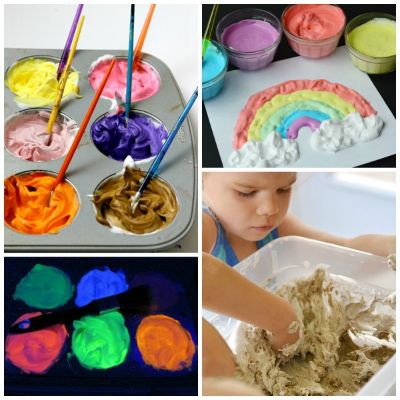
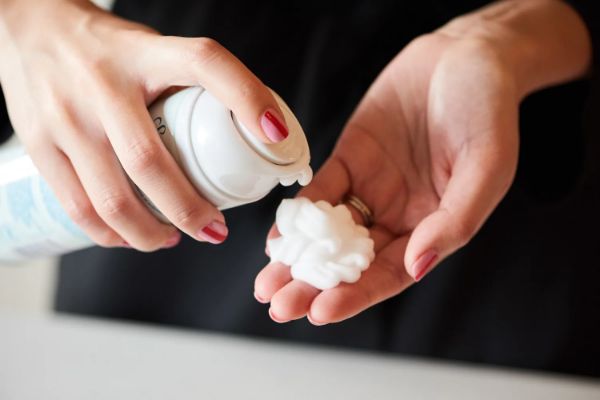
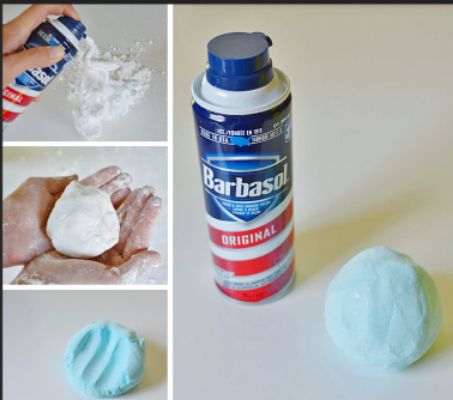
1. Shaving cream: Opt for a non-gel, white foam shaving cream as it provides the best consistency for this art form.
2. A tray or shallow container: This will serve as your workspace for creating your designs.
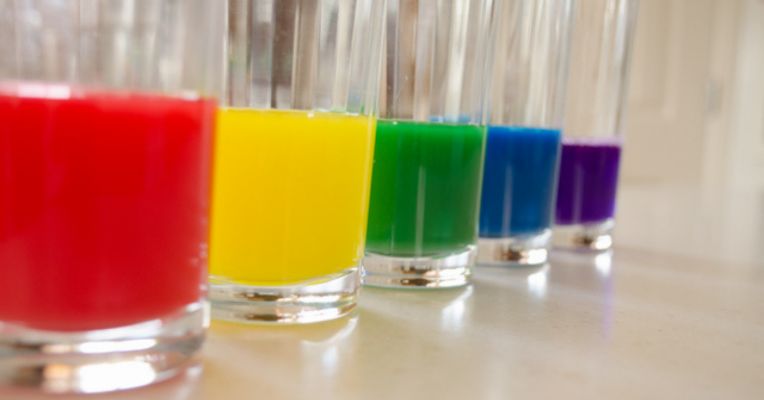
3. Liquid food coloring or liquid watercolors: Add vibrant colors to your shaving cream canvas.
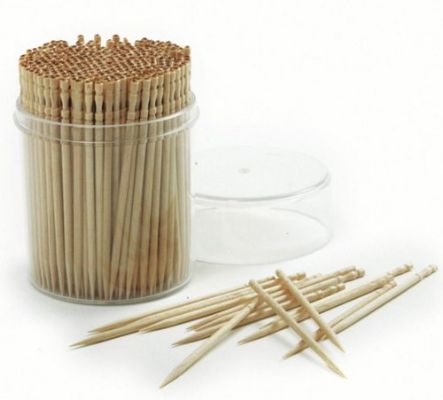
4. A toothpick or skewer: This will be used to swirl and create patterns in the shaving cream.
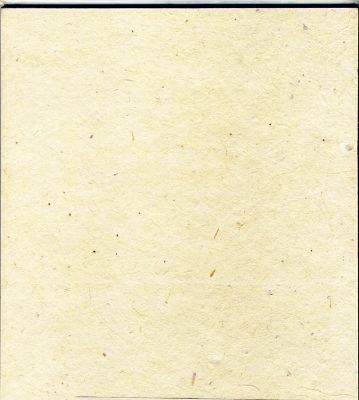
5. Cardstock or heavy paper: This will be the medium onto which you’ll transfer your design.
Setting up a workspace
Select a clean, flat surface for your shaving cream art. Consider using a table or a protected area to avoid any potential mess. Place a disposable tablecloth or newspaper to remove excess shaving cream and protect your work surface.
Preparing the shaving cream
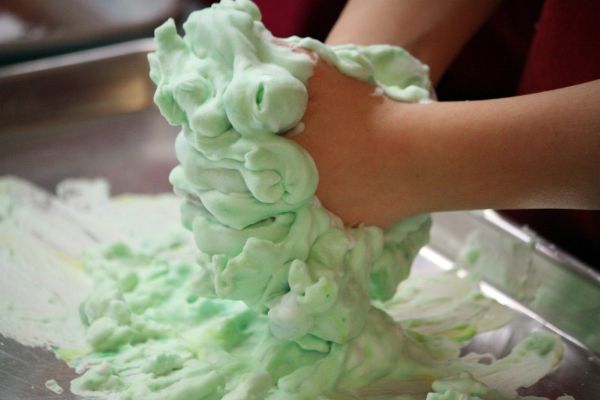
Squirt a generous amount onto the tray or shallow container. Use a spatula or your hands to spread evenly, creating a smooth surface. Ensure that the layer of shaving cream is thick enough to hold the colors and patterns.
Now that you have your materials and workspace prepared, you’re all set to dive into the exciting world of shaving cream art!
Techniques for Shaving Cream Art
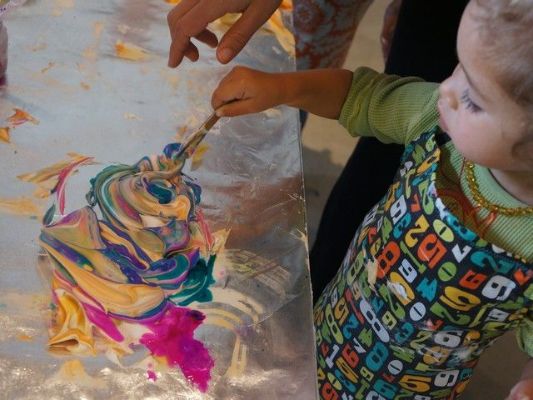
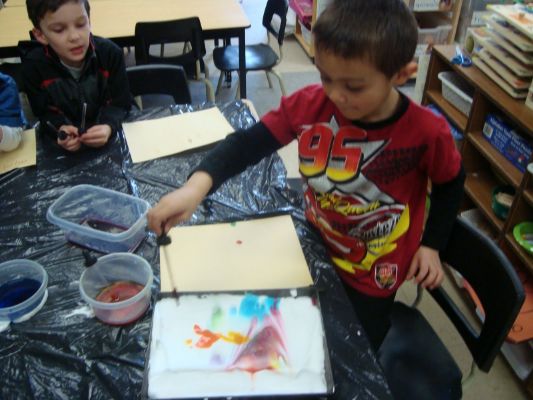
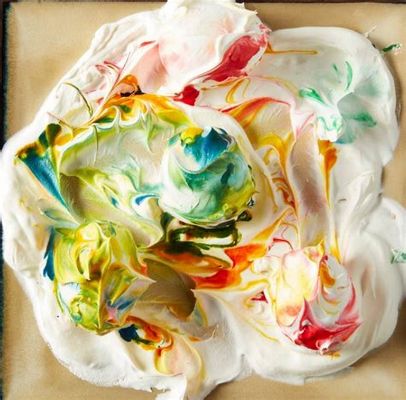
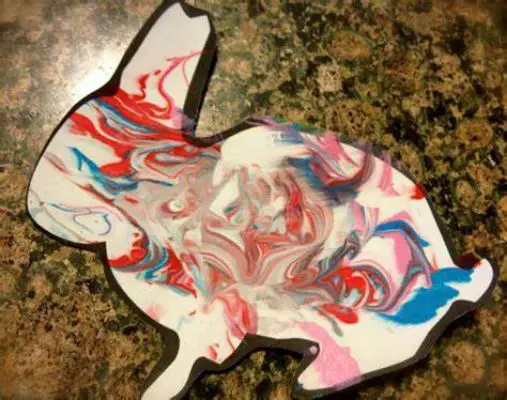
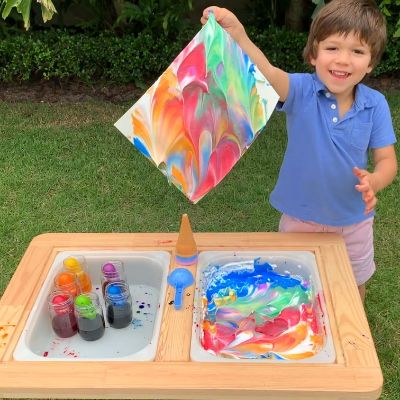
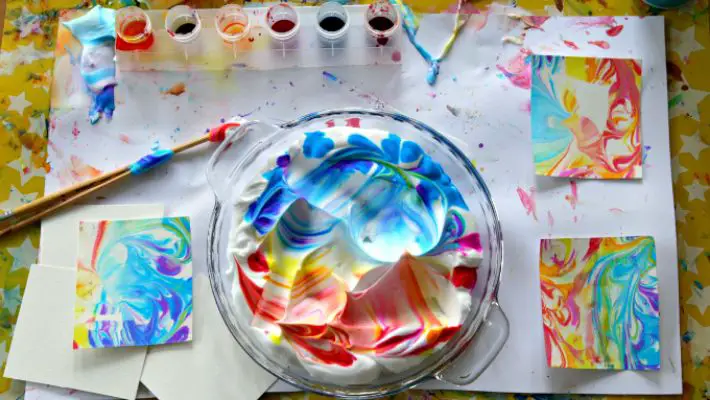
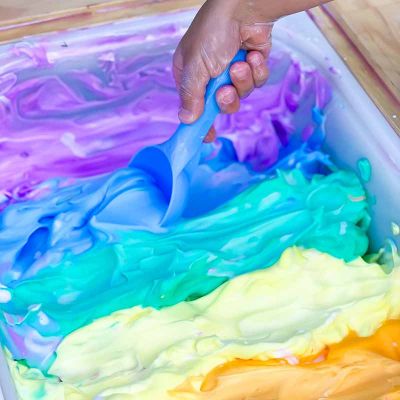
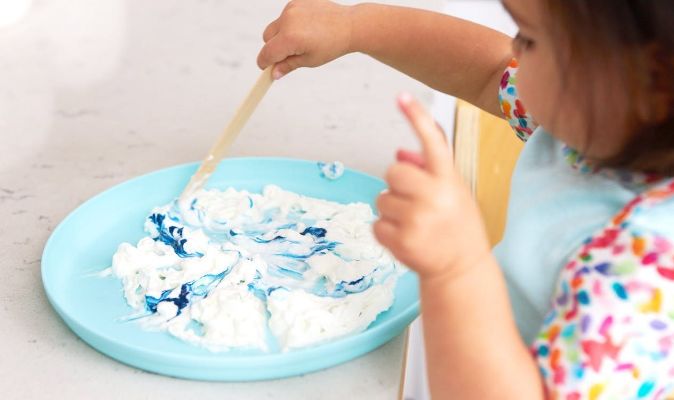
Marbling Effect
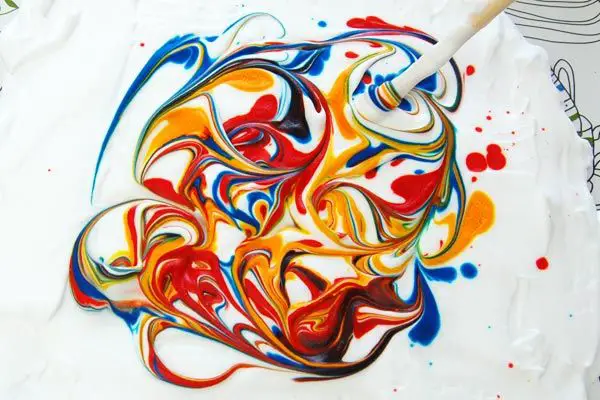
- Swirling Colors: Create mesmerizing patterns by gently swirling different colored shaving cream.
- Dragging Technique: Using a toothpick or skewer to drag through the colors creates elegant and unique marble-like designs.
- Combining Colors: Experiment with color combinations to achieve dynamic and visually striking marbled effects.
Stencil Designs
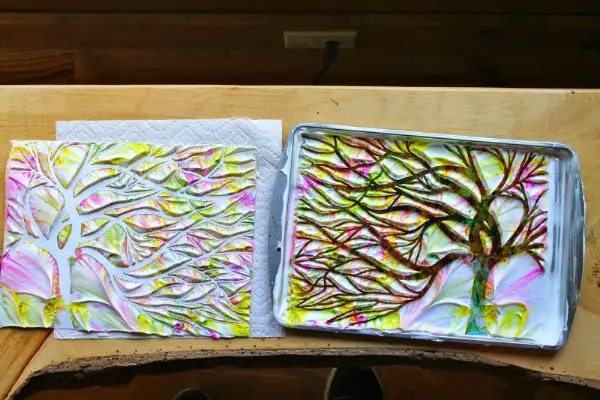
- Crisp Shapes: Place a stencil on the shaving cream and gently press it down to create well-defined shapes.
- Personalized Stencils: Make your stencils using cardstock or acetate, allowing for custom designs and endless possibilities.
- Layering Stencils: Add depth and complexity to your artwork by layering multiple stencils, creating intricate compositions.
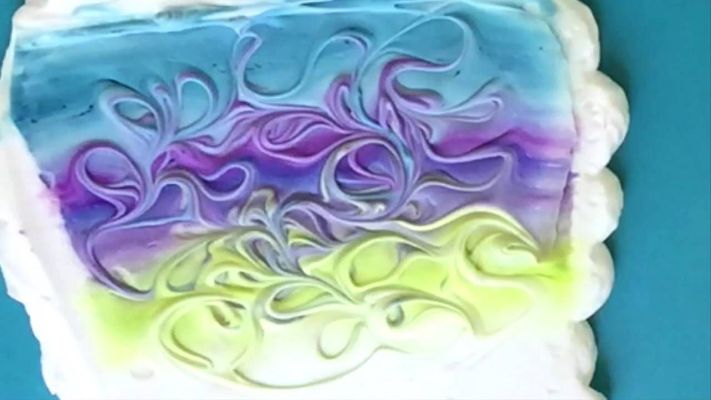
Swirling Patterns
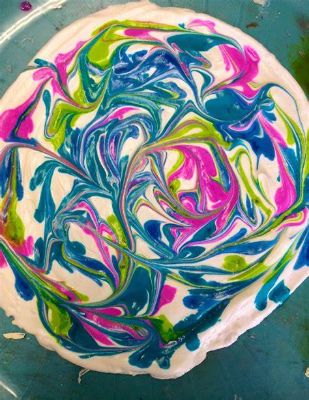
- Whisking Motion: Use a toothpick or skewer to create dynamic swirls by gently whisking the colors in a circular motion.
- Combining Tools: Experiment with tools like combs or brushes to achieve unique and textured swirling patterns.
- Overlapping Swirls: Layer multiple swirls on each other for a stunning and multi-dimensional effect.
Ideas for Shaving Cream Art
These engaging shaving cream art ideas for kids will provide hours of creative fun and promote sensory exploration, learning, and imaginative play.
10 Shaving Cream Art for Kids ideas
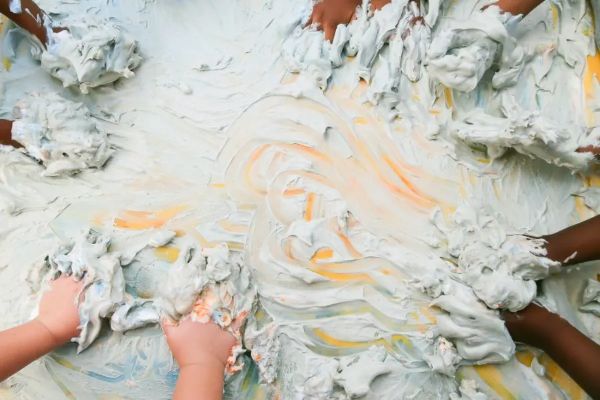
Sensory Exploration
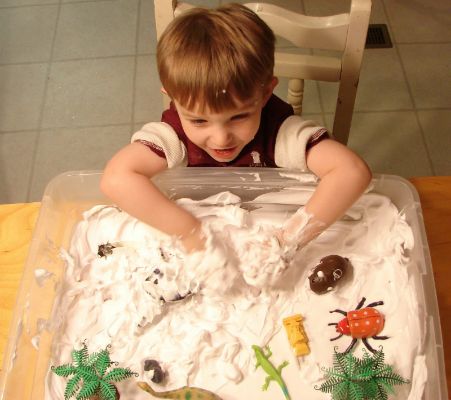
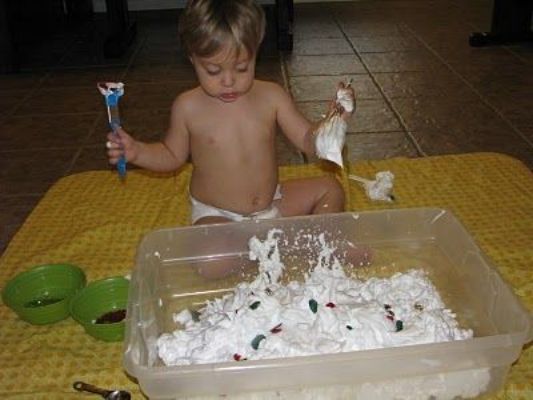
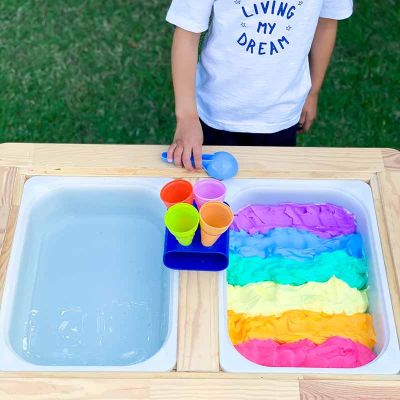
- Shaving Cream Sensory Bin: Fill a large container with shaving cream and let kids explore its texture and sensory properties with their hands.
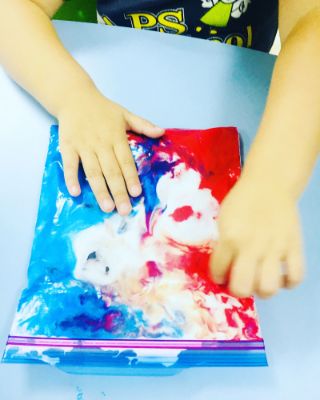
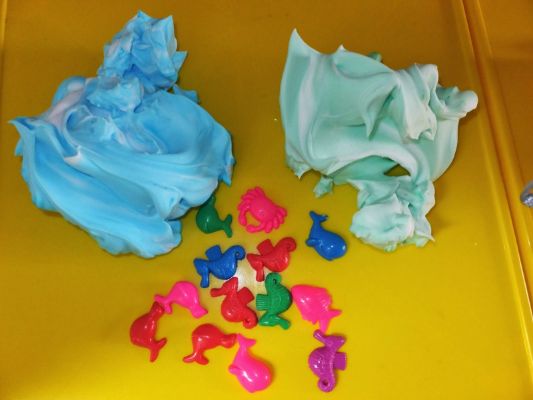
2. Shaving Cream Sensory Bag: Place shaving cream in a resealable bag, add small toys or objects, and let kids squish and play with the sensory bag.
Colorful Creations
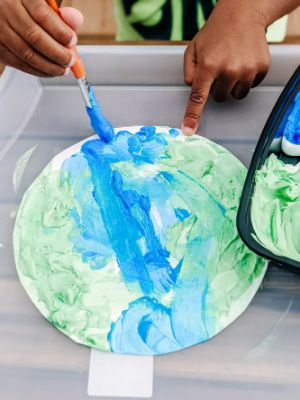
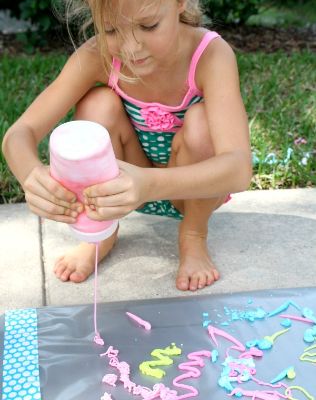
- Rainbow Swirls: Use different colors of shaving cream to create vibrant rainbow swirl designs on paper.
2. Shaving Cream Ice Cream Cones: Have kids create their own “ice cream” by shaping shaving cream into scoops and adding colorful toppings using liquid watercolors or food coloring.

Sensory Art Projects
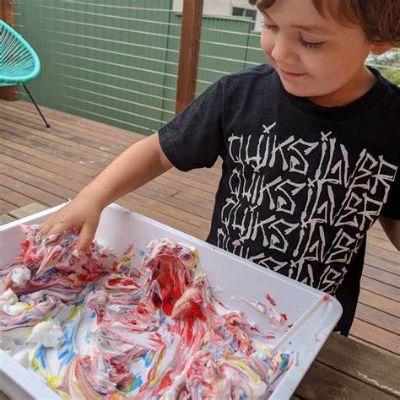
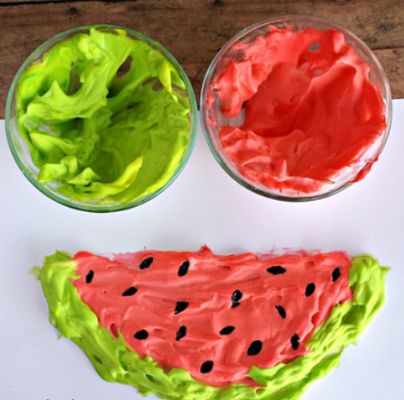
- Shaving Cream Foam Paint: Mix shaving cream with liquid watercolors to create puffy foam paint for kids to use in their artwork.
2. Shaving Cream Texture Collage: Provide various textured materials like fabric scraps, feathers, and buttons, and let kids press them into shaving cream to create textured collages.
Playful Learning
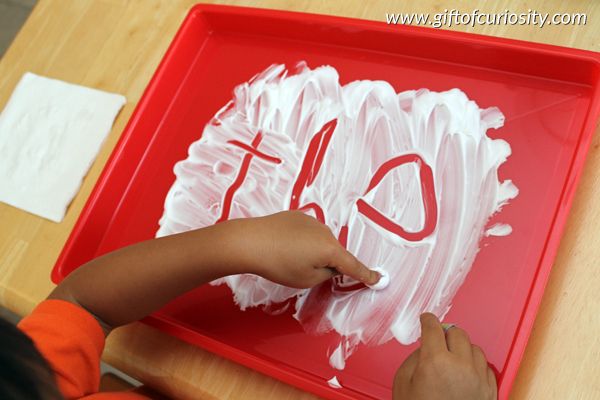
Shaving Cream Letter Tracing: Write letters or words on a tray covered with shaving cream, and have kids trace them with their fingers, reinforcing letter recognition and handwriting skills.
Shaving Cream Math Activities: Use shaving cream to practice counting, create shapes, or draw simple math problems for kids to solve.

Outdoor Shaving Cream Fun
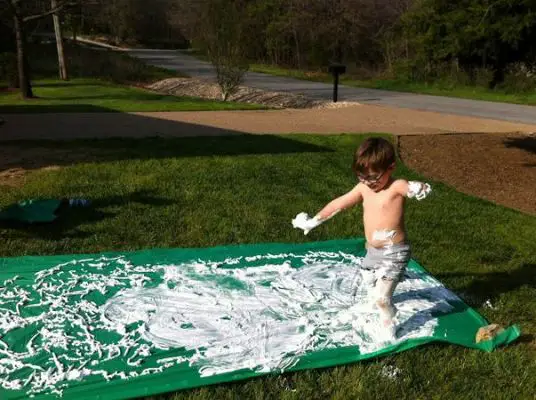
Shaving Cream Slip ‘n Slide: Spray shaving cream on a plastic tarp or slide, add water, and let kids slip and slide through the foamy fun.
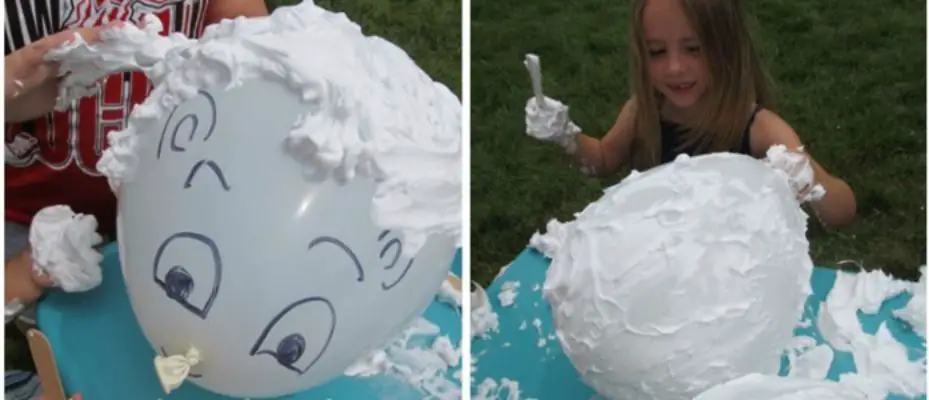
Shaving Cream Sensory Balloons: Fill with shaving cream, tie them off, and let kids squish and play with the sensory-filled balloons in the backyard.
10 Shaving Cream Art Ideas as a Therapeutic Activity
Mindful Expression
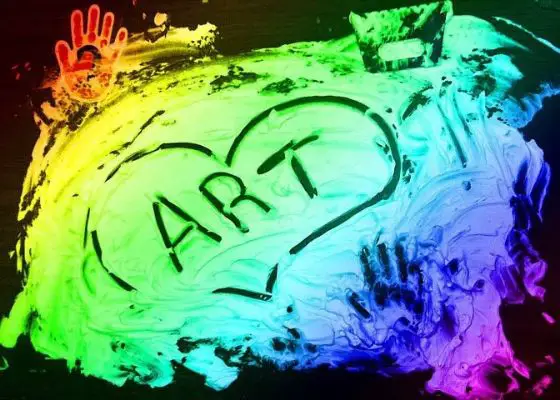
- Abstract Mindfulness Art: Use shaving cream as a medium for creating abstract art, allowing the process to be a mindful and meditative experience.
- Guided Meditation Art: Combine shaving cream art with guided meditation, focusing on the sensations and emotions evoked during the creative process.
Emotional Release
- Emotion Swirls: Encourage individuals to express their emotions by swirling different shaving cream colors together, visually representing their feelings.
- Emotional Landscape: Use shaving cream to create a landscape that reflects one’s current emotional state, allowing for reflection and release.
Relaxation Techniques
- Calming Patterns: Guide individuals to create soothing and repetitive patterns in the shaving cream, promoting relaxation and reducing anxiety.
- Breathing Exercises: Combine deep breathing exercises with shaving cream art, using each stroke or swirl as an opportunity to inhale and exhale mindfully.
Sensory Therapy
- Tactile Stimulation: Engage in the tactile experience of shaving cream art, using texture and sensory properties to promote sensory integration and relaxation.
- Sensory Exploration: Add essential oils or scents to the shaving cream to enhance the sensory experience and stimulate relaxation responses.
Self-Reflection
- Personal Symbolism: Encourage individuals to create artwork with shaving cream that represents personal symbols or metaphors related to their journey or emotions.
- Visual Journaling: Use shaving cream art as a form of visual journaling, allowing individuals to express their thoughts, feelings, and experiences nonverbally.
Tips and Tricks for Successful Shaving Cream Art
Choosing the Right Shaving Cream
- Opt for a non-gel, white foam shaving cream as it provides the best consistency and texture for shaving cream art.
- Avoid menthol or scented shaving creams, as they may interfere with the colors or scents you want to incorporate into your artwork.
Exploring Alternative Mediums and Materials
- Experiment with using different types of paper or cardstock to see how they interact with the shaving cream and colors.
- Consider incorporating other materials like glitter, sequins, or textured items to add visual interest to your artwork.
Preparation and Cleanup
- Protect your work surface by placing a disposable tablecloth or newspaper underneath the shaving cream.
- Use wet wipes or damp cloths for easy cleanup, as shaving cream can be messy.
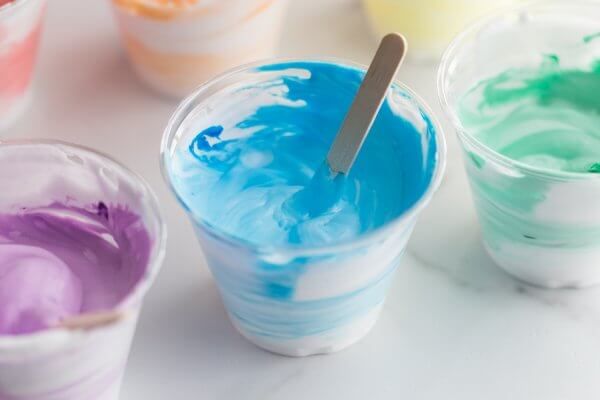
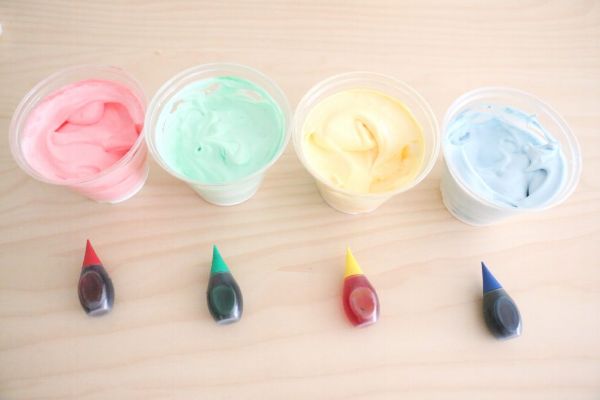
Color Mixing and Application
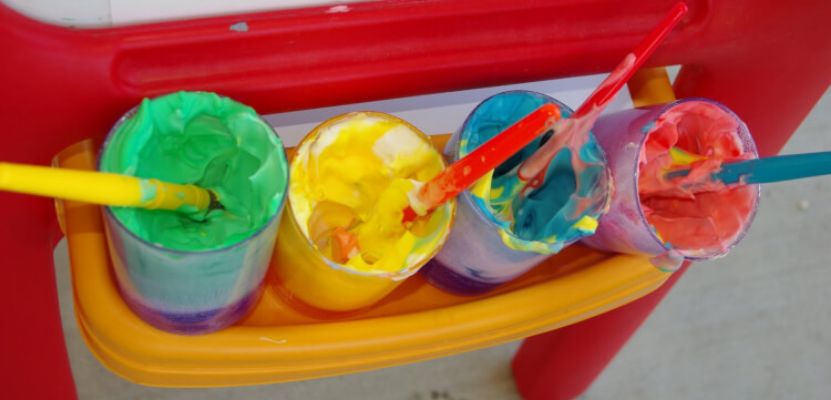
- Use liquid food coloring or watercolors to achieve vibrant colors in your shaving cream art.
- Start with a few drops of color and gradually add more as needed, experimenting with different color combinations.
- Apply the colors to the shaving cream in various ways, such as drops, lines, or swirls, to create unique patterns and effects.
Swirling and Creating Patterns
- Utilize toothpicks, skewers, or other thin tools to swirl and create patterns in the shaving cream.
- Practice different techniques, such as dragging, swirling, or combing, to achieve the desired effects.
- Refrain from overworking the shaving cream; a few gentle swirls or strokes are often sufficient to create visually appealing patterns.
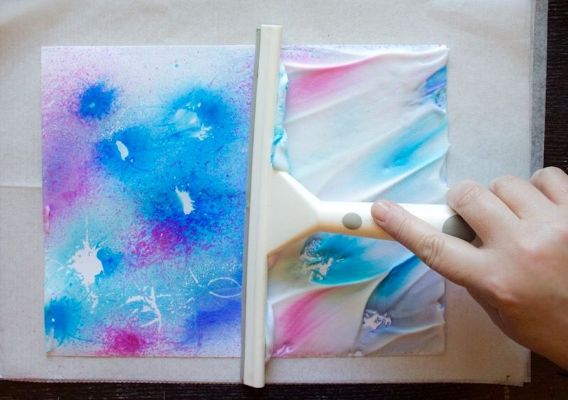
Removing Excess Shaving Cream
- After creating your desired patterns and designs, gently scrape off the excess shaving cream using a spatula or the edge of a card.
- Be careful not to press too hard or smudge the artwork while removing the excess shaving cream.
Preserving and Protecting Your Artwork
- Allow your artwork to dry completely before handling or displaying it.
- Consider using a fixative spray or clear sealant to protect the artwork from smudging or fading.
Troubleshooting
- If the colors appear muted or dull, try adding more color or experimenting with different brands or coloring agents.
- If the shaving cream becomes too watery, add more to thicken it.
- If the colors mix too much and become muddy, use less color or separate sections of shaving cream for different colors.
10 Shaving Cream Craft Ideas
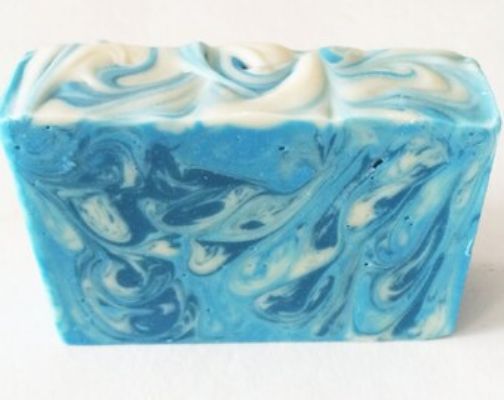
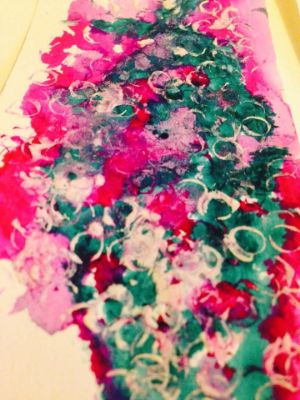
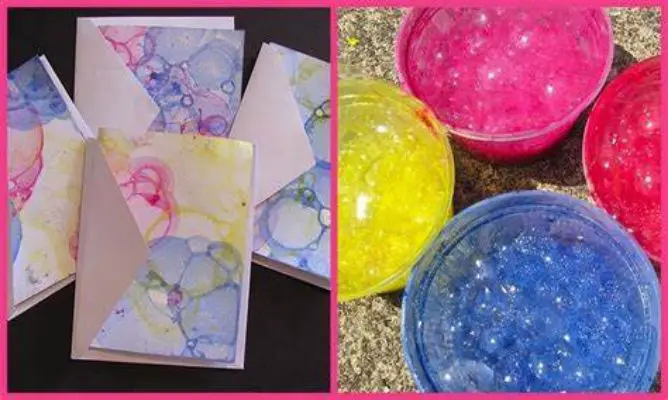
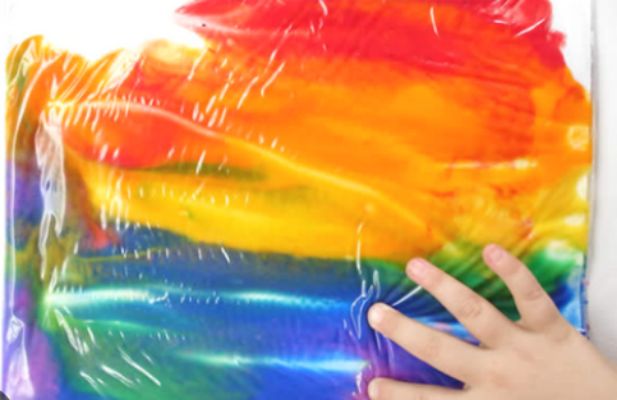
Shaving Cream Marbled Paper
Create stunning marbled patterns on paper using shaving cream and liquid watercolors.
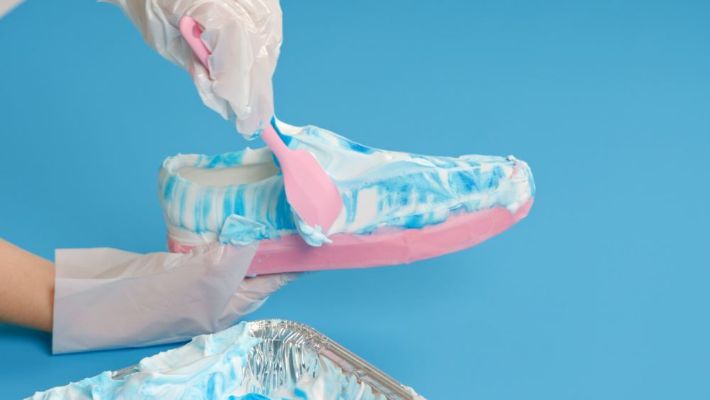
Shaving Cream Foam Dough
Make a sensory foam dough combining shaving cream and cornstarch for a moldable and fluffy texture.
Shaving Cream Sensory Bottles
Fill clear bottles with layers of colored shaving cream for a mesmerizing and tactile sensory experience.
Shaving Cream Scented Playdough
Add scented oils to a homemade playdough recipe incorporating shaving cream for a smooth, aromatic sensory play experience.
Shaving Cream Bathtub Paint
Mix shaving cream with food coloring or washable paint to create fun and washable paint for bathtub or shower play.
Shaving Cream Cloud Dough
Combine shaving cream and flour to create a cloud-like dough that can be molded and shaped.

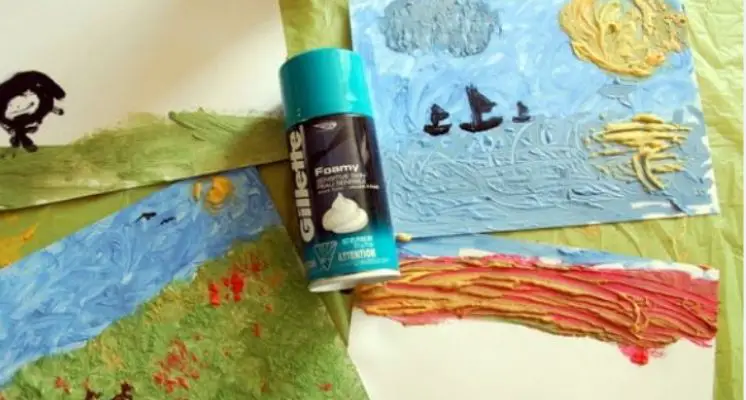
Shaving Cream Resist Art
Use a mixture of shaving cream and glue to create a resist effect on paper, allowing watercolors or ink to create beautiful designs.
Shaving Cream Texture Collage
- Apply shaving cream to a sturdy surface.
- Press various textured materials onto it.
- Transfer the textured collage onto paper.
Shaving Cream Tie-Dye
Use shaving cream as a base for a tie-dye project by adding drops of different colored fabric dyes and swirling them together.
Shaving Cream Foam Stamps
Mix shaving cream with a small amount of paint to create foam stamps, which can be used to make prints on paper or fabric.

10 Shaving Cream Art Projects For Kids
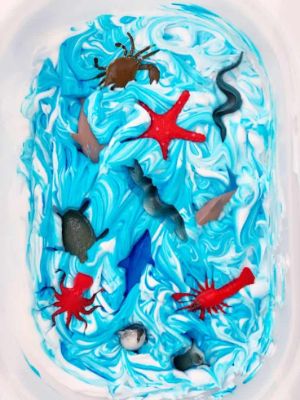
Shaving Cream Sensory Bin
Create a sensory bin filled with shaving cream and small toys for a hands-on and tactile experience.
Shaving Cream Bubble Prints
Make colorful bubble prints by adding liquid watercolors to a tray of shaving cream and blowing bubbles onto paper.
Shaving Cream Puffy Paint
Mix shaving cream with equal parts of glue and food coloring to create puffy paint that can be used to make textured artwork.
Shaving Cream Color Mixing
Allow kids to explore color mixing by adding drops of different liquid watercolors or food coloring to shaving cream and blending them.
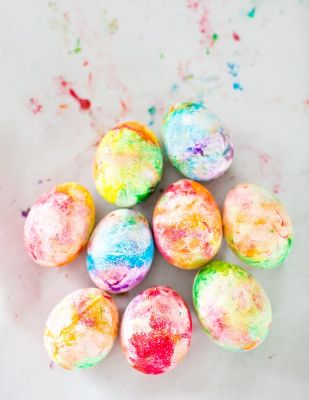
Shaving Cream Sensory Eggs
Fill plastic eggs with shaving cream and hide small objects inside for a sensory-filled egg hunt.
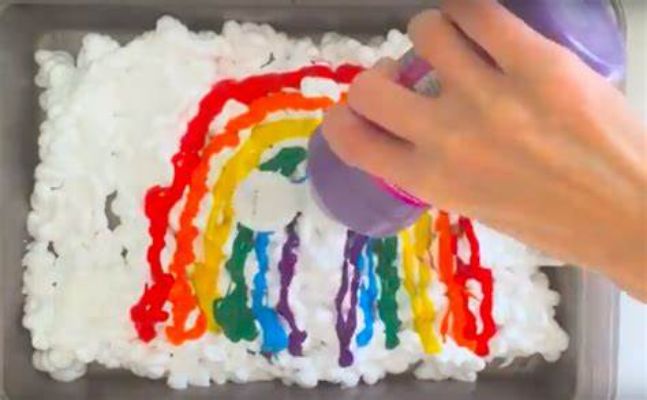
Shaving Cream Rainbow Art
Create a vibrant rainbow design by layering different colors of shaving cream onto a piece of paper or cardboard.

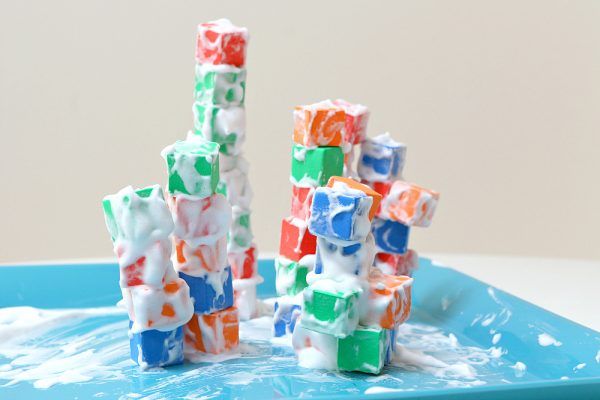
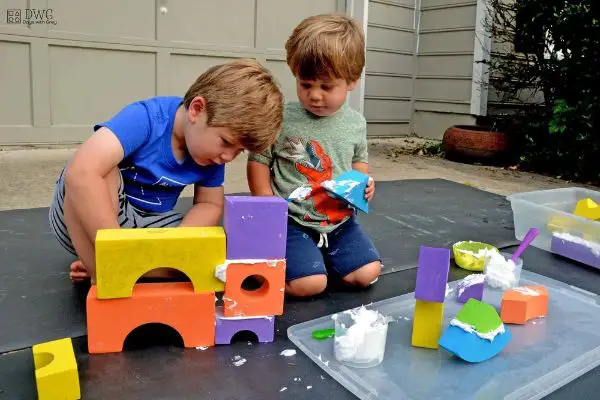
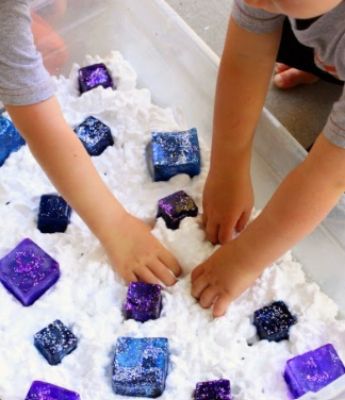
Shaving Cream Sensory Foam Blocks
Cover foam blocks with shaving cream for a tactile building and sensory play experience.
Shaving Cream Stamping
Dip objects like cookie cutters, sponges, or stamps into shaving cream mixed with paint and stamp them onto paper for unique prints.

Shaving Cream Sensory Shapes
Use cookie cutters or molds to shape shaving cream into various sensory shapes that can be explored and manipulated.
Shaving Cream Mosaic Art
Apply different colors of shaving cream onto a surface, and then use a popsicle stick or toothpick to create mosaic-like patterns and designs.
10 Shaving Cream Projects Other Than Art Ideas
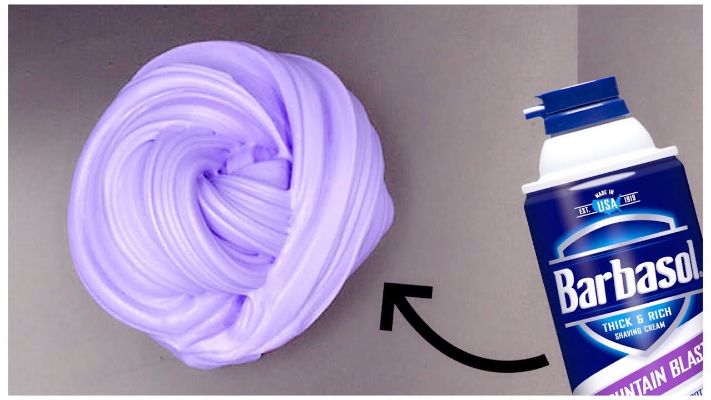
Shaving Cream Slime
Mix shaving cream with glue, liquid starch, and food coloring to make a stretchy and colorful slime.
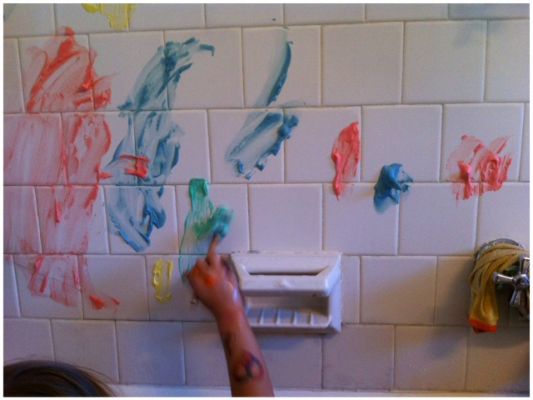
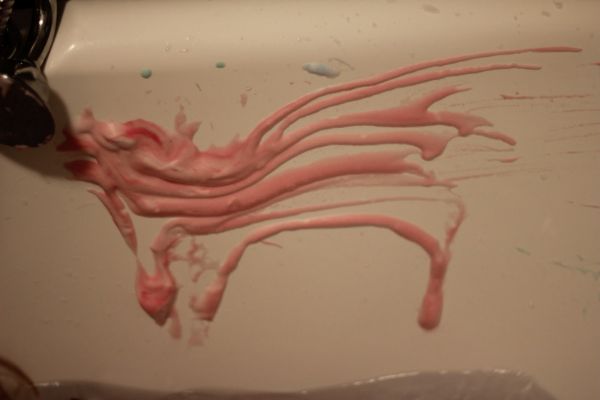
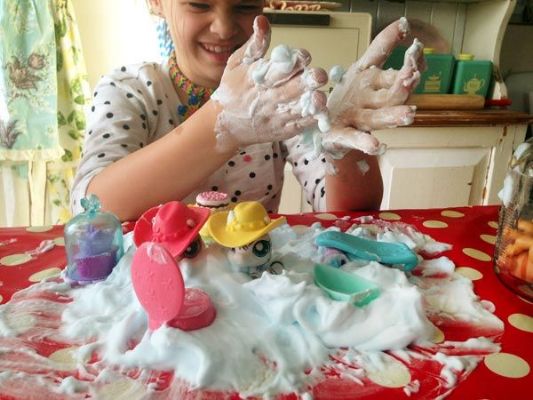
Shaving Cream Bath Paint
Add food coloring to shaving cream and let kids paint on the bathtub walls during bath time.
Shaving Cream Sensory Bag
Fill a resealable bag with shaving cream, add small toys or objects, and let kids squish and explore the sensory bag.
Shaving Cream Sensory Writing Tray
Spread shaving cream on a tray or cookie sheet and let kids practice writing, drawing, or practicing letters and numbers with their fingers.
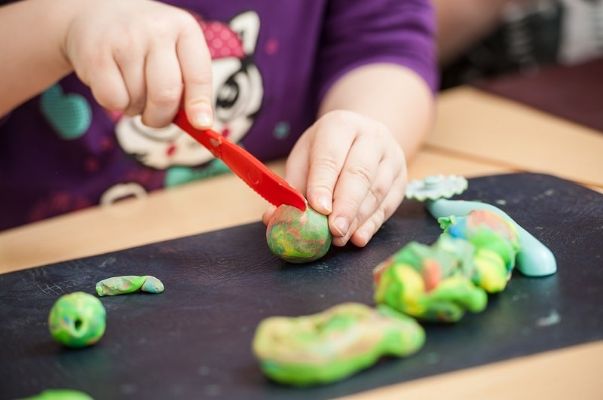
Shaving Cream Shape Shaving
Practice fine motor skills by using shaving cream and a plastic knife to “shave” foam shapes or letters.
Shaving Cream Sensory Shaving
Let kids experience the sensory aspect of shaving cream by applying it to their legs or arms and “shaving” it off with a plastic or toy razor.
Shaving Cream Sensory Clean-Up
Shaving cream is a sensory tool for cleaning toys or surfaces, allowing kids to engage in tactile cleaning.
Shaving Cream Sensory Ice
Freeze shaving cream in ice cube trays, and let kids play with the sensory-filled ice cubes on a warm day.
Shaving Cream Sensory Play Mat
Spread shaving cream on a large plastic mat or tablecloth and let kids explore the sensory texture with their hands, toys, or vehicles.
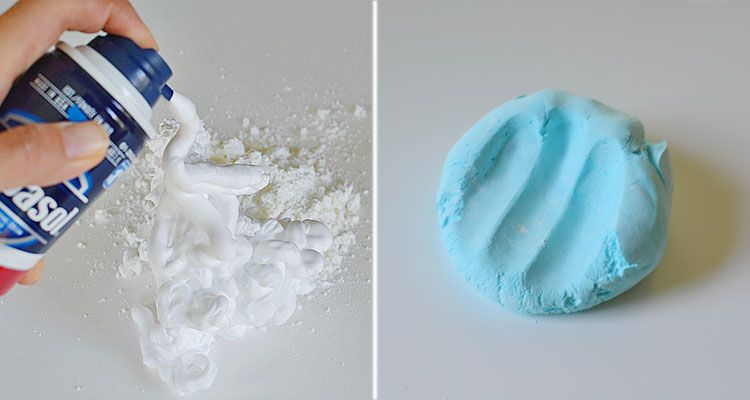
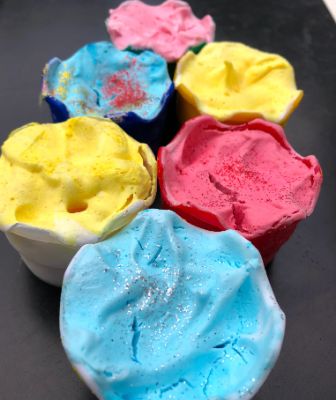
Shaving Cream Playdough – Step-By-Step Guide
Materials
- 1 cup all-purpose flour
- 1/2 cup salt
- 2 tablespoons cream of tartar
- 1 tablespoon vegetable oil
- 1 cup boiling water
- Shaving cream
- Food coloring (optional)
Instructions
Step 1: In a mixing bowl, combine the flour, salt, and cream of tartar. Mix them until well combined.
Step 2: Add the vegetable oil to the dry mixture and stir until the oil is evenly distributed.
Step 3: Gradually pour the boiling water into the mixture, stirring continuously. The mixture will start to come together and form a dough.
Step 4: Once the dough has cooled down slightly, transfer it onto a clean surface and knead it until it becomes smooth and pliable.
Step 5: Add shaving cream to the dough, starting with a small amount, and knead it into the mixture. Continue adding shaving cream until the desired texture is achieved. The shaving cream will make the playdough fluffy and soft.
Step 6: If desired, add a few drops of food coloring to the playdough and continue kneading until the color is evenly distributed. You can use different colors to create a variety of playdough options.
Step 7: Store the shaving cream playdough in an airtight container or ziplock bag to keep it fresh and prevent it from drying out.
Your homemade shaving cream playdough is ready for hours of sensory play! Children can mold it, shape it, and let their imagination run wild with this soft and fluffy playdough.
10 Shaving Cream Playdough Craft Ideas
Shaving Cream Playdough Sculptures
Use shaving cream playdough to sculpt and create 3D sculptures or figurines.
Shaving Cream Playdough Prints
Flatten the playdough and press objects or textured materials to create interesting imprints and designs.

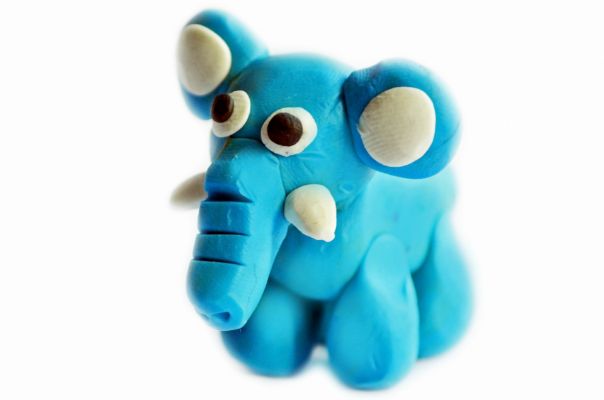
Shaving Cream Playdough Animals
Mold the playdough into animal shapes and add details using additional playdough or small craft materials.
Shaving Cream Playdough Sensory Bins
Create a sensory bin filled with shaving cream playdough and small toys or objects for imaginative play and exploration.
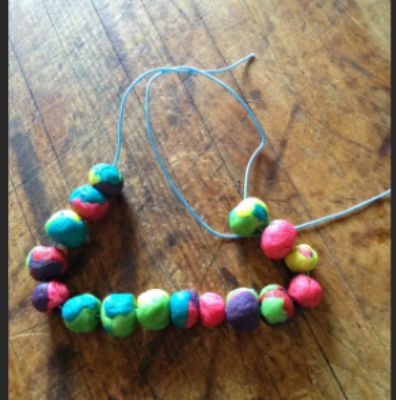
Shaving Cream Playdough Jewelry
Roll the playdough into beads or shapes to make unique jewelry, such as necklaces or bracelets.
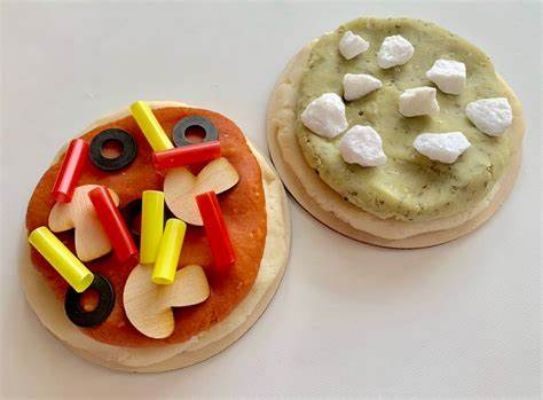
Shaving Cream Playdough Pizzas
Flatten the playdough and let kids create their pizza masterpieces by adding shaving cream toppings and other craft materials.
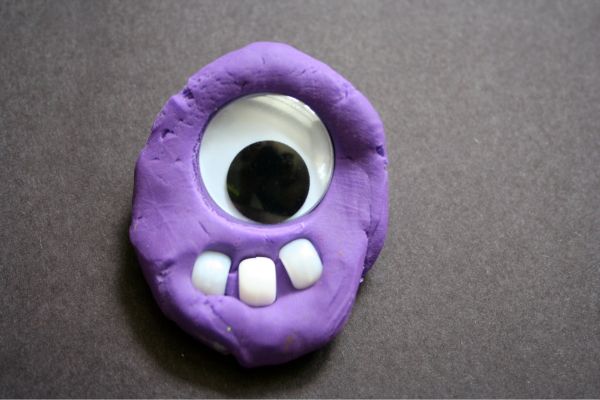
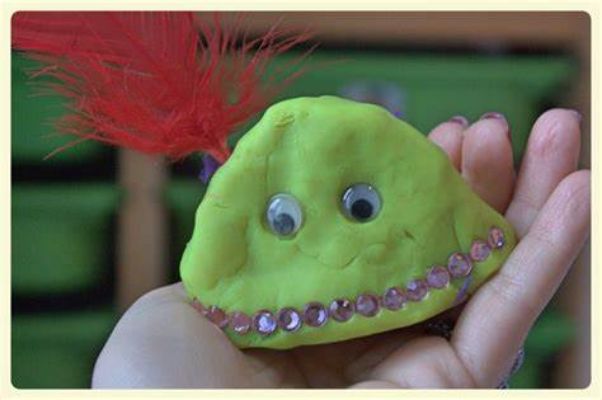
Shaving Cream Playdough Monsters
Shape the playdough into monster characters and decorate them using shaving cream, googly eyes, and other craft supplies.
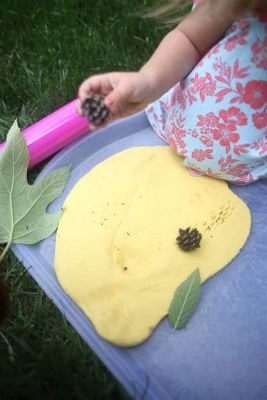
Shaving Cream Playdough Nature Impressions
Take the playdough outdoors and press leaves, flowers, or other natural objects into it to create nature-inspired impressions.
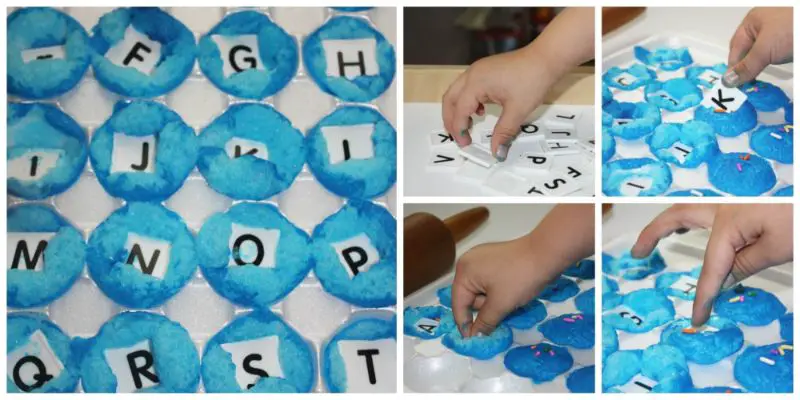
Shaving Cream Playdough Alphabet Letters
Roll the playdough into letter shapes and help kids practice letter recognition and spelling while having fun.
Shaving Cream Playdough Sensory Seek and Find
Hide small objects or beads inside the playdough and let children dig and search for them, engaging their sense of touch and discovery.
Conclusion
Shaving cream art and playdough activities provide endless possibilities for creativity, sensory exploration, and imaginative play. Whether creating beautiful artwork, engaging in therapeutic experiences, or enjoying hands-on crafts, shaving cream offers a versatile medium that captivates kids and adults alike. So grab some shaving cream, let your creativity flow, and explore the wonderful world of shaving cream art and play dough!