Paper mache is a craft that’s easy to learn and fun to do. It involves using newspaper, glue, water, and flour or cornstarch. It’s a great way to recycle newspapers and other paper products.
Paper Mache is simple to make, and you can use it for various things. You can make masks, sculptures, decorations, and anything else imaginable! Whether you’re looking for a fun and easy craft project with kids or an experienced artist looking to create a masterpiece, paper mache is a great option. In this blog post, we’ll show you how to make paper mache, provide tips and tricks for successful projects, and give you some ideas and inspiration to get you started. So grab your glue and paper, and let’s get crafting!
Ingredients For Paper Mache
Here is a list of the materials required for making paper mache:
Materials:
- Flour
- Water
- Paper (newspaper, tissue paper, construction paper, etc.)
- Bowl
- Spoon or whisk
- Balloons or other molds (optional)
- Paint (optional)
- Paintbrushes (optional)
Here is a chart that lists alternative materials for each of the materials listed above:
| Material | Alternative Materials |
| Flour | Cornstarch, tapioca starch, wheat paste, white glue |
| Water | Distilled water, rainwater, tap water |
| Paper | Magazine pages, paper towels, tissue paper, wrapping paper |
| Bowl | Bucket, large mixing bowl, plastic container |
| Spoon or whisk | Fork, chopsticks, electric mixer |
| Balloons or other molds | Plastic bottles, cardboard boxes, wire mesh |
| Paint | Food coloring, natural dyes, markers |
| Paintbrushes | Foam brushes, cotton swabs, fingers |
How To Make Home Made Paper Mache? – Step-By-Step Guide
Making homemade paper mache is a fun and creative activity for kids! They can create unique paper mache creations with just a few simple materials and some imagination.
Here is a step-by-step guide on how to make homemade paper mache that is easy for kids to understand and follow:
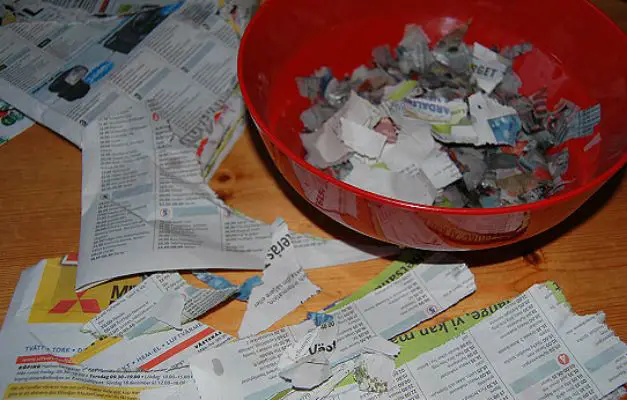
Tear or cut the newspaper into small pieces, about 1-2 inches in size.
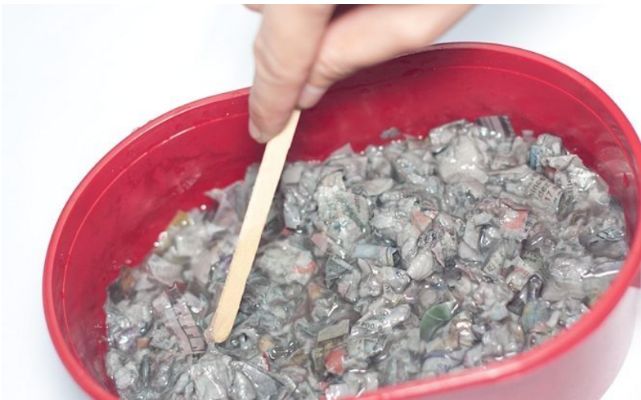
Mix 1 part flour and 2 parts water in a mixing bowl until you have a smooth, glue-like consistency. For example, if you use 1 cup of flour, you will need 2 cups of water.

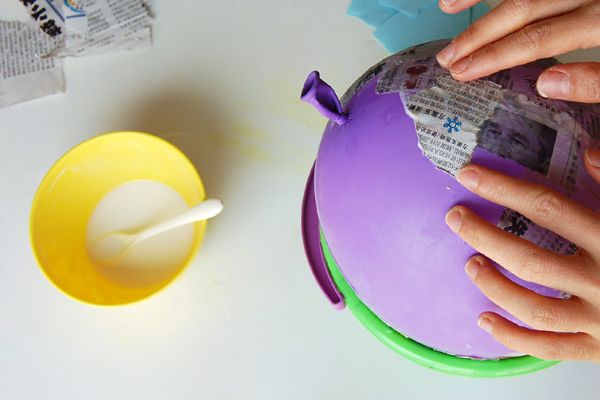
Dip each piece of newspaper into the paste, ensuring it is completely coated.
Place the paper onto your chosen form, smoothing any wrinkles or bubbles. You can use a balloon or cardboard box as your form.
Continue adding layers of paper mache until you have reached your desired thickness. Let each layer dry completely before adding the next.
Once you have added all your layers, let your paper mache creation dry completely. This can take several hours or even overnight.
Once your creation is dry, you can paint or decorate it however you like! Use acrylic paints, markers, or other materials to add color and texture to your finished project.
Tips:
- Cover your work surface with newspaper or a plastic tablecloth to protect it from the paste.
- You can use a hair dryer to speed up the drying process.
- To strengthen your paper mache creation, you can add a layer of white glue on top of the final layer.
Tips Of Paper Mache For Beginners
If you’re new to paper mache, don’t worry! It’s a fun and easy craft anyone can do with a little practice. Here are some tips for beginners to help you get started:
- Start with a simple project: Choose a simple object to make, such as a small bowl or mask, to get the hang of the paper mache technique before moving on to more complex projects.
- Use a form: A form, such as a balloon or cardboard box, can help you create a sturdy structure for your paper mache creation.
- Cut paper into small pieces: Tear or cut it into small pieces, about 1-2 inches, to make it easier to work with and create a smoother finished product.
- Make a paste: Make paper mache paste using flour and water or white glue and water. Mix your chosen paste in a bowl until it has a smooth, glue-like consistency.
- Apply the paper mache: Dip each piece of paper into the paste, then apply it to the form, smoothing any wrinkles or bubbles.
- Build up layers: To create a strong and sturdy finished product, build up several layers of paper mache, allowing each layer to dry completely before adding the next.
- Let it dry: Once you’ve completed your final layer, let your paper mache creation dry completely. This can take several hours or even overnight.
- Decorate: Once your creation is dry, you can paint or decorate it however you like! Use acrylic paints, markers, or other materials to add color and texture to your finished project.
With these tips in mind, you’ll be on your way to creating unique paper mache creations in no time!
10 Easy Paper Mache Ideas – Kid’s Projects
Paper mache is a fun and versatile crafting medium that can create a wide range of projects. Here are some easy paper mache ideas that are perfect for kids:
Balloon animals
Blow up a balloon and cover it with layers of paper mache to create a fun and whimsical animal. Once it dries, paint it and add details like eyes and a nose.
Pinata
Make a pinata by shaping your paper mache around a balloon or cardboard box, then fill it with treats and decorate it with colorful tissue paper.
Pencil holder
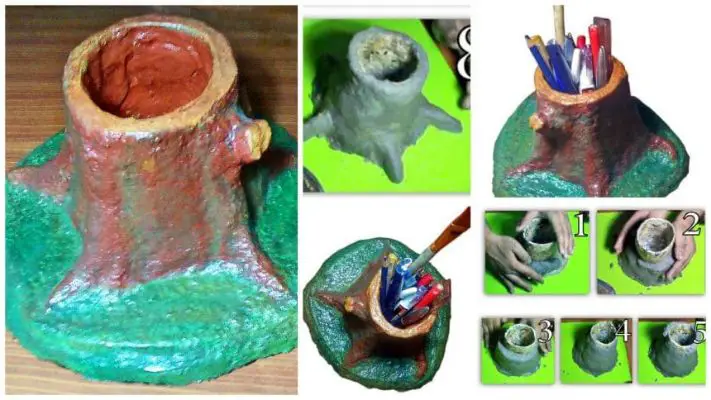
Use a plastic cup as a form and cover it with layers of paper mache to create a fun and functional pencil holder. Once it’s dry, paint it and add some designs.
Masks
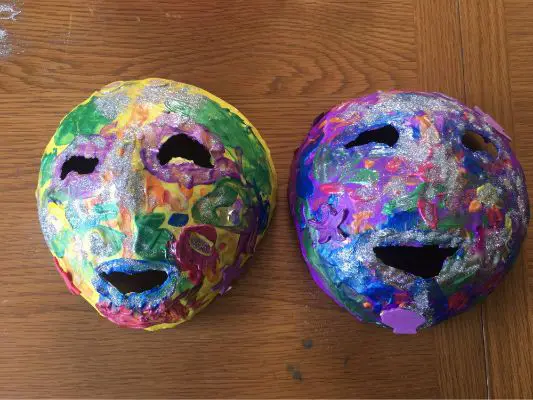
Create a mask by shaping your paper mache or mask form around your face. Once it dries, paint it and add decorations like feathers, glitter, or beads.
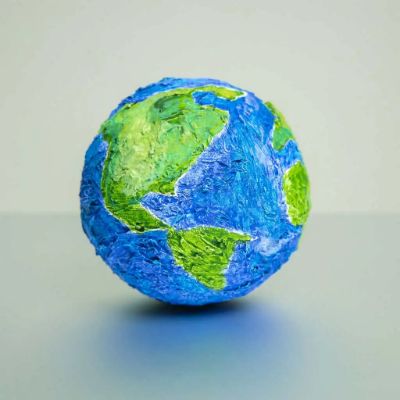
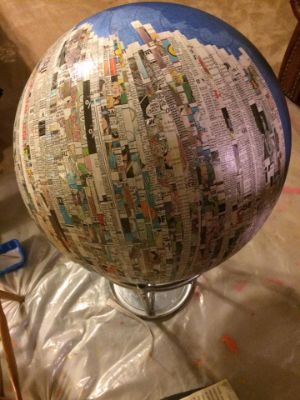
Globe


Use a balloon or beach ball as a form and cover it with layers of paper mache to create a globe. Once it dries, paint it and add details like countries and oceans.
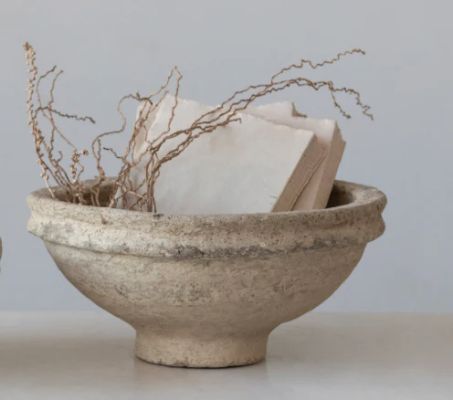
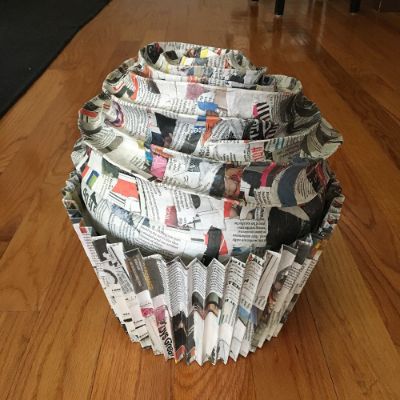
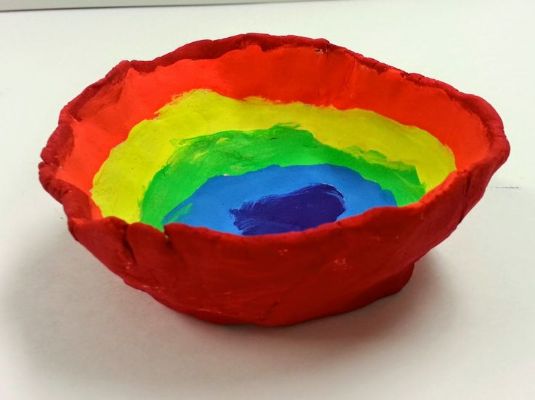
Bowls
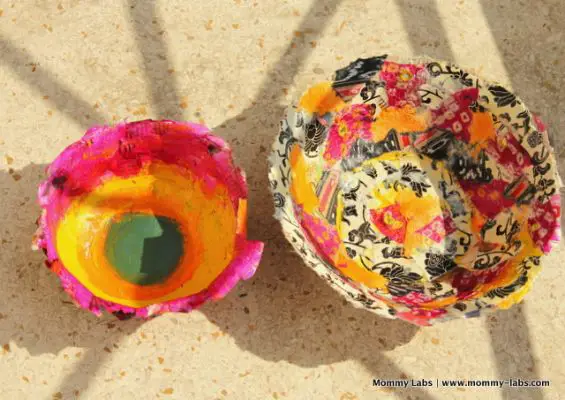
Cover a bowl with plastic wrap, then cover it with layers of paper mache to create a decorative bowl. Once it dries, remove the plastic wrap and paint it.
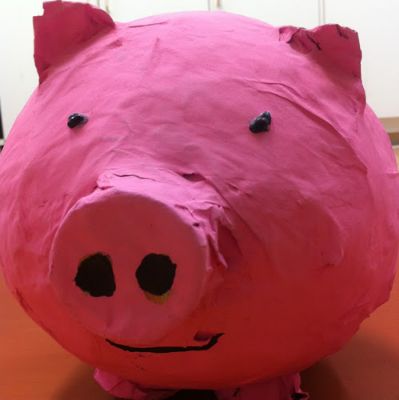
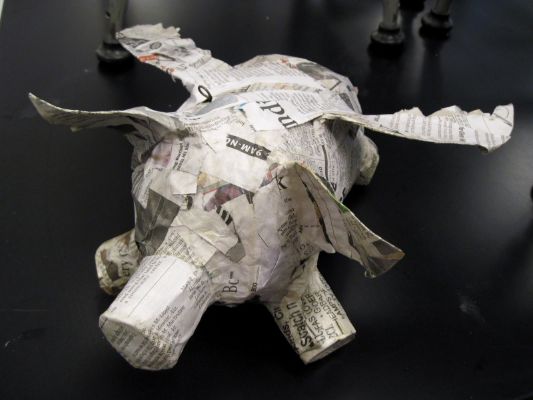
Piggy bank
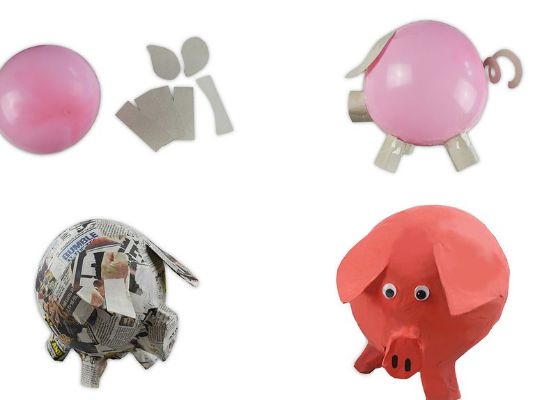
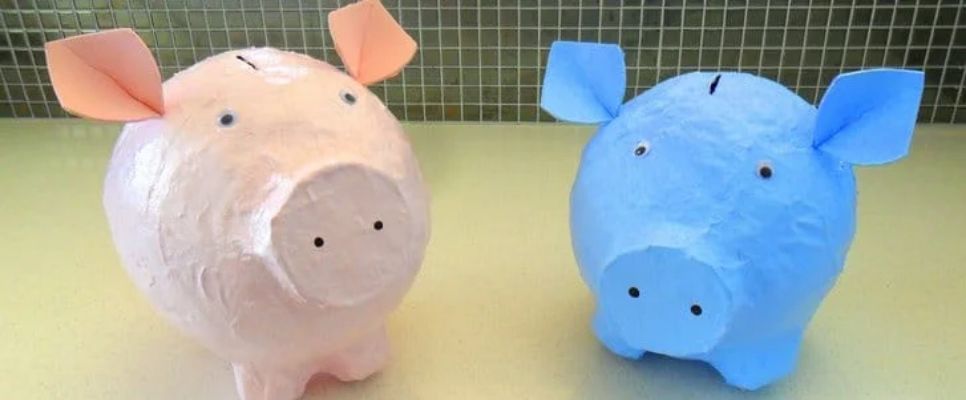
Use a plastic bottle as a form and cover it with layers of paper mache to create a fun and functional piggy bank. Once it dries, cut a slot in the top and paint it.
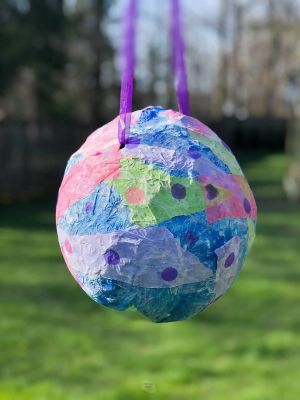
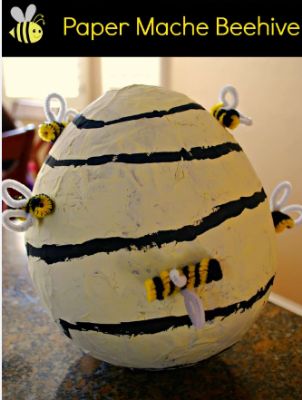
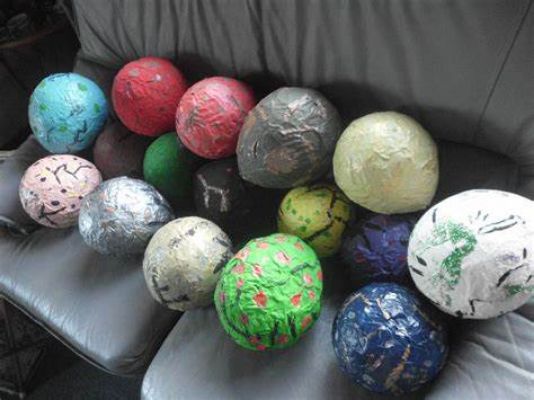
Easter Eggs
Make a basket full of eggs using this simple paper mache technique. This craft is perfect for spring or Easter.
Cupcakes
These cupcakes are so cute and delicious! Kids will love making these edible treats using paper mache techniques.
Pumpkin
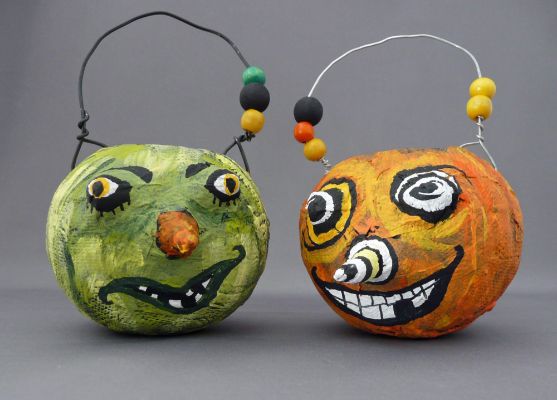
This easy pumpkin craft is perfect for fall or Halloween! Use this technique to make pumspaper, cardboard, or tissue paper.
10 Paper Mache Art For Kids
Here are some additional paper mache art ideas that kids can enjoy:
Sculptures
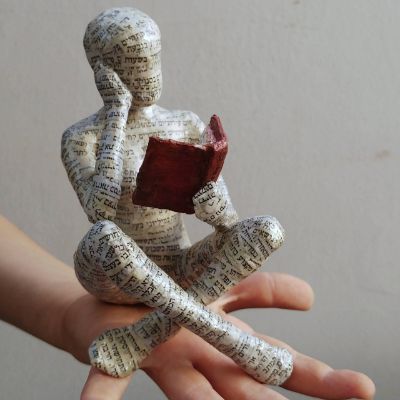
Use paper mache to create a 3D sculpture of an animal, person, or object. Add details with paint and other decorations to bring your sculpture to life.
Planets
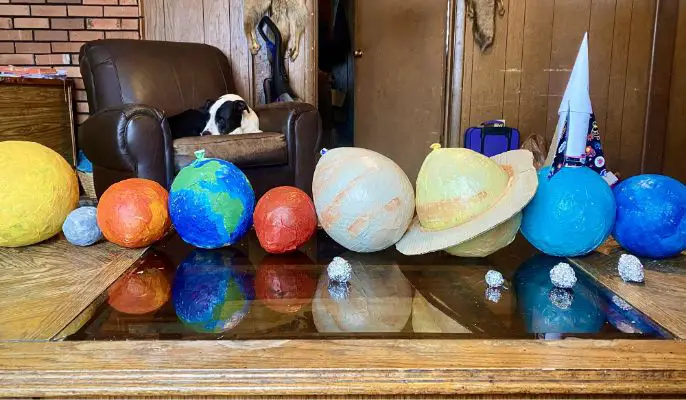
Create a solar system model by making paper mache planets. Paint each planet to look like the real thing and hang them from the ceiling with string.
Picture frames
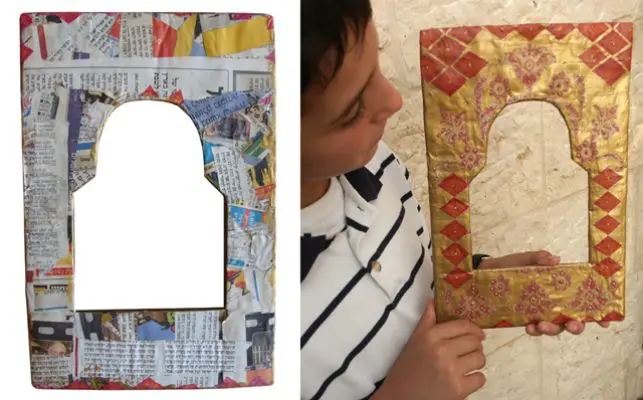
Cover a cardboard frame with paper mache and paint it with bright colors and designs. Add a photo or drawing to make a personalized work of art.
Treasure chest
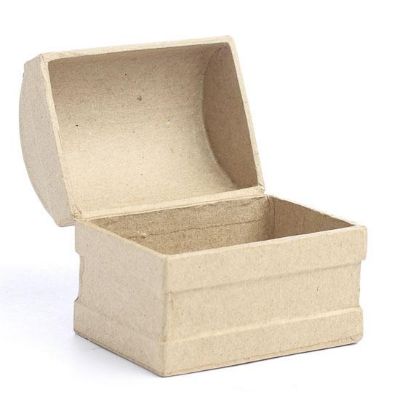
Shape paper mache into a treasure chest and decorate it with gold paint and plastic gems. Fill it with small treasures like seashells, beads, and coins.
Masks of favorite characters
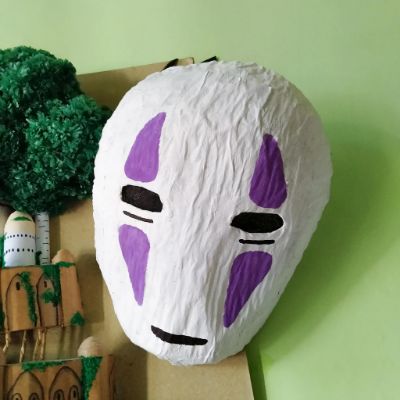
Use paper mache to create masks of favorite characters from books, movies, or TV shows. Add paint and other details to make them come to life.
Fruit and vegetables
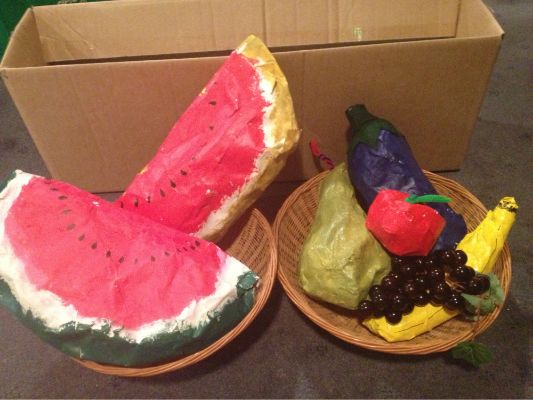
Create a fun and educational project by making paper mache fruits and vegetables. Paint them to look like the real thing and use them to play games and learn about healthy eating.
Dinosaur eggs
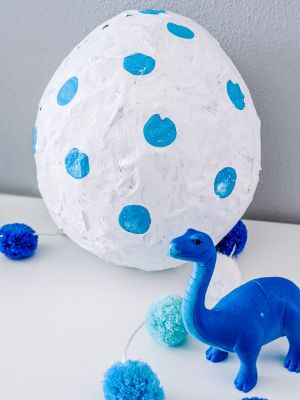
Shape paper mache into dinosaur eggs and paint them with realistic designs. Hide small toy dinosaurs inside and let kids use them for imaginative play.
The Headless Horseman
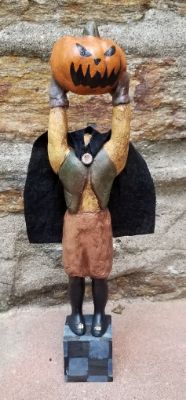
This project uses a large piece of cardboard, black paint, and an old hoodie to make a creepy horseman costume headpiece.
Pirate Ship
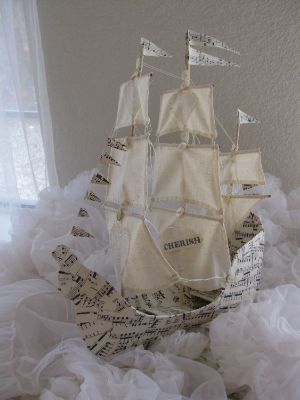
If you’re looking for something more advanced than the headless horseman, this pirate ship would be perfect for older kids with good color-matching skills or who like to paint by hand.
Box Fort
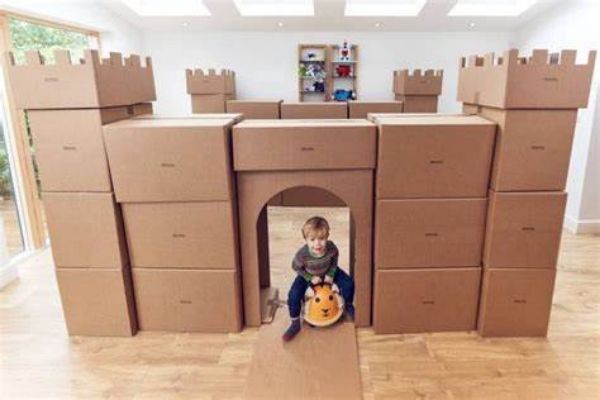
A box fort is perfect for kids who like to pretend to play and imagination games — especially if they have brothers or sisters who want to join in on the fun!
If you are interested in making Paper Mache Letters, we have provided you an ultimate guide.
10 Paper Mache Crafts For Kids
Here are paper mache crafts for kids:
Hot air balloon
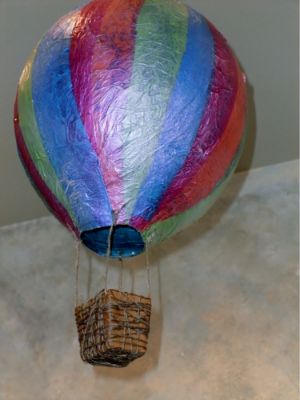
Use a balloon as a form and cover it with paper mache to create a whimsical hot air balloon. Add a basket and strings made from twine or string.
Animal figurines
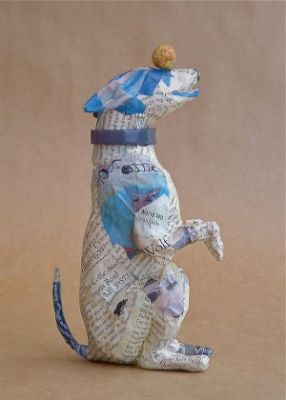
Use paper mache to create animal figurines. Add details with paint and other decorations to bring your animals to life.
Star piñata
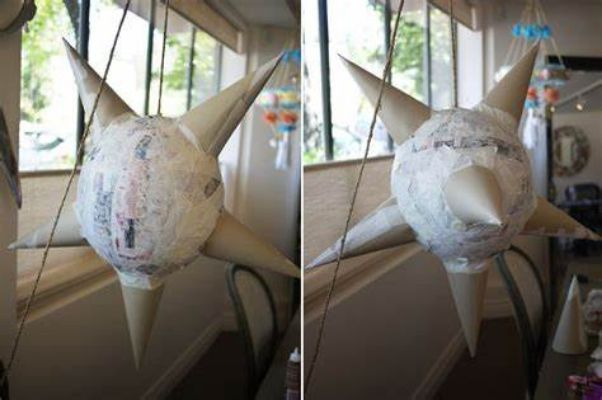
Make a star-shaped piñata by shaping your paper mache around a cardboard star. Fill it with treats and decorate it with colorful tissue paper.
Paper mache bowls
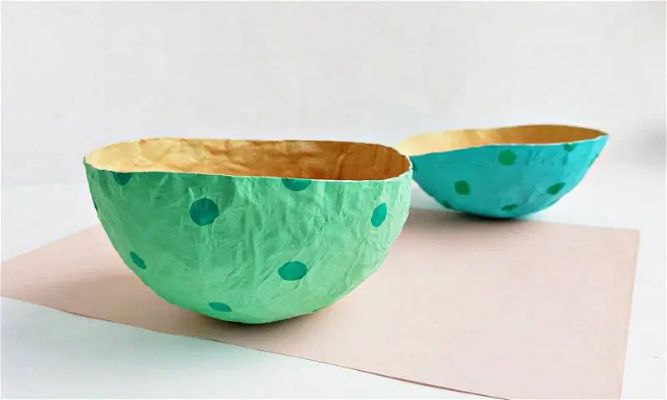
Cover a bowl with plastic wrap, then cover it with layers of paper mache to create a decorative bowl. Once it dries, remove the plastic wrap and paint it.
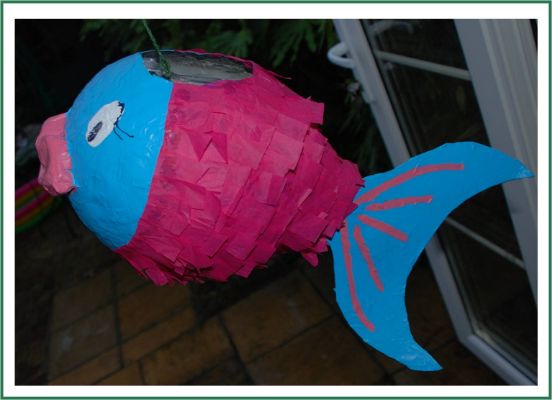
Rainbow fish
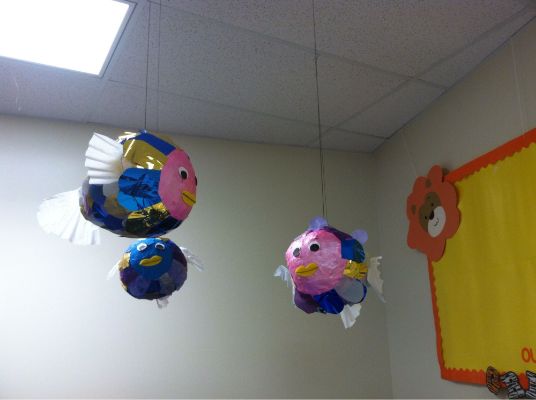
Use paper mache to create a rainbow fish sculpture. Add details with paint, glitter, and other decorations to create a beautiful, shimmering fish.
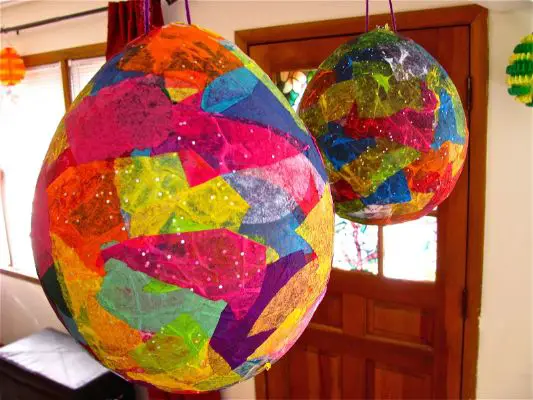
Lanterns
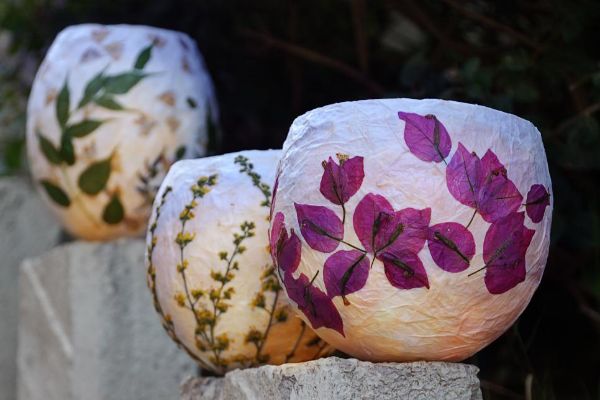
Use paper mache to create lanterns in different shapes and sizes. Add a tea light or battery-operated candle for a soft, warm glow.
Space Helmet
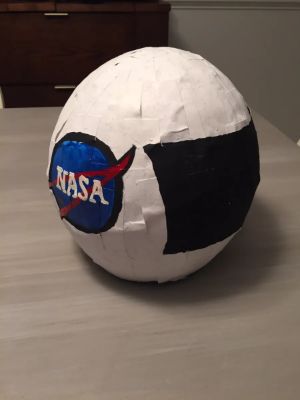
Create a space helmet by shaping paper mache around a plastic bowl. Paint it with metallic silver paint and add a clear plastic visor.
Flower pots
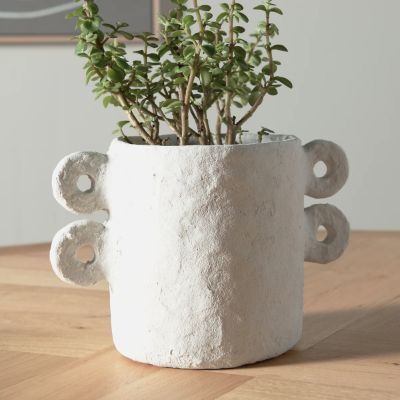
Cover a plastic flower pot with layers of paper mache to create a unique, decorative flower pot. Once it dries, paint it with colorful designs.
Butterfly wall decor
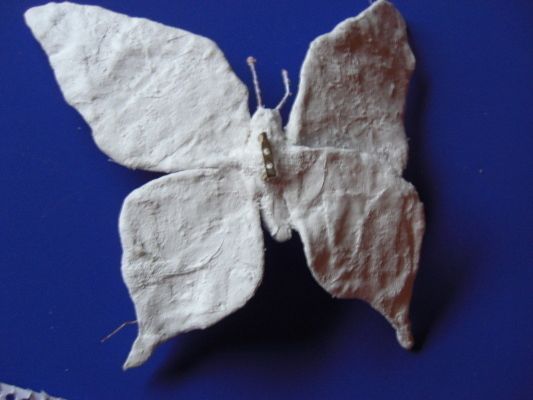
Create a paper mache butterfly and add glitter and paint for a colorful and whimsical wall decoration.
10 Paper Mache Ideas With Balloons
Here are paper mache ideas with balloons:
Globe
Use a balloon as a base to create a paper mache globe. Once it dries, paint it with the continents and oceans to create a fun and educational decoration.
Pinch pots
Inflate a balloon and cover it with layers of paper mache. Once it dries, pop the balloon and use the paper mache form as a base to create pinch pots. Paint and decorate them to create unique containers.
Rocketship
Use a balloon as a form to create a paper mache rocket ship. Add fins and a cone to create a spaceship. Once it dries, paint it silver and add details like windows and flames.
Dinosaur egg
Inflate a balloon and cover it with layers of paper mache to create a dinosaur egg. Once it dries, paint it in a speckled pattern to resemble a dinosaur egg.
Candy dish

Inflate a balloon and cover it with layers of paper mache to create a candy dish. Once it dries, pop the balloon and paint it in your favorite colors. Add embellishments like ribbon or beads to decorate it further.
Teapot
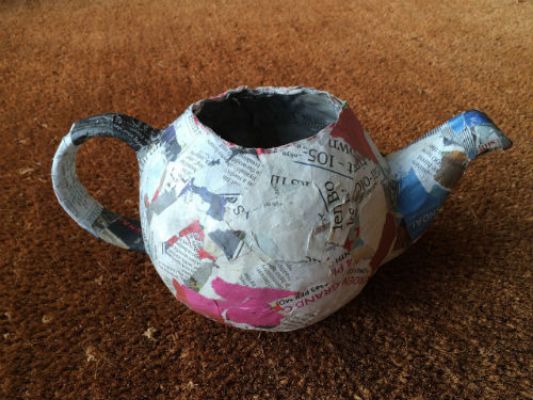
Inflate a balloon and cover it with layers of paper mache to create a teapot. Once it dries, cut off the top to create a lid and add a spout and handle. Paint and decorate it to create a unique teapot.
Fishbowl
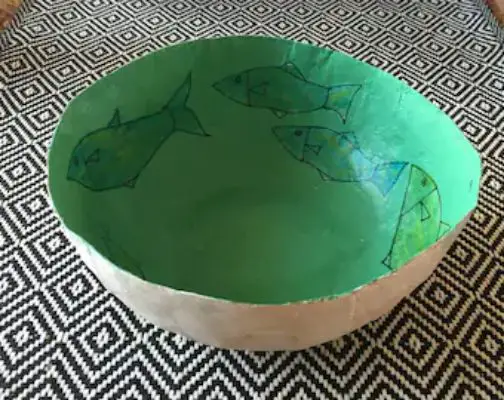
Inflate a balloon and cover it with layers of paper mache to create a fish bowl. Once it dries, paint it like water and add paper fish to create a fun decoration.
Robot
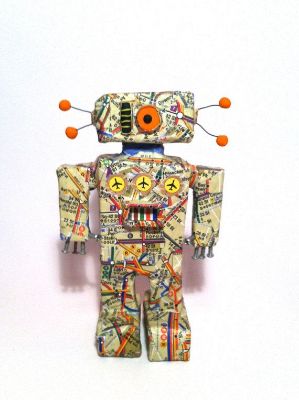
Use a balloon as a form to create a paper mache robot. Add arms, legs, and a head to create a unique robot. Paint and decorate it to bring it to life.
Giant bubble
Inflate a large balloon and cover it with layers of paper mache to create a giant bubble. Once it dries, paint it to create a fun decoration.
How To Make Paper Mache Sculptures?
Here is a step-by-step guide on how to make paper mache sculptures for kids:
Materials:
- Flour
- Water
- Newspaper or paper towels
- Balloons or other objects to use as the base
- Paint and other decorations
Instructions:
- Mix a paste by combining flour and water in a bowl. The ratio should be approximately 1 part flour to 2 parts water. Mix until the paste is smooth and free of lumps.
- Tear strips of newspaper or paper towels into long, thin pieces.
- Inflate a balloon or other object to use as the base for the sculpture.
- Dip the paper strips into the paste, ensuring they are fully coated.
- Begin layering the coated paper strips onto the base object, smoothing them down with your fingers. Make sure to cover the entire object in several layers of paper mache, leaving no gaps.
- Once you have applied several layers of paper mache, let the sculpture dry completely. This may take several hours or overnight.
- Once the sculpture is dry, carefully pop the balloon or remove the base object from inside the paper mache shell.
- Use scissors or a craft knife to cut any holes or openings in the paper mache shell, if necessary.
- Paint the sculpture with acrylic or tempera paints. Add details like eyes, mouth, and other decorations as desired.
- Let the sculpture dry completely before displaying it or playing with it.
Tips:
- Protect your workspace with newspaper or plastic, as paper mache can be messy.
- Use smaller pieces of paper for intricate details and larger pieces for larger areas.
- For added durability, add a final layer of white glue or varnish over the dry paper mache.
Conclusion
Paper mache is a fun and versatile craft for kids. With basic materials, you can create sculptures, bowls, and more. It’s a great way to learn about different cultures and artistic techniques.