Drawing a self-portrait is a fantastic way for kids to express themselves artistically and discover their unique features. It lets them capture their likeness on paper and visually represent their identity. In this step-by-step guide, we will walk your child through the process of drawing a self-portrait designed specifically for kids. From understanding facial features to adding personal touches, we will cover everything they need to know to create a remarkable self-portrait. This creative endeavor develops their artistic abilities and fosters self-awareness and a deeper appreciation for their individuality. Let’s gather our art supplies and embark on this exciting journey of self-expression through art.
Gathering Materials To Draw A Self-Portrait For Kids
To begin the journey of drawing a self-portrait, it’s important to gather the essential art supplies that will help your child bring their imagination to life. Here’s a detailed list of the materials you’ll need:
Paper:
- Use smooth, medium-weight drawing paper that is suitable for pencil work.
- Alternative: Sketchbook, drawing pad, or plain printer paper can be alternatives.
Pencils:
- Choose a range of graphite pencils with varying degrees of hardness (e.g., HB, 2B, 4B, 6B).
- Alternative: Mechanical pencils with different lead thicknesses can be used.
Erasers:
- Have a kneaded eraser for easily lifting graphite and creating highlights.
- Use a vinyl or plastic eraser for more precise erasing.
- Alternative: White vinyl erasers or pencil eraser caps can serve as alternatives.
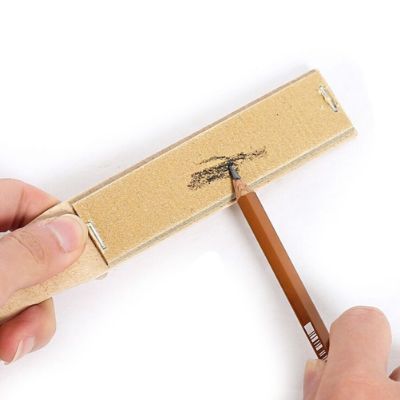
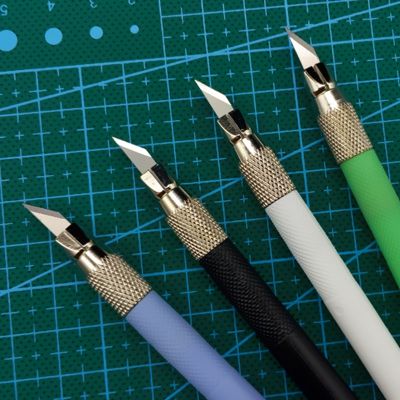
Sharpener:
- Use a reliable pencil sharpener to keep the pencils sharp for detailed work.
- Alternative: A small knife or sandpaper block can sharpen pencils.
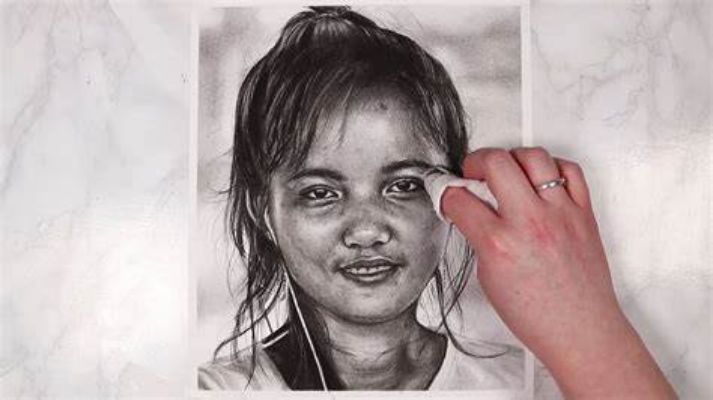
Blending Tools:
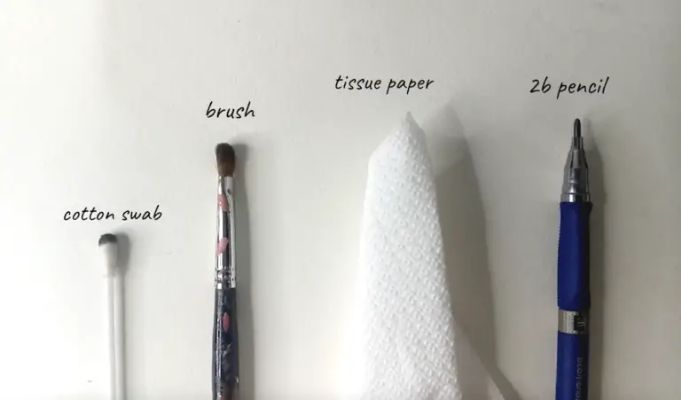
- Consider having blending stumps or tortillons to smudge and blend pencil lines for smooth transitions.
- Alternative: Cotton swabs or tissue paper can be used for blending.

Reference Materials:

- Provide photographs or mirrors for your child to use as references for their self-portrait.
- Alternative: Your child can use their reflection in a mirror as the primary reference.
Optional Extras:
- Colored pencils, markers, or pastels can be included for adding color or additional artistic touches.
- Alternative: Watercolor pencils or crayons can be used for adding color effects.
How To Getting Started To Draw A Self Portrait?
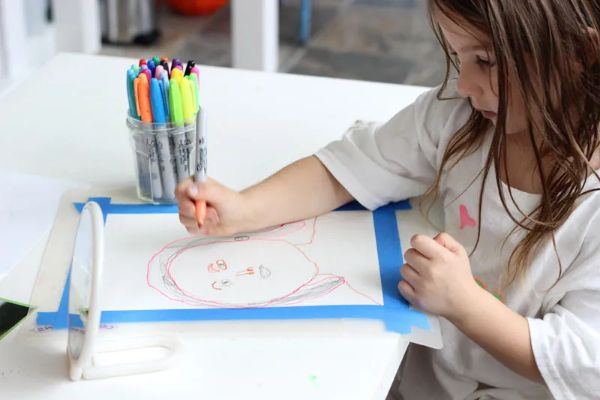
Now that you have gathered the necessary art supplies, it’s time to draw a self-portrait with your child. Follow these steps to get started:
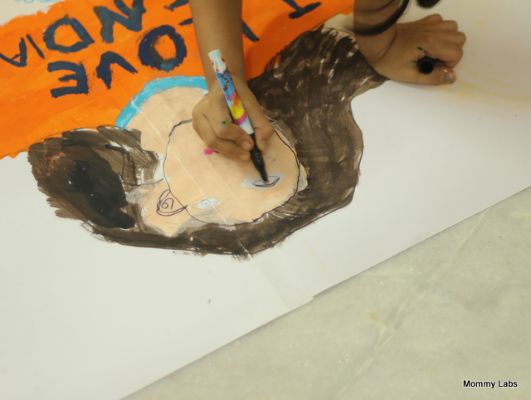
Find the Right Position
To create a self-portrait, your child needs to be in a comfortable and well-lit space. Here’s an explanation that kids can easily understand:
A comfortable and well-lit area
- Find a quiet and cozy spot where your child can sit comfortably.
- Make sure there is enough light so they can see their face and the paper.
Convenient paper position
- Place the paper on a flat surface, like a table or a drawing board.
- Ensure it’s positioned so your child can easily reach and see it without strain.
Enough space for resting their hand
- Drawing can take time, so it’s important to provide enough space for your child to rest their hand while they draw.
- They can rest their hand on the table or use a small cushion or folded towel as support.
Observing Facial Features
Drawing a self-portrait involves capturing the unique features of your child’s face.
If you want to learn how to draw the faces of different creatures, we suggest you to have a look at our blog post-Ted Harrison Art For Kids, which may teach you and be a source of learning about other techniques used in arts.
Here are the details to help your child observe and draw each facial feature:
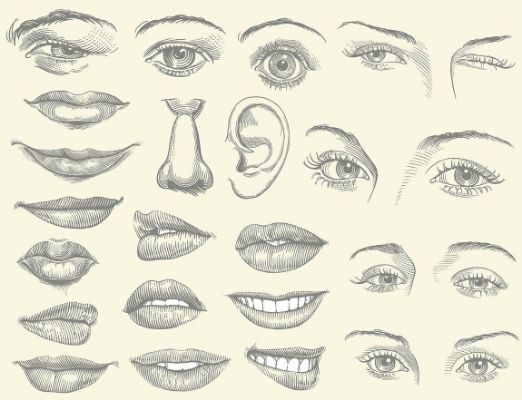
Eyes:
- Ask your child to look closely at their eyes in a mirror or reference photographs.
- Notice the shape of the eyes, whether they are round, almond-shaped, or any other distinct shape.
- Observe the size and placement of the iris, pupil, and eyelashes.
- Pay attention to any special characteristics, like the color or unique patterns in the iris.
Nose:
- Have your child study their nose in a mirror or use reference materials.
- Observe the general shape of the nose, whether it’s straight, curved, or has a bridge.
- Notice the position of the nostrils and how they relate to the other facial features.
- Pay attention to details like the tip’s shape or the bridge’s width.
Mouth:
- Encourage your child to examine their mouth while looking in a mirror or using reference photographs.
- Notice the shape of the lips, whether they are full, thin, or have unique curves.
- Observe the position and size of the upper and lower lips.
- Pay attention to any expressions or gestures that can add personality to their self-portrait.
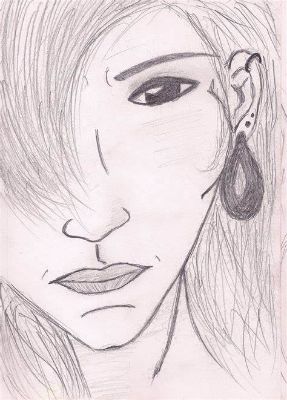
Ears:
- Guide your child to look at their ears in a mirror or reference photographs.
- Observe the general shape and size of the ears, whether round, oval, or other shapes.
- Pay attention to the position of the ears on the head and how they relate to other features.
- Notice any unique details like the shape of the lobes or the presence of earrings, if applicable.
Hair:
- Have your child observe their hair or use reference materials to understand different hair types and styles.
- Notice the length, texture, and any specific characteristics of their hair.
- Pay attention to the direction in which the hair falls and any unique features like bangs or curls.
By encouraging your child to observe their features, they will better understand their unique facial characteristics. This observation will help them accurately represent the features in their self-portrait, making it a true reflection of themselves.
Adding Personal Touches
When drawing a self-portrait, it’s important to encourage your child’s creativity and self-expression.
Here are some detailed suggestions on how they can add personal touches to their artwork:
Incorporate unique features
- Encourage your child to carefully observe their face and identify any distinct features they have.
- These features could include moles, freckles, dimples, or other unique markings.
- Guide them to add these details to their self-portrait, making it more authentic to their appearance.
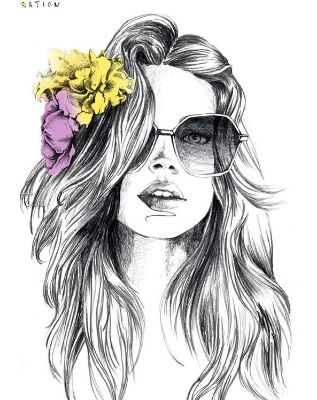
Highlight accessories or favorite items
- If your child regularly wears glasses, encourage them to include them in their self-portrait.
- Have them draw any jewelry they frequently wear, such as earrings, necklaces, or bracelets.
- If they have a favorite hat, headband, or other accessories, suggest including those.
Express emotions and personality
- Remind your child that a self-portrait is an opportunity to showcase their emotions and personality.
- Encourage them to depict themselves with a smile, laughter, a serious expression, or any other emotion they want to convey.
- Let them express their individuality through the eyes, mouth, and overall facial expression.
Explore different styles
- Your child can experiment with different artistic styles to make their self-portrait unique.
- They can try realistic shading, bold lines, or even incorporate elements of abstract art if they desire.
- Encourage them to use their imagination and explore different techniques to bring their self-portrait to life.
Capture clothing and hairstyles
- Ask your child to draw themselves wearing their favorite outfit or the clothes they feel best to represent them.
- Guide them to observe the details of their clothing, such as patterns, textures, or accessories.
- Have them accurately depict their hairstyle, whether long, short, curly, or any other distinct style.
Drawing Realistic Eyes – Kid-Friendly Tutorial
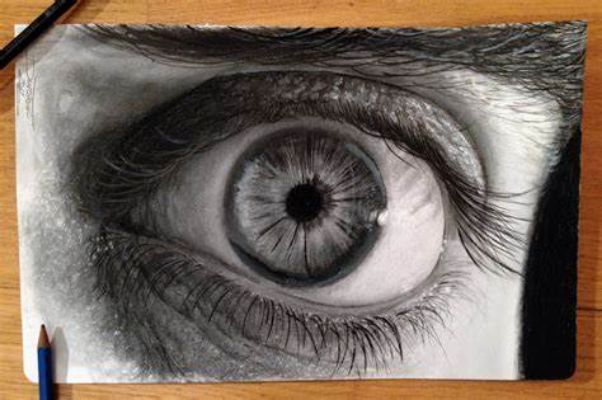
Creating realistic eyes can be a fun and rewarding part of drawing a self-portrait. Here’s a step-by-step tutorial that is kid-friendly:
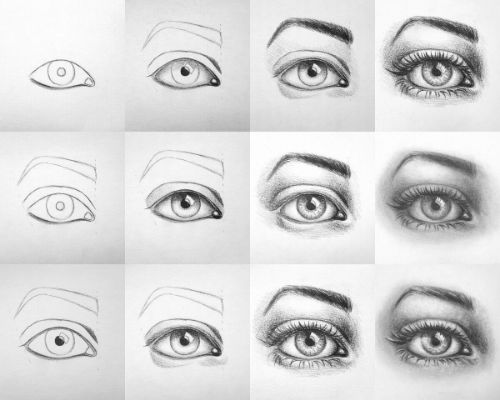
Step 1: Start with the basic eye shape
- Draw a medium-sized oval or almond shape to outline the eye. Keep the lines light and faint.
Step 2: Add the iris and pupil
- Draw a smaller circle or oval to represent the iris inside the eye shape.
- Leave a small section of white space for the highlight in the eye.
- Inside the iris, draw a smaller circle for the pupil.
Step 3: Add eyelashes and eyebrows
- Sketch curved lines above the eye to create the eyebrows. Adjust their shape based on your child’s eyebrows.
- Add eyelashes to the upper and lower eyelids. Keep them soft and curved.
Step 4: Add shading and highlights
- Use a softer pencil or shading tool to add shading around the iris and pupil. Shade lightly and gradually darken as needed.
- To create a natural shine, leave a small highlight area in the eye closer to the light source.
Step 5: Emphasize size and shape
- Observe your own eyes or use a reference image to determine the size and shape of your eyes.
- Make adjustments to match the proportions of your own eyes.
Step 6: Reflect on emotions and personality
- Adjust the eye’s shape and the iris’s position depending on the expression you want to convey.
- Experiment with curved lines to create emotions like happiness, surprise, or curiosity.
Step 7: Practice and experiment
- Drawing realistic eyes takes practice, so encourage your child to keep trying.
- Experiment with different techniques, such as blending with a tissue or using different pencils, to achieve different effects.
How to Draw Noses? – Simple Techniques for Kids
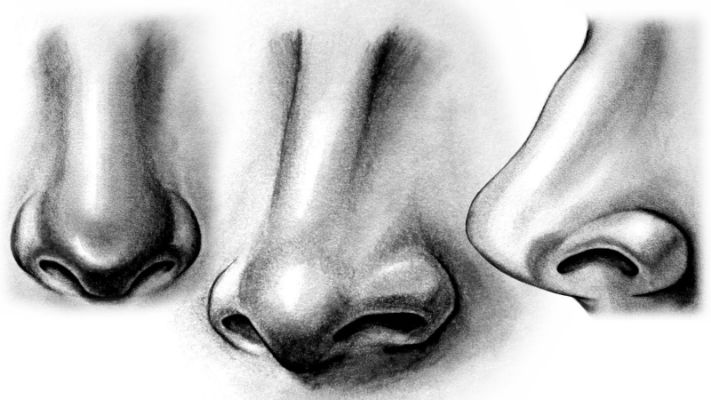
Drawing noses can be a fun and engaging part of creating a self-portrait. Here’s a step-by-step tutorial with simple techniques that are easy for kids to follow:
How to draw a nose for kids easy – YouTube
Step 1: Start with a basic shape
- Begin by drawing a small oval or a rounded triangle shape in the center of the face. This will serve as the foundation for the nose.
Step 2: Add nostrils
- Divide the bottom part of the shape into two small curved lines, slightly wider at the base.
- Connect the lines at the center to create the nostrils. Keep the lines soft and rounded.
Step 3: Define the bridge
- Above the oval shape, draw two straight lines that angle slightly inward toward each other. These lines will form the bridge of the nose.
Step 4: Shape the sides
- Starting from the top of the bridge lines, gradually curve outward to form the sides of the nose.
- Observe your nose or use a reference image to help guide the shape.
Step 5: Refine the details
- Add small curves or lines on the sides of the nose to give it more dimension and depth.
- Consider any unique features, such as a bump or a particular angle, and incorporate those into the drawing.
Step 6: Adjust proportions
- Take a step back and compare the size and placement of the nose to the other facial features.
- Make any necessary adjustments to ensure the proportions look balanced and realistic.
Step 7: Practice shading
- Using a soft pencil, gently shade the underside of the nose and the area around the nostrils to create shadows.
- Gradually build up the shading, starting lightly and adding more as needed.
Step 8: Add highlights
- Leave a small area near the tip of the nose and bridge unshaded to create highlights and add a sense of dimension.
- Be careful not to overdo it; the highlights should be subtle.
Mastering Mouths – A Step-by-Step Drawing Guide for Kids
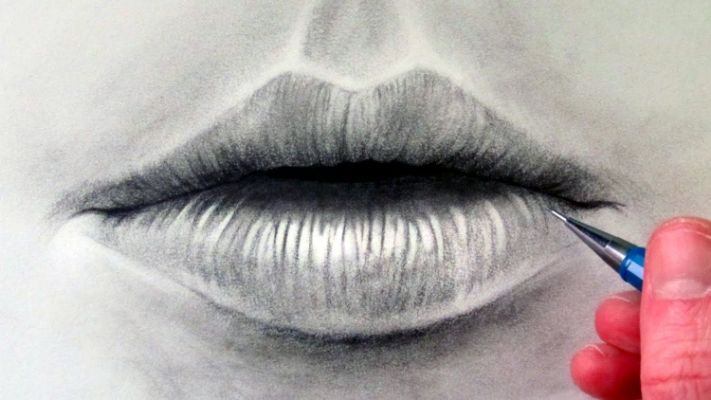
Drawing mouths can bring personality and expression to your self-portrait. Here’s a step-by-step tutorial to help kids master drawing mouths:
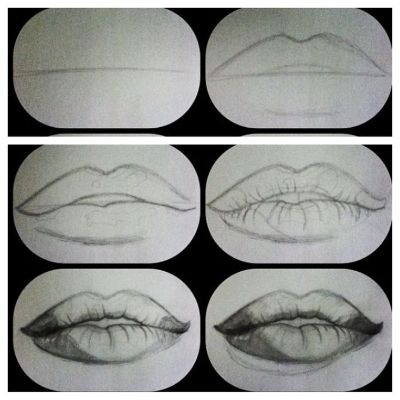
Step 1: Start with the basic shape
- Begin by drawing a curved line that represents the middle of the mouth.
- Imagine the line as a stretched-out letter “U” or “V” shape, depending on the expression you want to portray.
Step 2: Add the upper lip
- Draw another curved line from the middle of the curved line above it.
- This line will form the upper lip. Adjust the curve to match the desired shape of the lip.
Step 3: Create the lower lip
- Draw a similar curved line below the middle line, slightly more extended than the upper lip.
- This line will be the lower lip. Again, adjust the curve based on the desired lip shape.
Step 4: Define the corners
- Add small curves on each side of the mouth to mark the corners or edges of the lips.
- These curves will help give the mouth a natural and realistic appearance.
Step 5: Detail the lips
- Draw a soft curve within the upper lip to indicate a natural separation between the lip and the skin above it.
- Similarly, add a gentle curve within the lower lip to create depth and dimension.
Step 6: Add the teeth (optional)
- If your self-portrait includes visible teeth, lightly sketch small rectangular shapes within the mouth.
- Remember to adjust the teeth’ size and shape according to the mouth’s perspective and angle.
Step 7: Emphasize the expression
- Observe your mouth or use reference images to capture specific expressions.
- Adjust the curves and shapes of the lips to depict a smile, frown, or any other desired expression.
Step 8: Refine and adjust
- Take a step back and assess the proportions and alignment of the mouth concerning the rest of the face.
- Make any necessary adjustments to ensure balance and accuracy.
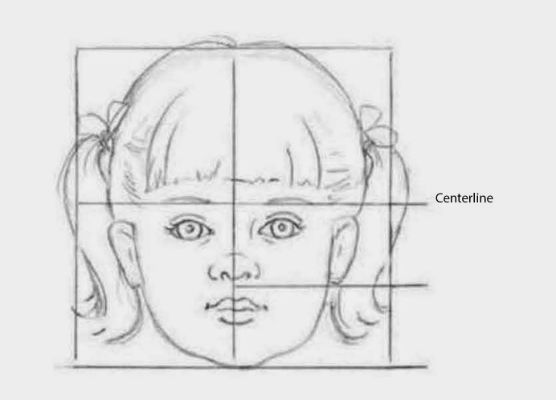
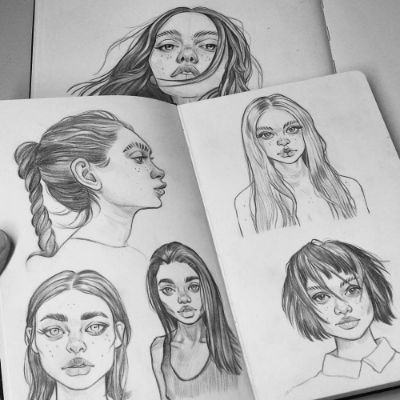
Understanding Face Shapes – Proportions and Symmetry for Kids
Understanding face shapes and proportions is essential for creating accurate and balanced self-portraits. Here’s a guide to help kids grasp the concepts of face shapes, proportions, and symmetry:
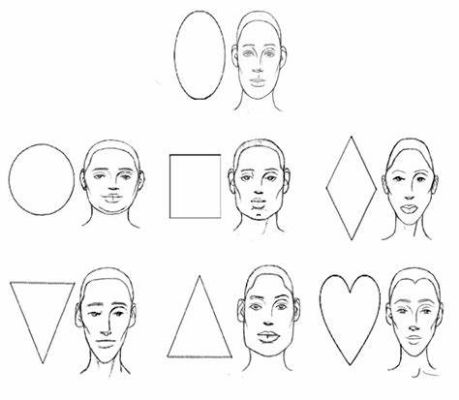
Step 1: Recognize basic face shapes
- Explain the different face shapes: oval, round, square, and heart-shaped.
- Show examples or use illustrations to help your child identify these shapes.
Step 2: Start with an oval shape
- Begin by drawing a light oval shape as the foundation for the face.
- This oval will serve as a guide for placing other facial features.
Step 3: Divide the face
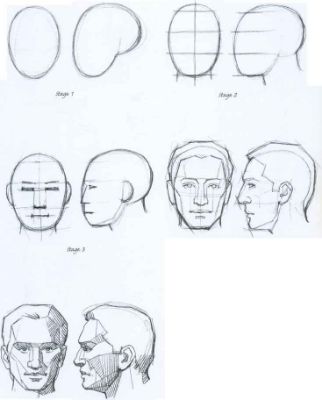
- Mentally divide the oval into equal halves by drawing a horizontal line across the middle and a vertical line down the center.
- Explain that these lines will help determine the placement of the eyes, nose, and mouth.
Step 4: Eye placement
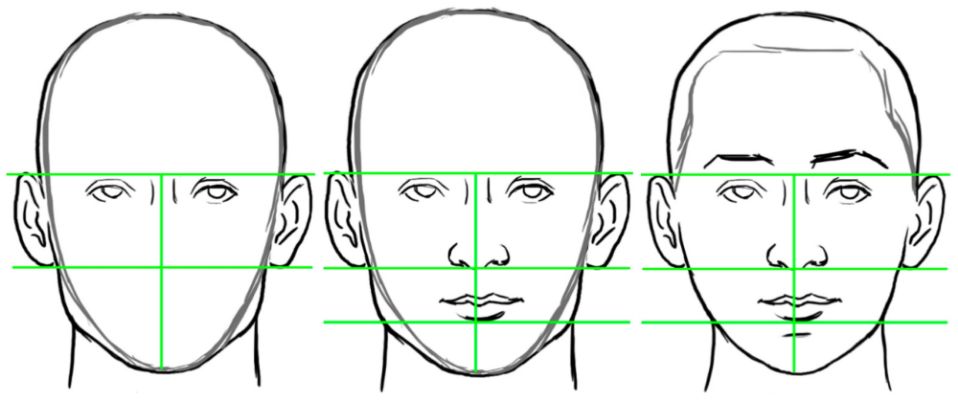
- In the upper half of the oval, draw two equal-sized circles or ovals along the horizontal line.
- These will represent the eyes. Encourage your child to place them symmetrically.
Step 5: Nose placement
- On the vertical line below the eyes, guide your child to draw a small curved shape for the nose.
- Explain that the bottom of the nose should be slightly above the horizontal line.
Step 6: Mouth placement
- Below the nose, draw a horizontal line as a reference for the mouth.
- Encourage your child to draw a simple curved line or small shape for the mouth on or slightly above this line.
Step 7: Facial features and proportions
- Explain that the eyes are usually spaced one eye-width apart, and the width of an eye is often equal to the distance between the eyes.
- Guide your child to adjust the size and placement of the nose and mouth to fit the face shape and maintain balance.
Step 8: Symmetry and adjustments
- Emphasize the importance of symmetry in a self-portrait.
- Encourage your child to regularly check and adjust the positioning and size of facial features to maintain symmetry.
Step 9: Practice and observation
- Encourage your child to practice drawing faces of different shapes and experimenting with proportions and symmetry.
- Use mirrors or reference images to help them observe and analyze their facial features.
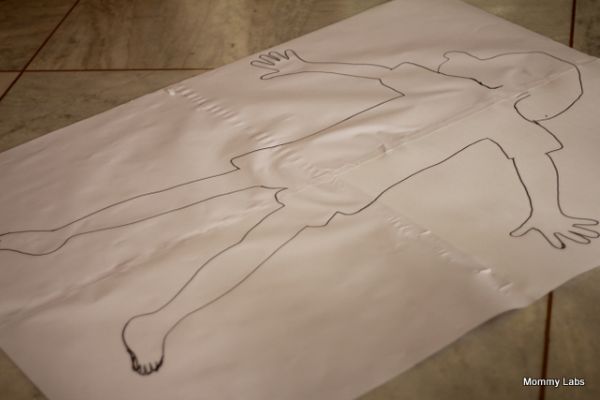
10 Life-Size Portrait Ideas For Kids

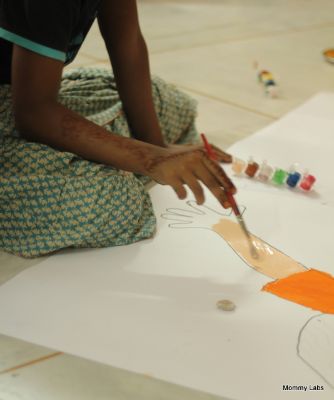
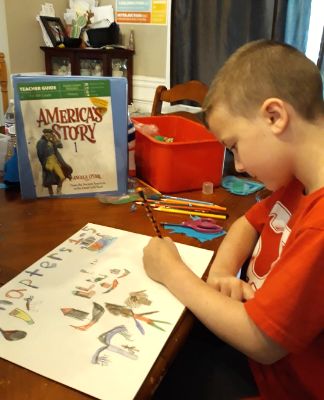
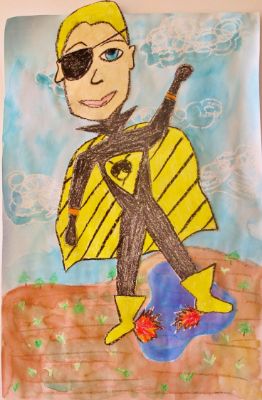
Superhero Self-Portrait
They can incorporate the superhero’s costume, pose, and accessories for a powerful and imaginative portrait.
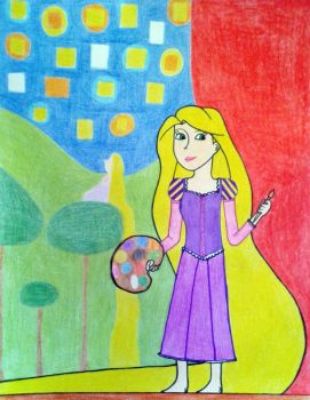
Fairy Tale Character
Encourage your child to bring their favorite fairy tale character to life with a life-size portrait.
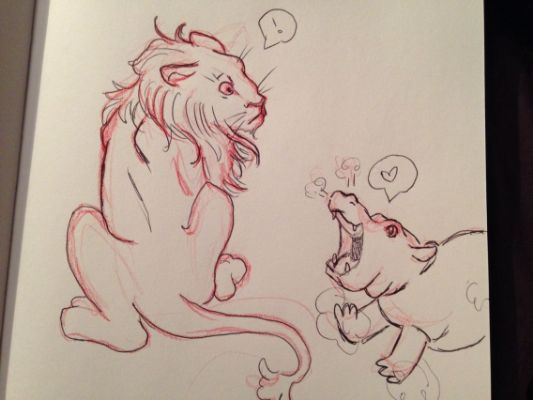
Animal Adventure
Transform your child into their favorite animal with a life-size portrait, showcasing their wild and imaginative side.
Sports Star Stance
Capture your child’s athletic prowess with a life-size portrait highlighting their favorite sports pose and equipment.
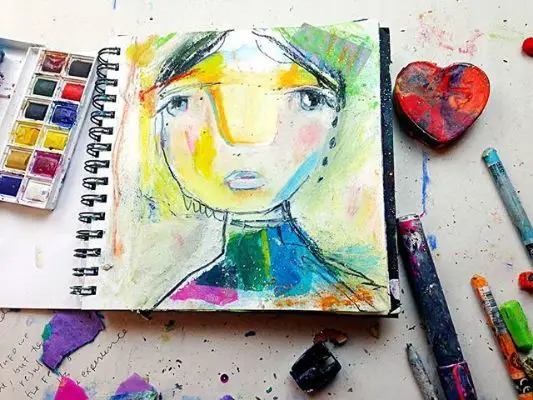
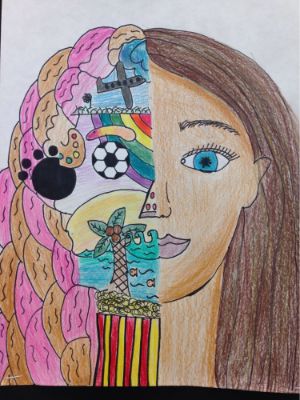
Artistic Masterpiece
Encourage artistic expression with a life-size self-portrait, where your child can experiment with different art techniques and mediums.
Space Explorer
Ignite their curiosity about space by creating a life-size astronaut portrait with a spacesuit and cosmic backdrop.

Music Maestro
Showcase their musical talents with a life-size portrait of them playing their preferred instrument, capturing their love for music.

Nature Guardian
Inspire environmental stewardship with a life-size portrait of your child surrounded by elements of nature and symbols of conservation.
Time Traveler’s Tale
Take them on an imaginative journey through time with a life-size portrait that portrays them in different historical eras.
Literary Adventure
Bring their favorite storybook character to life with a life-size portrait that immerses them in the world of their beloved tales.
10 Children’s Portraits Ideas
Here are 10 easy children’s portrait ideas that can be fun and accessible for kids:
Happy Face
Create a cheerful portrait capturing your child’s smile and infectious happiness.
Pensive Thinker
Draw your child in a thoughtful pose, showcasing their contemplative side.
Silhouette Art
Trace the outline of your child’s profile against a brightly colored background for a simple yet striking portrait.

Animal Friends
Draw your child alongside their favorite animal, showcasing their love for pets or wildlife.
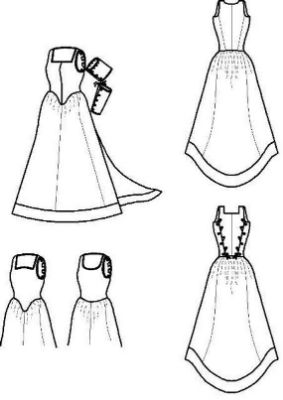
Dress-Up Fun
Create a portrait of your child dressed in their favorite costume, embracing their imagination and creativity.
Sports Star
Depict your child in their preferred sports gear, capturing their passion for physical activities.

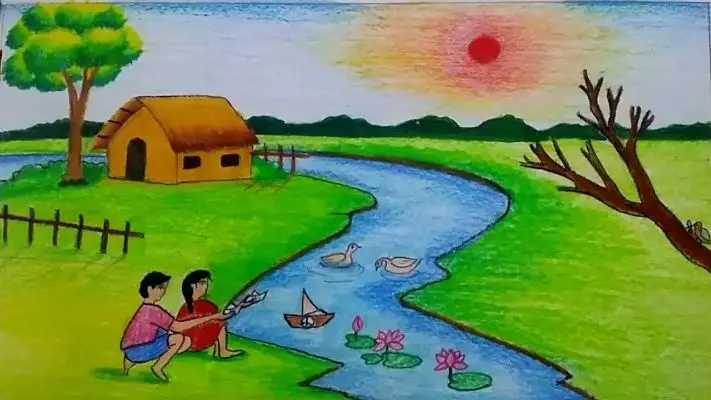
Nature Lover
Draw your child surrounded by flowers, trees, or other elements of nature, highlighting their connection to the outdoors.
Artistic Expression
Showcase your child holding their favorite artwork, emphasizing their love for creativity and self-expression.
Best Friends Forever
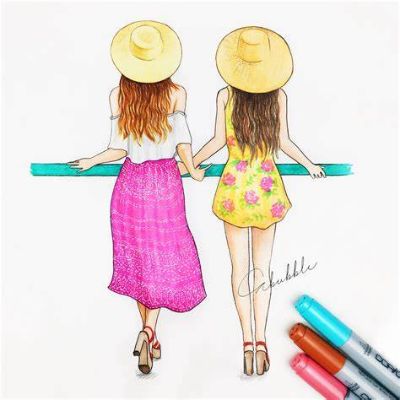
Create a portrait featuring your child with their closest friend, capturing their joy and bond.
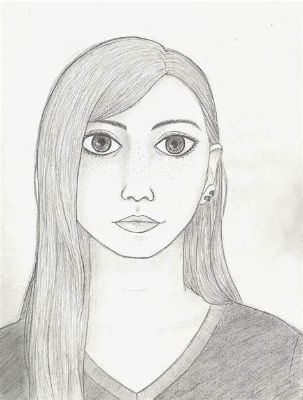
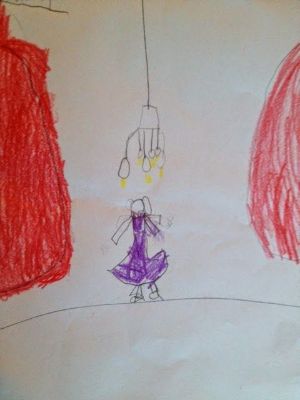
Self-Reflection
Encourage your child to draw a self-portrait, allowing them to express their individuality and unique features.
Final Words
Creating children’s portraits is a wonderful way to nurture their creativity and self-expression. Whether capturing their smiles, exploring their interests, or celebrating their unique personalities, these easy portrait ideas offer endless opportunities for artistic fun. Let your child’s imagination soar as they embark on this artistic journey, embracing their individuality and creating beautiful memories through their unique self-portraits.